Removing and Installing Parts 87
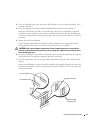
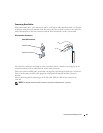
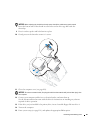
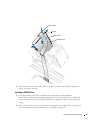
NOTICE: When replacing the hard-drive shroud, ensure that all the cables are properly routed.
8
Insert the bottom tabs of the shroud in to the holes on the drive cage and rotate the
shroud up.
9
Press in on the top tabs and lock them in to place.
10
Gently press on the shroud to ensure it is secure.
11
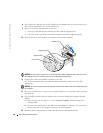
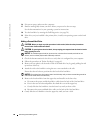
Close the computer cover (see page 108).
NOTICE: To connect a network cable, first plug the cable into the network wall jack and then plug it into
the computer.
12
Connect your computer and devices to electrical outlets, and turn them on.
See the documentation that came with the drive for instructions on installing any software
required for drive operation.
13
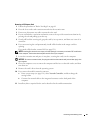
If the drive you just installed is the primary drive, insert a bootable floppy disk into drive A.
14
Turn on the computer.
15
Enter system setup (see page 114), and update the appropriate
Drive
option.


