52
Chapter 9 Product Installation and Hot-Swap Actions
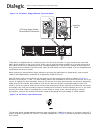
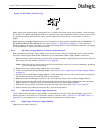
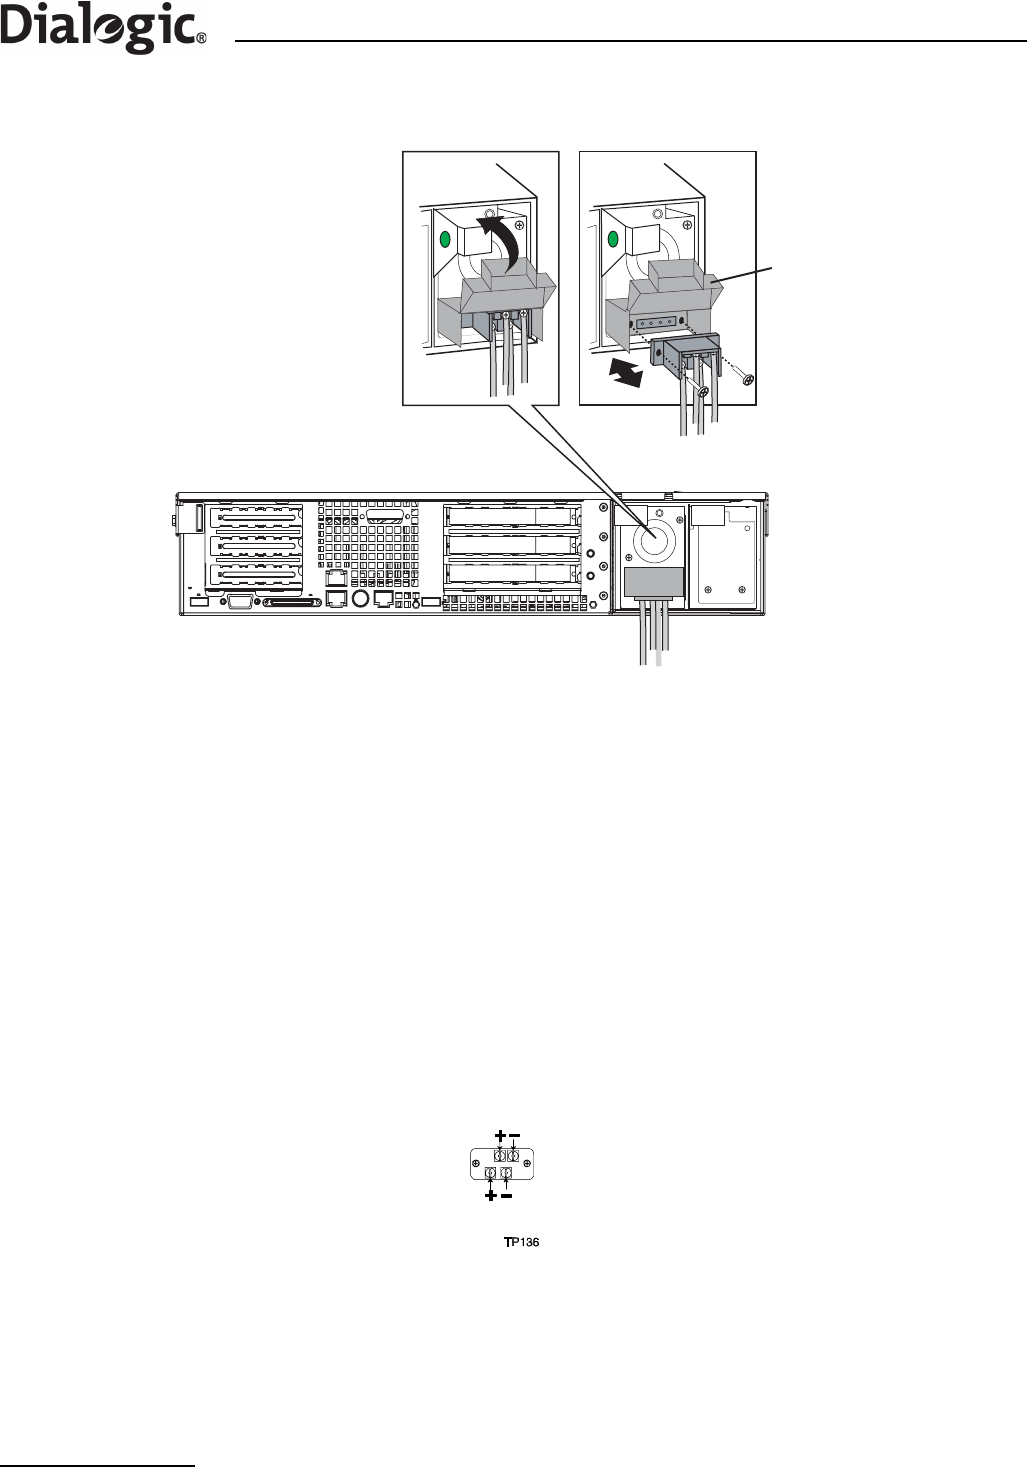
Figure 13. DC Power Supply Module Terminal Block
The product is supplied with an insulating cover over the terminal block. To gain access to the terminals,
apply gentle pressure to flip up the cover, while using a small flat blade screwdriver to unlatch each side in
turn. When the wiring is complete the cover must be flipped down, and securely latched at both sides. All
wiring terminals connected to the DC power input terminal block must be insulated, with no accessible bare
metal when the cover is closed.
When installing a second Power Supply Module to provide the redundant/hot-swap facility, each module
needs to be independently connected to a separately-fused DC source.
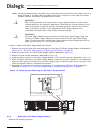
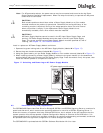
Each DC power input terminal block has two positive and two negative terminals as shown in Figure 14.
Normally, only one pair (+ and -) on each module need to be connected to the external DC source, but if you
require to operate on dual-redundant external DC sources, then both pairs shall be connected to separately-
fused external DC sources. Note however that the two pairs are directly connected together within the
module, and so the type of external source has to be chosen accordingly. Although the terminals are directly
connected, they must not be used to connect onward the DC source to another example of this, or any other,
product (this could result in exceeding the current rating of wiring, fuses, terminal block or internal
connections, and also the onward connection would be disrupted during hot-swap of a PSU module).
Figure 14. DC Power Input Connector
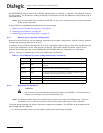
The terminal block accepts standard terminal lugs that accept 14 AWG wire gauge, for example, Network™
stock # 81N1501 type CRS-TO-1406-HT. The width (labeled ‘W’ in Figure 15) of the lug can be no larger than
0.25 inches.
D
DC Power Supply Module
Terminal Block Connections
Insulating
Cover


