


20
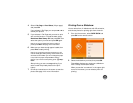
7 Press OK to preview your layout. Note the large
number, which tells you how many sheets of
paper are required.
8 If you want to adjust any settings, press Menu.
See page 22 for more information.
9 Press OK or Print to start printing.
Custom Sizing and Cropping
You can set custom sizes and crop your photos.
Depending on the size of the photo(s), multiple copies
may fit on one page. Cropping affects only your
printed photo, not your original image.
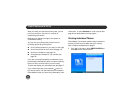
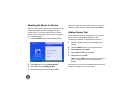
1 From the Home menu, select LAYOUT and press
OK on the remote control.
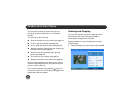
2 Select Crop/Trim Photo(s) and press OK. You see
your photos displayed by date.
Note: If you want to see your photos one at a time press
the
Display button. Continue pressing the button to
switch between 20 photos, one photo, and display by
month.
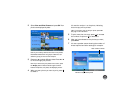
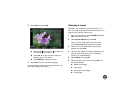
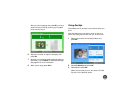
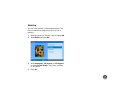
3 Select the photo you want to print and press OK.
You see a screen that allows you to adjust the
printed size of your photo. The size you select
determines the number of copies that will fit on a
page—from one to 12 copies.
4 Select the width and height dimensions, then
select Finished and press OK.
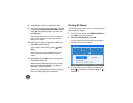
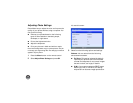
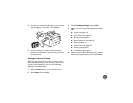
5 Set the area you want to print, then press OK.
● Press press to zoom in or to zoom out.
● Press l, r, u, or d to move the view to a
different part of your photo.
● Press Display to rotate your photo.
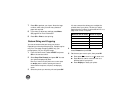
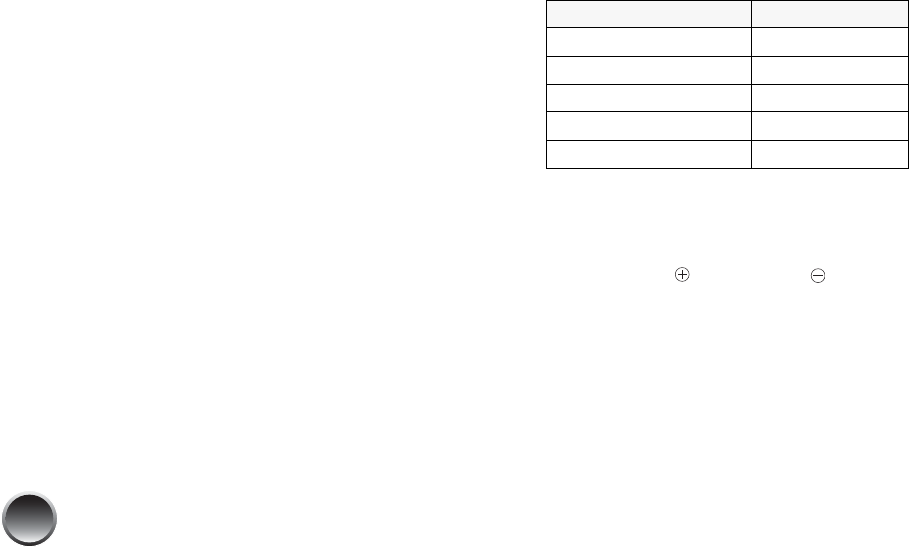
Maximum size in inches Number of copies
1.2 × 1.4 12
1.8 × 1.4 8
1.8 × 1.8 6
1.8 × 2.8 4
3.7 × 2.8 2