WordStar 6.0
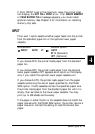
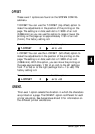
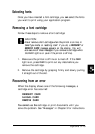
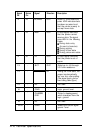
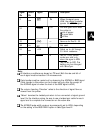
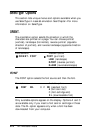
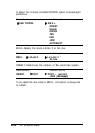
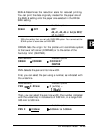
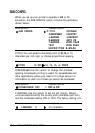
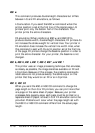
1. Type ^P!.
2. WordStar prompts you
for the characters
to the printer. Type the
command.
you want
to
send
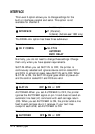
3.
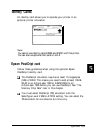
The program prompts you for the characters you want to
display on the screen. Type a descriptive name for your
command.
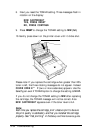
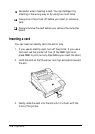
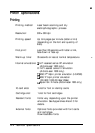
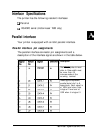
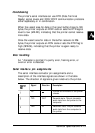
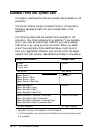
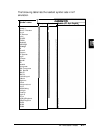
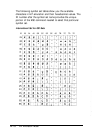
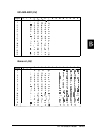
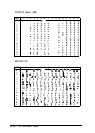
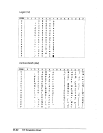
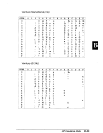
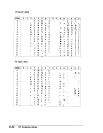
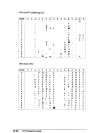
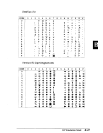
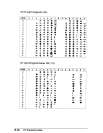
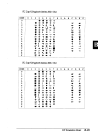
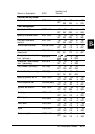
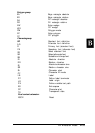
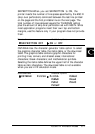
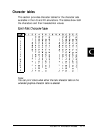
Printing foreign of other characters
The printer is capable of printing many characters other than
those shown on your keyboard. Most software packages have a
method to let you enter a number corresponding to the
character you want to print so that you can print that character.
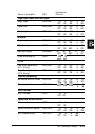
You can find the number you need to enter by looking at the
symbol set tables in this manual. (See Available Fonts and
Symbol Sets in Appendix B.) Many software packages expect
you to type a decimal number corresponding to the character.
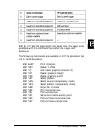
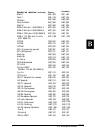
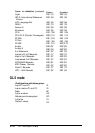
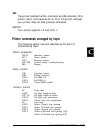
There is a hexadecimal to decimal conversion listing in “Printer
command arranged by topic” in Appendix B of this manual.
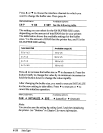
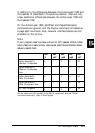
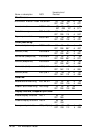
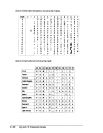
Note that the same numeric code prints different characters
depending on the symbol set the printer is currently using. For
example, the yen sign corresponds to decimal 188 (hexadecimal
BC) in the Roman-8 symbol set. In the IBM-US character set, the
yen sign is decimal 157 (hexadecimal 9D).
Controlling Your Printer
1-15