4.
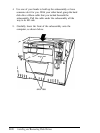
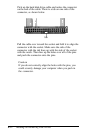
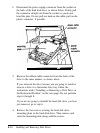
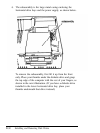
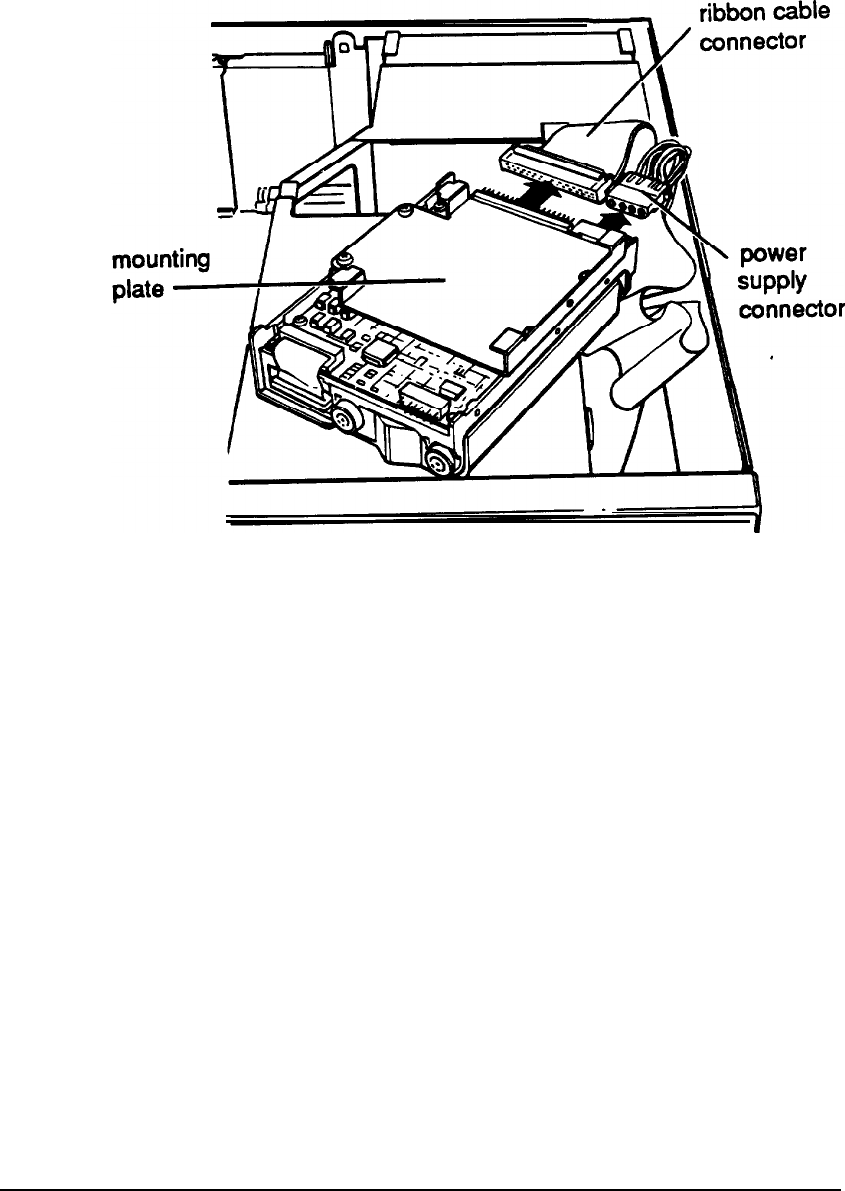
Disconnect the power supply connector from the socket on
the back of the hard disk drive, as shown below. Firmly pull
the connector straight out from the socket so you do not
bend the pins. Do not pull too hard on the cable; pull on the
plastic connector, if possible.
5.
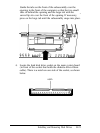
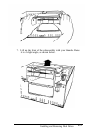
Remove the ribbon cable connector from the back of the
drive in the same manner, as shown above.
If you removed the drive because you are going to install or
remove a drive in a horizontal drive bay, follow the
instructions under “Installing or Removing a Disk Drive in
the Horizontal Position” on the next page. Do not perform
steps 6 through 8.
If you are not going to reinstall the hard disk drive you have
just removed, go to step 6.
6.
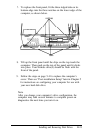
Remove the four screws securing the hard disk drive
mounting plate to the hard disk drive. Then remove and
store the mounting plate along with the screws.
B-26
Installing and Removing Disk Drives


