21
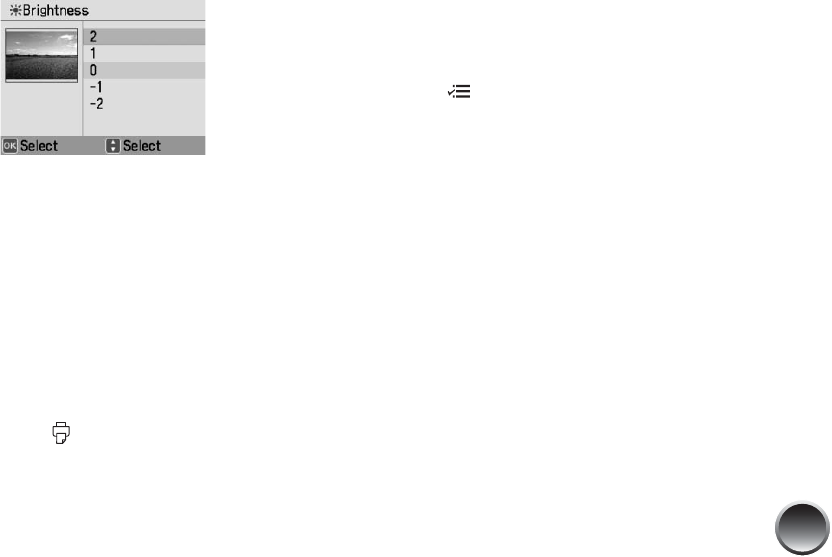
4 Press u or d to highlight Brightness, Saturation,
or Sharpness, then press OK. You see your photo
next to the menu:
5 Press u or d to increase or decrease the setting.
You can see the changes on your photo.
6 When the photo looks good, press OK.
7 At the next screen, select whether to apply the
setting to the current photo or all photos, then
press OK.
8 Repeat steps 2 through 7 to make other
adjustments to the same photo, if necessary. Or
repeat steps 1 through 7 to fix more photos.
When you press Print, you see the color
correction icon on the screen to remind you about
the setting.
Adding a Date Stamp
You can add the date your photos were originally
taken to the bottom right corner of each photo.
Note: The date comes from your camera, not from the printer.
If this information is incorrect, adjust the date setting on your
camera. This setting is not available for all layouts.
1 Press Menu.
2 Press u or d to highlight Print Settings, then
press OK.
3 Press u or d to highlight Date Stamp, then
press OK.
4 Highlight On, then press OK.
The photos in your current print job are automatically
date-stamped. You see the date stamp icon on the
preview to remind you about the setting.
Adjusting Borderless Expansion
When you print borderless pictures, your images are
automatically expanded and cropped.
If your pictures are cut off around the edges, you can
adjust the amount of expansion and cropping.


