4
Supported Photo Formats
Make sure your photos meet these requirements for
printing with your PictureMate (without a computer):
● JPEG files or uncompressed TIFF files only
● Resolutions ranging from 80 × 80 to
9200 × 9200 pixels
PictureMate recognizes and prints the first 999 photos
on your memory card.
Where to Find Information
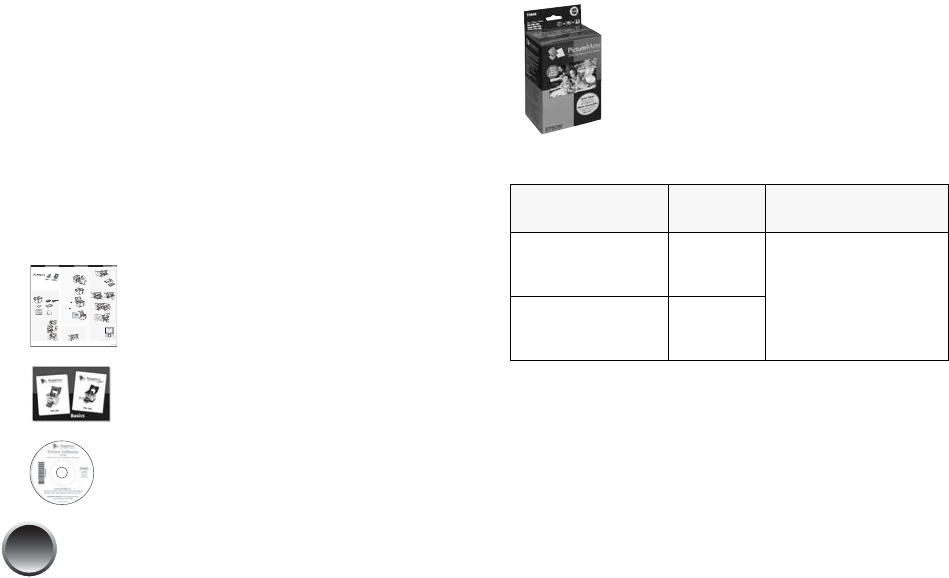
Your manuals cover both PictureMate Dash and Zoom.
See your Start Here sheet to unpack,
set up, and use your PictureMate.
Basics (this book) explains how to print
photos directly from your memory card,
from your computer, and from other
devices, replace the Print Pack, and
solve problems.
The on-screen User’s Guide installed
from the CD has detailed instructions
for using PictureMate.
Where to Get a Print Pack and
Accessories
The PictureMate 200 Series Print Pack
has everything you need to print in one
box: photo paper and a photo cartridge.
You can buy a Print Pack wherever
PictureMate is sold or from retailers that
sell printer supplies.
The following Print Packs are available:
You can also buy a Print Pack and other PictureMate
accessories from an Epson authorized reseller. To find
the nearest reseller, call 800-GO-EPSON
(800-463-7766). Or you can purchase online at
www.epsonstore.com (U.S. sales) or www.epson.ca
(Canadian sales).
2
PlugInandTurnOn
1
Connectthepoweradaptertothebackof
PictureMate.
2
Connectthepower
cableto the power
adapter.
3
Plugtheotherend
ofthe power cable
intoa power outlet.
4
Flipthehandletotheback.
5
Openthepapersupport.
6
Pressthe On button to turn on PictureMate.
Aftera moment, you see
thison the photo
viewerscreen:
Nowyoucaninstallyour initialphotocartridge.
3
Install the Initial
Photo Cartridge
1
TurnPictureMatearoundandopenthecartridgedoor.
2
SlidethecartridgeleverlefttotheRelease position.
3
Removetheinitialphotocartridge
fromits package.
Caution:
Donotinstalla
differentPictureMate
cartridgeforinitialsetup.
Installonlytheinitialphotocartridge
thatcamewithyourPictureMate.
4
Slidethecartridgestraightintotheslot,labelsideup,
untilit clicks into place. It will not go inalltheway.
5
Slidetheleverallthewayright,totheLock position.
6
Closethecartridgedoor.
PictureMatecharges the print head for
3to 4 minutes and displays the screen above.
7
Whenyouseethe
Chargingcomplete
messageon the photo
viewerscreen, press OK.
Turn over
*411058000*
*411058000*
Start Here
Followthese steps to set up yourPictureMateDash
orZoom and print –no computer required!
Note:
PictureMateDashisshownthroughout,butthestepsarethe
sameforPictureMateZoom.Toprintfromyourcomputer,seethe
BasicsbookandyourCDaftercompletingthesesteps.
1
Unpack
PictureMate
®
comeswith all these items in the box.
1
Removeallthetapeandpackingmaterialfromthe
outsideof PictureMate.
2
Openthecartridgedoor
onthe back of
PictureMate.
3
Removethepacking
materialfrom inside the
cartridgeslot.
4
Closethecartridgedoor.
PictureMate
InitialPictureMate
photocartridge
PictureMate
photopaper
Basicsbook PrinterSoftwareCD
PoweradapterPower cable
Presshere
®
PictureMate Dash
TM
(PM 260)
PictureMate Zoom
TM
(PM 290)
I/ On
button
Print Pack
contents
Part
number
Supported
PictureMate models
Glossy photo paper
(150 sheets) and
photo cartridge
T5846 All PictureMate 200
Series models
Matte photo paper
(100 sheets) and
photo cartridge
T5845-M
