


Operation, cont’d
Integration Scaling Matrix Switcher • Operation3-4
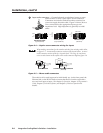
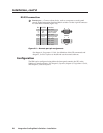
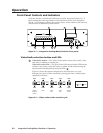
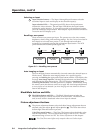
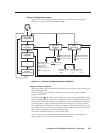
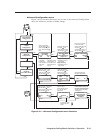
Selecting an input
4
Input selection buttons — The Input 1 through Input 8 buttons select the
associated input to scale and display on the selected output(s).
Input selection LEDs — The green input LEDs above the input buttons
indicate the video selection. The red input LEDs below the input buttons
indicate the audio selection. To view the input tied to the unselected output,
press the unselected output button. Both outputs’ input selections can also be
viewed in the LCD display cycle.
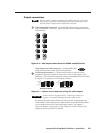
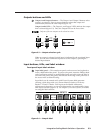
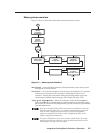
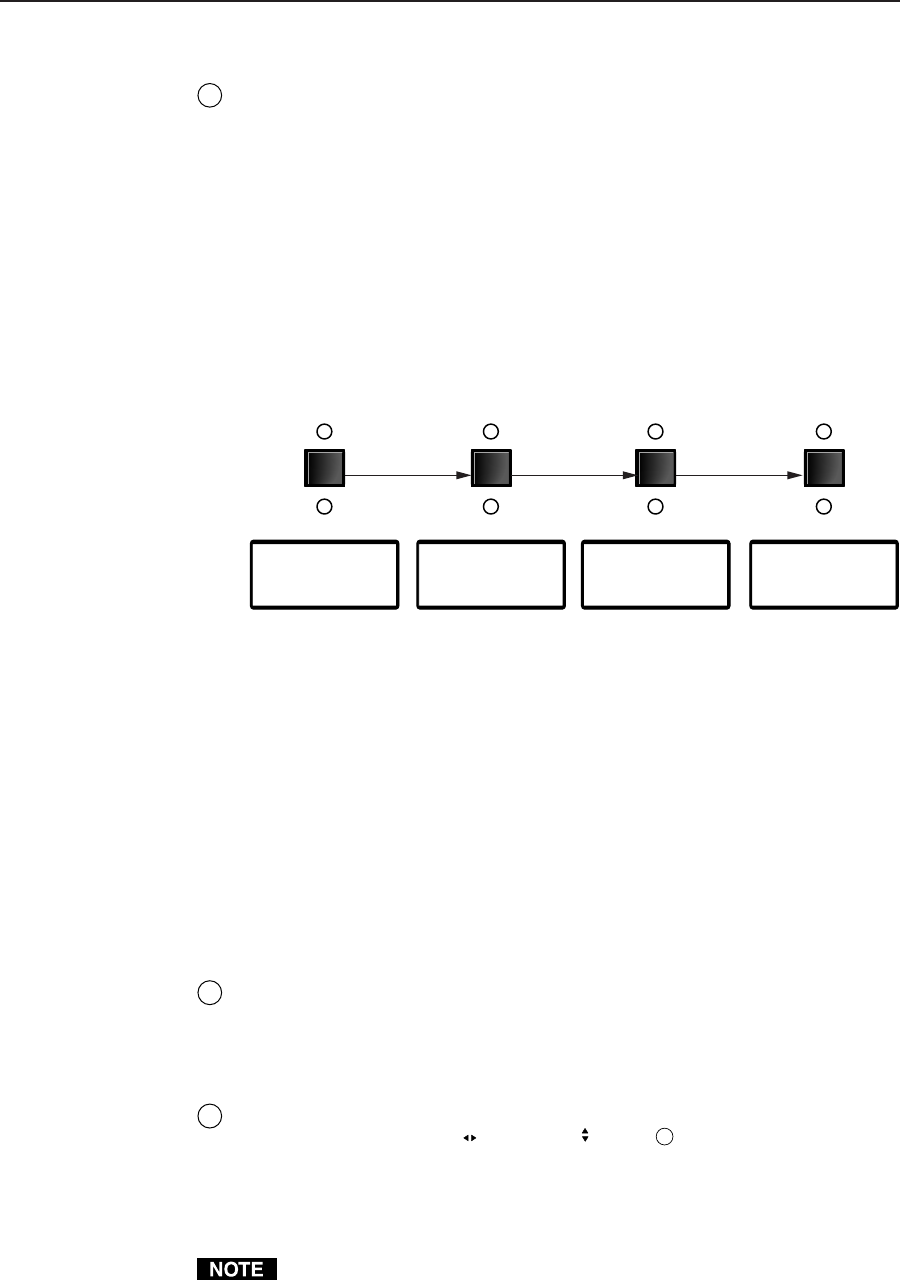
Recalling a user preset
There are three user presets per input. The presets save color, tint, contrast,
brightness, detail, sizing, and centering settings. See User Presets menu later in
this chapter to save and erase presets. Cycle through and recall these
memories by repeatedly pressing the appropriate input button. The LCD
panel identifies the recalled preset (figure 3-5).
3
User Preset #2
Recalled
3
User Preset #2
Recalled
33
User Preset #3
Recalled
User Preset #1
Recalled
Press button Press buttonPress button
Figure 3-5 — Recalling user presets
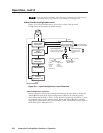
Auto imaging an input
The auto imaging feature automatically sizes and centers the selected input to
fill the screen. Initiate the auto imaging feature for a specific input by
pressing and holding the appropriate input button until the LCD displays the
message Auto Image Input #n, releasing the input button, and then pressing
and releasing the input button again. The LCD displays AutoSizing and
Centering Please Wait... until the operation is complete. Alternatively, using
the menu system, this feature can be set to apply the Auto Image adjustments
to every input as it is selected (see Auto Imaging and Auto Memories submenu
later in this chapter).
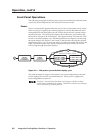
Black/Mute button and LEDs
5
Black/Mute button and LEDs — The Black/Mute button switches the
selected output(s) to a black screen and/or muted audio. The black screen
and/or mute audio is deselected when a new input is selected.
Picture adjustment buttons
6
The picture adjustment buttons select individual image adjustments that are
adjusted using the Adjust
and Adjust knobs (
9
). The LEDs above these
buttons light when the button is pressed.
Color/Tint control button — The Color/Tint button selects the display color
and tint adjustments. The color adjustment range is from 0 to 127. The tint
adjustment range is from 0 to 255. See Picture adjustments in this chapter.
The Color/Tint control affects only composite video and S-video inputs.