


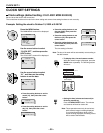


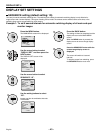
CLOCK SET SETTINGS
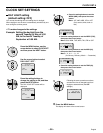
Use the cursor button to select
TIMER-A “T-1 :00” (minutes), and
then use the setting buttons to set
the minutes to “00”.
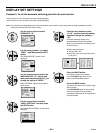
Use the cursor button to select
TIMER-A “T-2 00:” (hours), and then
use the setting buttons to set the
hours to “6”.
Use the cursor button to select
TIMER-A “T-2 00” (minutes), and
then use the setting buttons to set
the minutes to “30”.
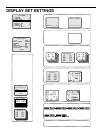
Repeat steps 4 and 5 to set the
hours and minutes for T-3 and T-4
also.
Use the same procedure to set the
hours and minutes for T-1, T-2, T-3
and T-4.
Note:
•
Initial settings T-1 to T-4 are “00:00”
In this case, the timer will operate at all times set by T-1.
•
The time divisions of the timer settings (T-1 to T-4) are
continuous settings in one cycle from start time to end time.
For instance, in the case of T-1 (4:00) and T-2 (6:30), the
domain of timer T-1 is from 4 a.m. until 6:30 a.m.
•
If two more timers are set to the same starting time, the
timers will operate together for the same period of time.
•
When setting the timers, a setting cannot be entered if, for
instance, T-3 as been set to earlier than T-1. If this happens,
re-enter the correct settings.
+–
5
(TIMER SET)
TIMER-A TIMER-B
T-1 04:00 T-1 00:00
T-2 00:00 T-2 00:00
T-3 00:00 T-3 00:00
T-4 00:00 T-4 00:00
+–
6
(TIMER SET)
TIMER-A TIMER-B
T-1 04:00 T-1 00:00
T-2 06:00 T-2 00:00
T-3 00:00 T-3 00:00
T-4 00:00 T-4 00:00
+–
7
(TIMER SET)
TIMER-A TIMER-B
T-1 04:00 T-1 00:00
T-2 06:30 T-2 00:00
T-3 00:00 T-3 00:00
T-4 00:00 T-4 00:00
+–
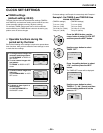
8
(TIMER SET)
TIMER-A TIMER-B
T-1 04:00 T-1 06:00
T-2 06:30 T-2 08:00
T-3 12:30 T-3 14:30
T-4 18:00 T-4 20:00
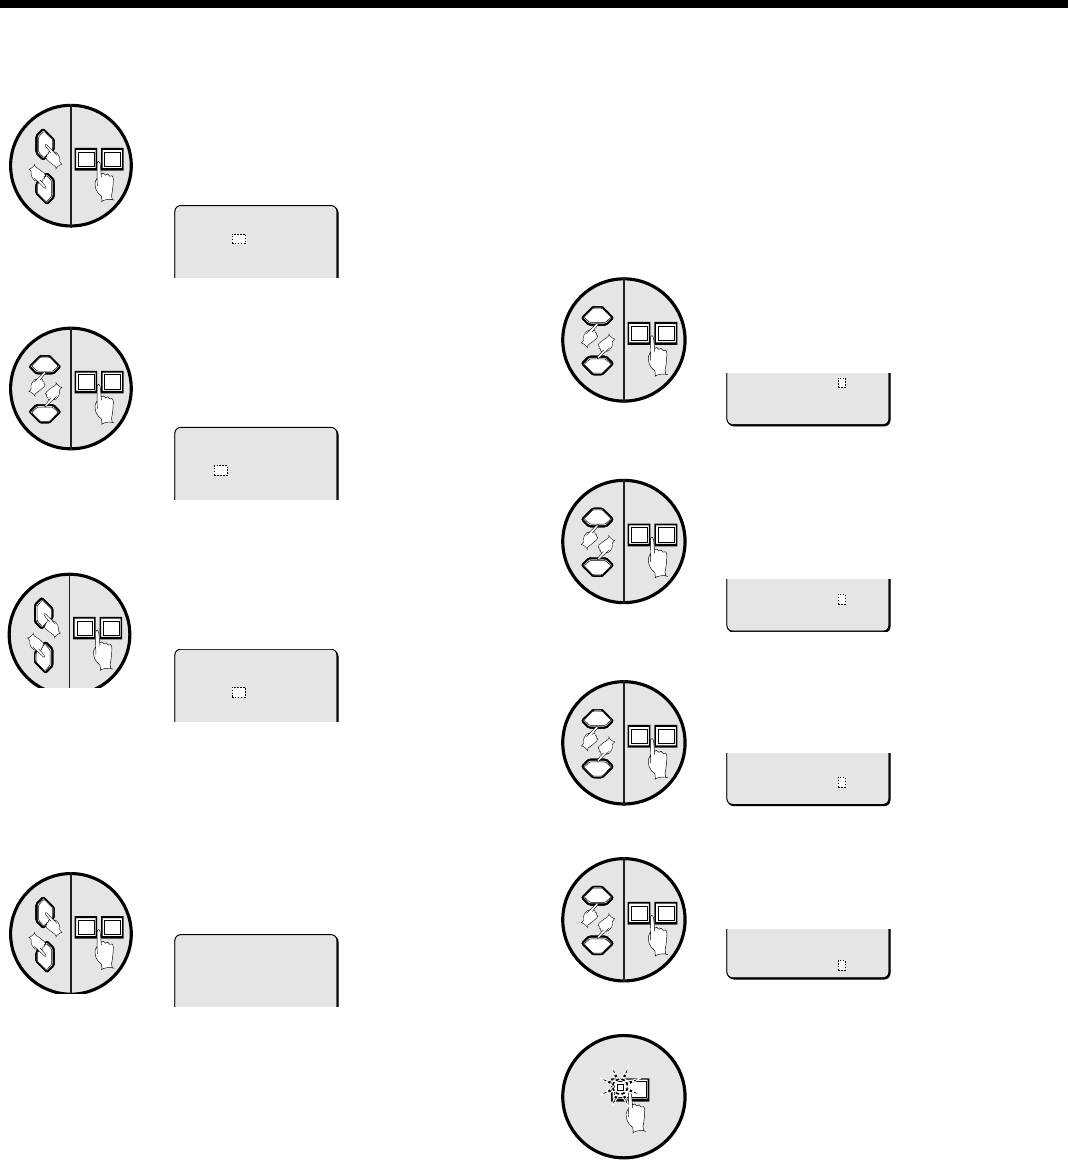
Example2: Set the timer operation as follows
☞To set TIMER-A time zones to automatic switching
screen and monitor mask.
☞To set TIMER-B timer zones to program recording and
motion sensor.
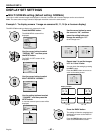
Use the cursor button to select
SEQUENCE “A”, and then use the
setting buttons to set “A”. (TIMER-A
setting)
Use the cursor button to select
PROGRAM REC “A”, and then use
the setting buttons to set “B”.
(TIMER-B setting)
Use the cursor button to select
MASK “A”, and then use the setting
buttons to set “A”.
Use the cursor button to select
MOTION SENSOR “A”, and then
use the setting buttons to set “B”.
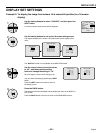
Press the BACK button.
The setting will then be completed and the
display will return to the CLOCK SET
screen.
Press the BACK button once more to
return to the MAIN MENU screen.
CLOCK SET-3
+–
1
SEQUENCE A
PROGRAM REC A
MASK A
MOTION SENSOR A
+–
2
SEQUENCE A
PROGRAM REC B
MASK A
MOTION SENSOR A
+–
3
SEQUENCE A
PROGRAM REC B
MASK A
MOTION SENSOR A
+–
4
SEQUENCE A
PROGRAM REC B
MASK A
MOTION SENSOR A
BACK
5
CLOCK SET-3
English
– 37 –