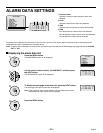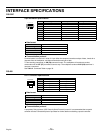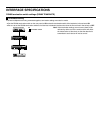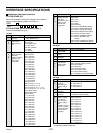
CAMERA CONTROL setting
This describes the settings and methods of operation when
connecting a dome-type camera for which the power and signal
can be controlled through a coaxial cable to the camera video
input connector.
The two methods of operation are: direct control using the
control buttons on this unit and operation from the system
controller (using the RS-485 connector).
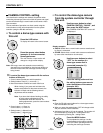
☞To control a dome-type camera with
this unit
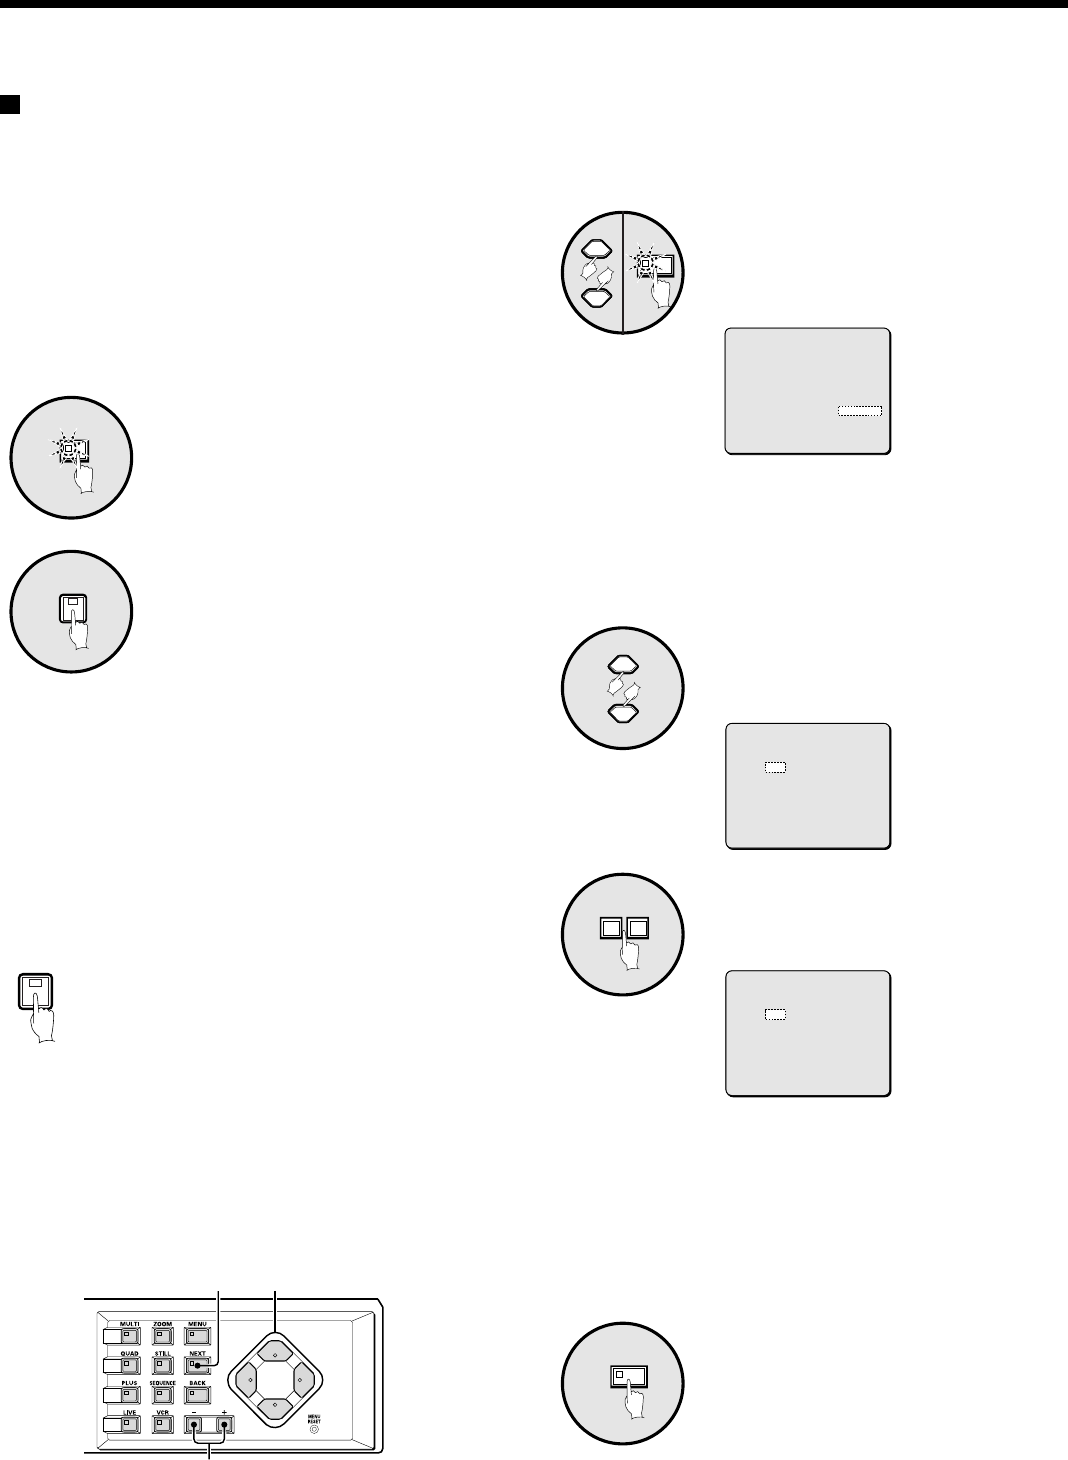
Press the LIVE button.
To display will return to the normal screen.
Press the camera select button
(example: 2) for the connected
dome-type camera.
The main monitor or spot monitor will
change to a single-screen display.
Note: Still image, zoom and automatic screen switching
operations are not available for signal-screen display on
the main monitor while the dome-type camera image is
being viewed.
LIVE
1
2
2
3
To control the dome-type camera with the various
buttons of this unit
1 Cursor buttons: Enable pan and tilt operations
2 Setting buttons: Zoom in (+), zoom out (–)
3 Next screen button: Enables one-touch auto focus
While viewing, if you press and hold down the
camera select button for about two seconds, the
indicator will flash and the following camera
adjustments will be enabled.
Note: If you leave the indicator flashing, the ability
to make camera adjustments will be
canceled after about ten seconds. For
making adjustments, press the camera select
button once more.
4 Cursor button (→): Open iris
Cursor button (←): Close iris
5 Setting button (+): Manual focus
Setting button (–): Manual focus
2
1 4
3
2 5
☞To control the dome-type camera
from the system controller through
this unit.
Use the cursor button to select
CAMERA CONTROL “SANYO”, and
then press the NEXT button.
The CAMERA CONTROL SET screen will
be displayed.
Display examples:
• SANYO: Select when a coaxial cable camera manufactured
by Sanyo is connected.
• OTHER: Select when a coaxial cable camera manufactured
by some other manufacturer is connected.
Use the cursor buttons to select
“OFF” for the number of a
dome-type camera that is
connected (example: 01).
Press the setting button and use
the setting buttons once more to
enter the address of the camera
(example: 001).
Note:
•
Enter the RS-485 control address for a dome-type camera
that is connected to this unit.
•
When you press the setting button, OFF will change to 000
and you can then enter the address.
•
Addresses from 000 to 127 can be entered. The number will
be incremented by pressing the + setting button and
decremented by pressing the – setting button.
Press the MENU button.
This completes the settings. Use the
control buttons in the system controller
“MULTIPLEXER” operating domain for
controlling the dome-type cameras.
CONTROL SET-1
NEXT
1
(CONTROL SET)
DATA SPEED 19200
ALARM SEND OFF
RS232C/RS485 RS232C
CAMERA CONTROL SANYO *
(*:NEXT)
2
(CAMERA CONTROL SET)
IN IN
01:OFF 09:OFF
02:OFF 10:OFF
03:OFF 11:OFF
04:OFF 12:OFF
05:OFF 13:OFF
06:OFF 14:OFF
07:OFF 15:OFF
08:OFF 16:OFF
+–
3
(CAMERA CONTROL SET)
IN IN
01:001 09:OFF
02:OFF 10:OFF
03:OFF 11:OFF
04:OFF 12:OFF
05:OFF 13:OFF
06:OFF 14:OFF
07:OFF 15:OFF
08:OFF 16:OFF
MENU
4
CONTROL SET-1
English
– 73 –


