26
3.4 Scanning Documents
This section describes how to scan documents loaded on the ADF paper chute.
Operation
1. Press the buttons as follows depending on the type of document you are scanning.
■ When scanning two sides of the document
Press the ( Duplex button).
■ When scanning one side of the document
Press the ( Simplex button).
⇒ This starts scanning.
During scanning, the LED on ScanSnap! blinks.
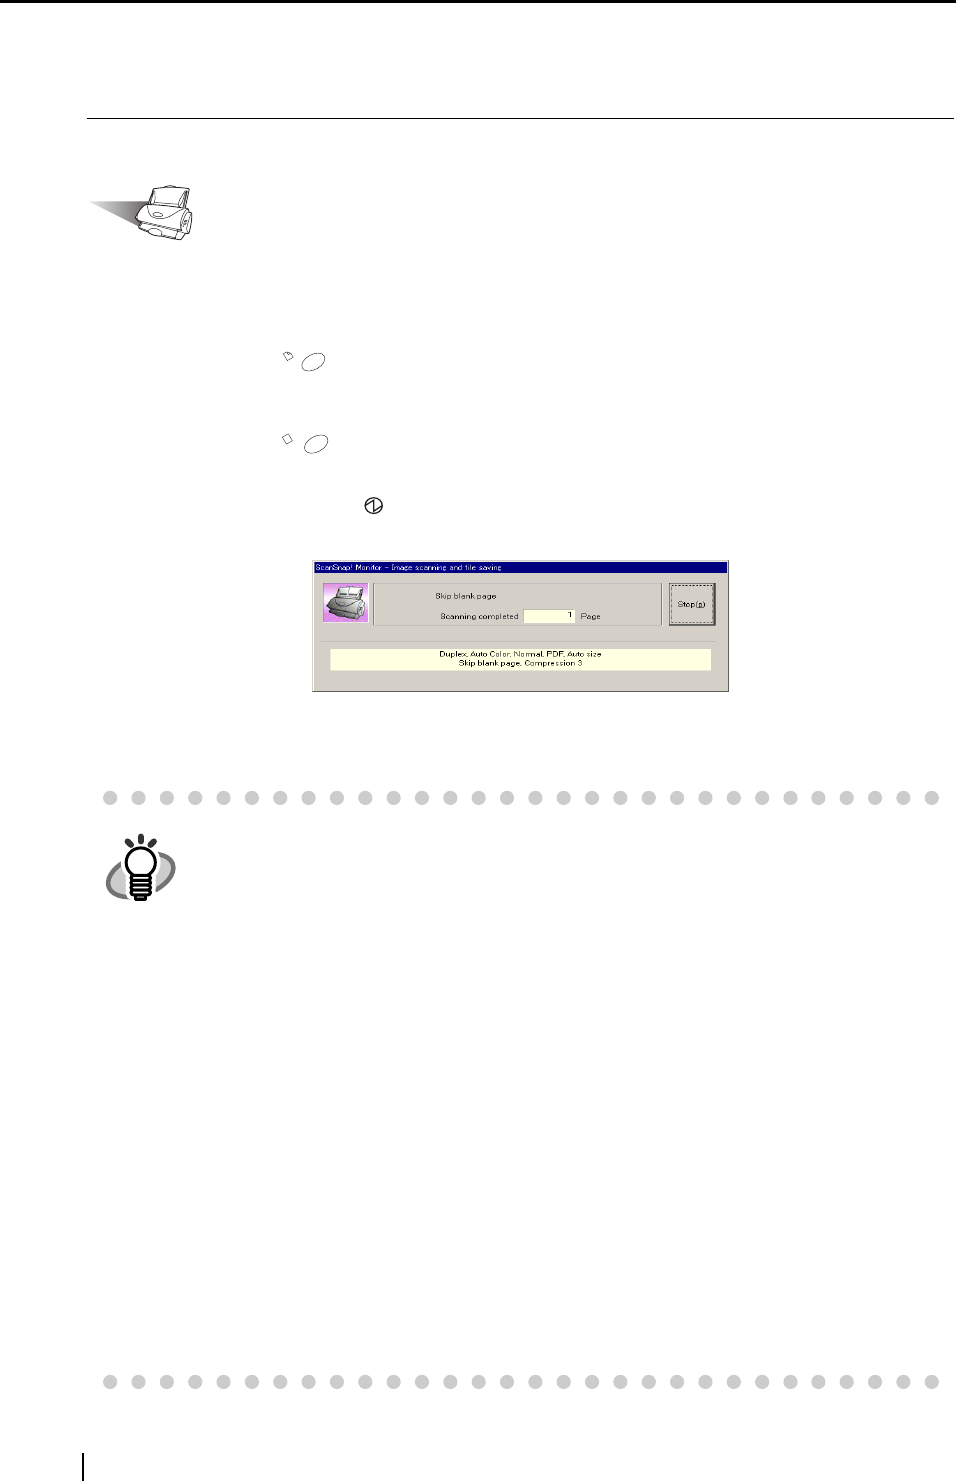
The "Image scanning and file saving" screen also is displayed on your computer.
⇒ When scanning ends, the specified application (Adobe
®
Acrobat
®
, etc.) is started up, and
the scanned image is displayed.
HINT
• Before scanning documents containing printed or handwritten text, mark the
"Allow automatic noise reduction" checkbox under [Option...] on the [Scan-
ning] tab in the "Scan and Save Settings" dialog box. For details, refer to "3.5
Changing Scan Settings" (page. 28).
• The application that is automatically started up after scanning ends differs
according to the setting on the [Application] tab in the "Scan and Save Set-
tings" dialog box. For details, refer to "3.5 Changing Scan Settings" (page. 28).
• Scanned documents can also be saved in image (JPEG) format. In this case,
change the document scan settings before scanning the document. For details
on changing document scan settings, refer to "3.5 Changing Scan Settings"
(page. 28). The following document scan settings can be changed:
• Application linked to ScanSnap!
• Folder to save scanned images to
• Name of file to save scanned images to
• Format of file for scanned image
• Document scan size
• Scan mode (draft, high quality, reduce noise of back side image, auto-
matically remove blank pages)
• Size of file for scanned image
• The compression ratio of scanned images vary slightly.
Duplex
Simplex
