


www.gateway.com
73
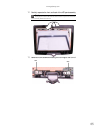
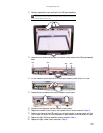
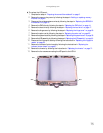
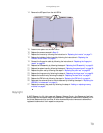
12 Carefully separate the front and back of the LCD panel assembly.
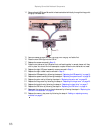
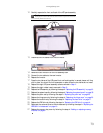
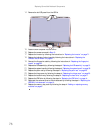
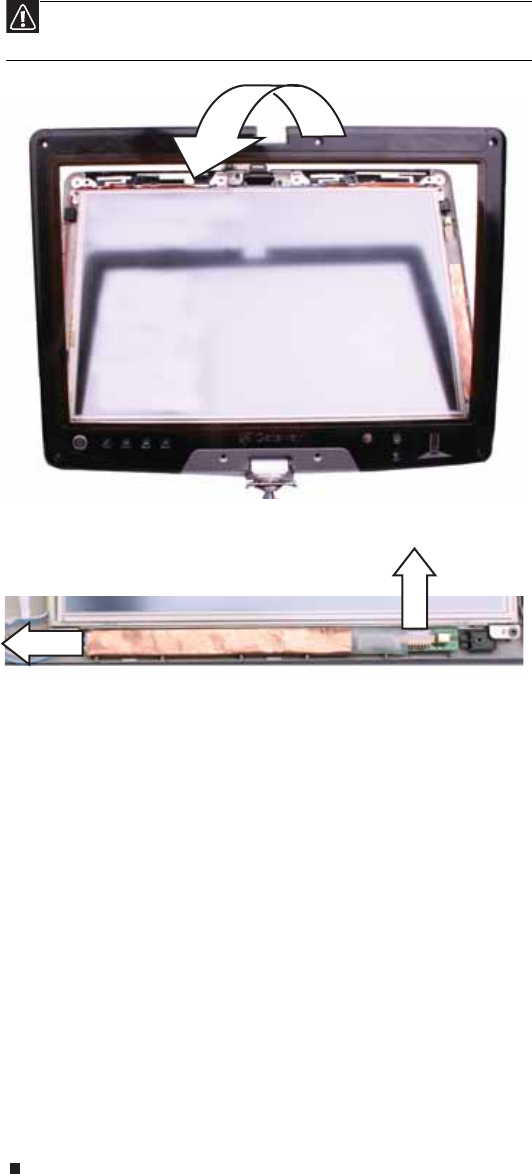
13 Disconnect the two cables from the old inverter.
14 Remove the old inverter from the LCD assembly back.
15 Connect the two cables to the new inverter.
16 Replace the inverter.
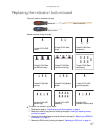
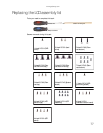
17 Press the two halves of the LCD panel front and back together in several places until they
click in place. You should find no loose spots or spots where the two halves do not meet.
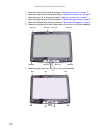
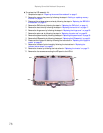
18 Replace the eight LCD panel assembly screws removed in Step 11.
19 Replace the eight rubber inserts removed in Step 10.
20 Replace the LCD assembly by following the steps in “Replacing the LCD assembly” on page 51.
21 Replace the system board by following the steps in “Replacing the system board” on page 35.
22 Replace the palm rest by following the steps in “Replacing the palm rest” on page 25.
23 Replace the hinge cover by following the steps in “Replacing the hinge cover” on page 23.
24 Replace the hard drive by following the steps in “Replacing the hard drive” on page 17.
25 Replace the DVD drive by following the steps in “Replacing the DVD drive” on page 14.
26 Reconnect the antenna wires to the wireless card by following the steps in “Replacing the
IEEE 802.11 wireless card” on page 10.
27 Replace the memory bay cover by following the steps in “Adding or replacing memory
modules” on page 6.
Caution
The fingerprint reader cable connects the two halves. Lay the front of the LCD
panel assembly beside the back half.