CHAPTER5: Upgrading Your Computer
68
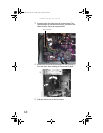
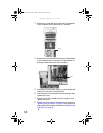
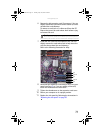
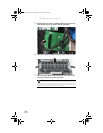
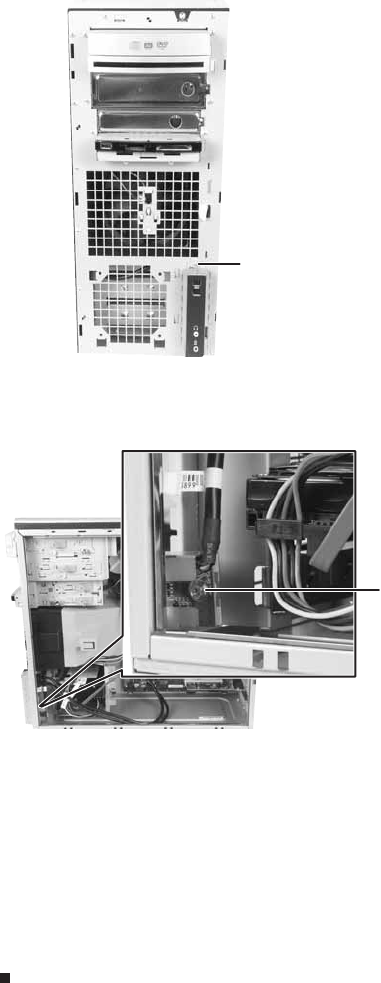
3 Remove the screw that secures the front I/O assembly
to the computer, then remove the I/O assembly.
4 Remove the screw that secures the front I/O panel board
to the computer, then remove the I/O panel board by
pushing it toward the back of the computer.
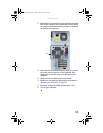
5 Disconnect the cable from the old I/O panel board and
connect it to the new I/O panel board.
6 Insert the new I/O panel board into the computer, then
replace the screw.
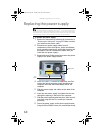
7 Place the front I/O assembly onto the computer, then
replace the screw.
8 Replace the front bezel by following the instructions in
“Replacing the front bezel” on page 50, then replace the
side panel by following the instructions in “Replacing the
side panel” on page 50.
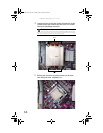
Screw
Screw
8513162.book Page 68 Tuesday, May 20, 2008 4:09 PM


