


15
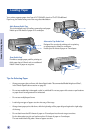
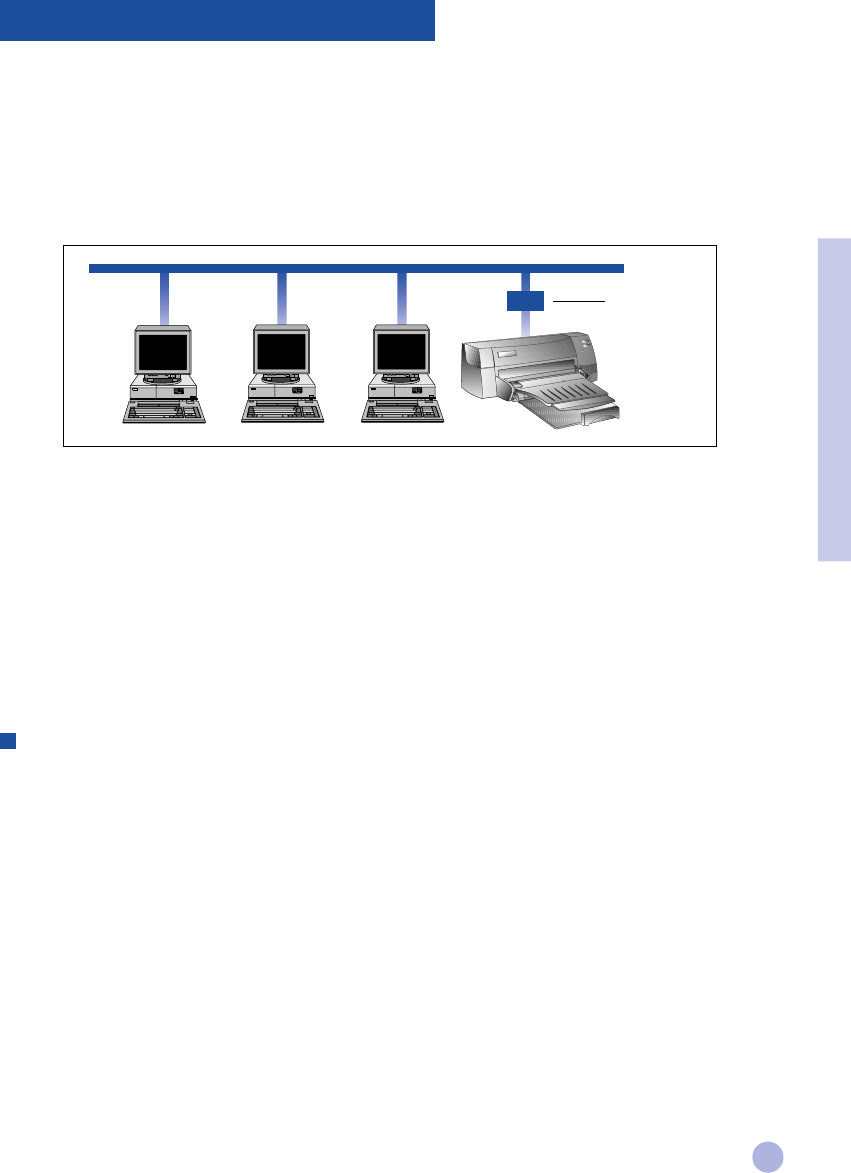
The HP DeskJet 1120C printer can be shared in a network environment by connecting it directly to a network via
an optional HP JetDirect external print server. You may also share your printer using Windows printer sharing
methods. Refer to the topic "Use the printer on a network" on the "How Do I?" tab in the HP DeskJet 1120C
Toolbox.
If you are using JetDirect EX Plus, it is recommended that you upgrade your firmware to E.05.13. Check the
website: http://www.hp.com for upgrade information.
Before you install the printer software:
• Make sure that your computer and print server are configured properly in a network environment. For
information about installation and setup of HP JetDirect print servers, refer to your HP JetDirect Hardware
and Software Installation Guides.
• For Windows for Workgroup 3.11, Print Manager must be enabled. To enable this, double-click the Printers
icon in the Control Panel and choose Use print manager.
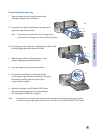
Installing Printer Software in Windows for Workgroup 3.11
At the server:
I. If the server is running Novell Netware 3.12 & 4.11, set up the printer and make the cable connections to
your network.
II. If the server is running Windows NT 4.0 , ensure that your printer port is shared.
1 Set up the printer and make the cable connections to your network.
2 Install the printer software from the Starter CD or Installation Disk 1 (see page 6).
3 Select the HP DeskJet 1120C printer in the Printers folder, right-click the mouse and select
Properties.
4 Go to the Ports tab, select Add Port, and configure the type of Port Monitor you wish to use for this
shared printer, such as HP JetDirect Port.
Be sure to set up this printer so that it is “shared”.
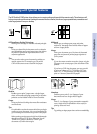
Using Your Printer on a Network
HP JetDirect
external print
server
Section 2 - Printing Basics