


34 Installation Guide
G:\TW\Lori\Raptor\C4388-90100\exraptor1.fm Page 34
Last Modified: Tuesday, January 27, 1998 8:33 pm
Printing date: Saturday, April 04, 1998
Removing a Tape
1. Wait until the light on the front of your tape drive quits blinking. (DO NOT remove a
tape during an operation. See the CAUTION note below.)
2. Steady the drive with one hand and grasp the tape cartridge with the other. Pull the
cartridge straight out.
CAUTION: Interfering with a tape during operations may cause data loss, and may
make the tape temporarily unrecordable. If, during a backup, you pull the tape out of
the drive, turn off the power to the computer, or firmly bump the tape, you will not be
able to read the data currently written to the tape. Also, the tape will not be
recordable until it is erased with Colorado Backup’s Erase utility. (Never use a
magnetic bulk eraser to erase your HP Colorado C4425 or C4429 tapes. Bulk
erasers remove reference points on the tape that are vital. Removing these points
makes tapes unusable.)
Caring for Your Tape Drive
You do not need to perform any routine maintenance on the HP Colorado tape drive.
CAUTION: Do NOT clean the read/write head of an HP Colorado tape drive.
CAUTION: Do NOT degauss or demagnetize the read/write head of an HP Colorado
tape drive. Damage to your tape drive will result.
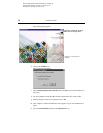
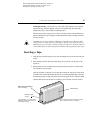
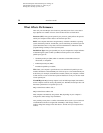
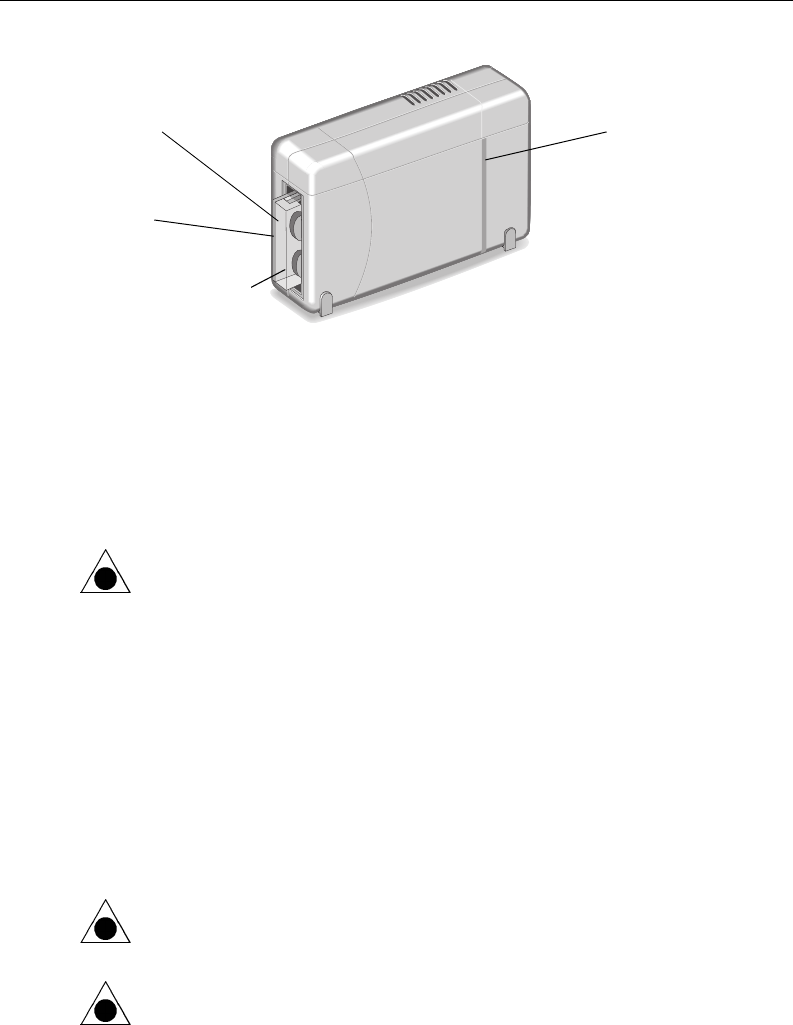
Metal base plate
on tape
Standard mini cartridge
Colored strip
Approximately 0.75” (2cm) of the
cartridge extends out of the drive
when fully inserted.
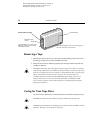
Mini-data cartridges are narrower, leaving gaps on
each side of the tape when inserted.