Select original type — document or picture
You have two choices for original type: Document or Picture. The scanner optimizes
settings based on your choice. Use the following guidelines to determine the best
original type for your needs.
If your original consists of
Select this original type
Text, or both text and graphics Document
A printed photograph or graphic Picture
Scan documents
Use the Scan Document button ( ) to scan text, or text and graphics.
The scanner scans an original document to the document management program
included on CD 2, if installed. If this program is not installed, the scan will be saved to
a file.
Note If you want to preview scans before they are sent to their destination, select
Show Preview in the HP Scanning dialog box. Also see Preview a scanned image in
the onscreen Help.
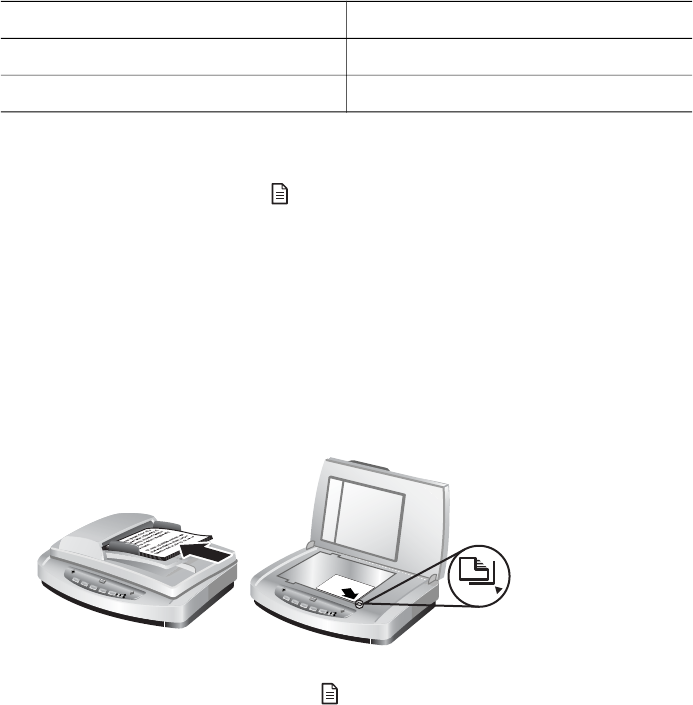
1 Place the originals face down on the scanner glass, as indicated by the reference
mark, or face-up in the ADF.
2
Press the Scan Document button (
). The HP Scanning dialog box appears.
3 Select the settings:
a Scan for editable text? Select Yes if you want to be able to edit the text or
create a searchable PDF file. Select No to scan the document as an image.
b Original contains graphics? Select Yes if you want color or grayscale
graphics to be saved at a high quality. Select No for simple, one-color
graphics or line art, or if you desire a smaller file size.
c If you loaded your document(s) in the ADF, you will also be able to choose
one-sided or two-sided scanning. This option will not show if the document is
on the scanner glass.
4 Click Scan.
5 When you are finished with that page, place the next page on the glass and click
Scan to scan another document or page. When you are finished with all pages,
Chapter 1
6 HP Scanjet 7600 series scanner


