Heat sink
The heat sink is secured by four Torx T15 screws. It does not have an attached fan.
1. Prepare the computer for disassembly (
Preparation for Disassembly on page 143).
2. Remove the computer access panel (
Computer Access Panel on page 150).
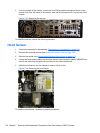
3. Lift the front fan up and place it on top of the optical drive to access the front bezel release tabs.
You do not need to disconnect the fan cable from the system board.
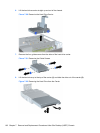
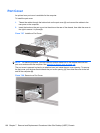
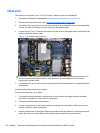
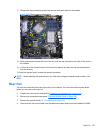
4. Loosen the four Torx T15 screws that secure the heat sink to the system board, and then lift the
heat sink from the system board.
Figure 7-32 Removing the heat sink
CAUTION: Heat sink retaining screws should be removed in diagonally opposite pairs (as in
an X) to even the downward forces on the processor to avoid damage that could require
replacing the system board.
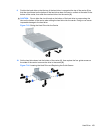
5. Lay the heat sink on its top in a safe area to prevent the thermal grease from contaminating the
work surface.
If reusing the existing heat sink go to step 1.
If using a new heat sink, go to step 3.
1. If reusing the existing heat sink, clean bottom of the heat sink and apply the thermal grease
provided in the spares kit to the top of the processor.
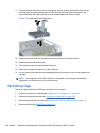
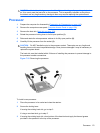
2. Position the heat sink atop the processor.
3. If using a new heat sink, remove the protective covering from the bottom of the heat sink and
place it in position atop the processor.
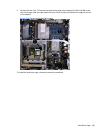
4. Secure the heat sink to the system board and system board tray with the 4 captive screws and
attach the heat sink control cable and the thermal sensor cable to the system board.
170 Chapter 7 Removal and Replacement Procedures Ultra-Slim Desktop (USDT) Chassis


