


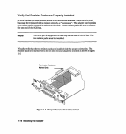
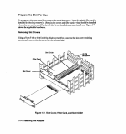

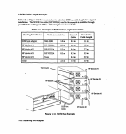

Insert the Card into the Slot
To install the adapter into its slot, proceed as follows:
1.
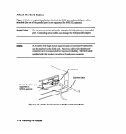
Inspect the %-pin connector at the back of the slot on the backplane. Ensure that
there are no bent pins.
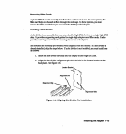
2. With both hands, grasp the card by its edges or faceplate. Do not touch electronic
components or electrical traces.
3. Insert the card into the slot. Be sure the card is properly aligned with the card
guides on the slot divider and cardcage wall.
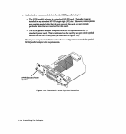
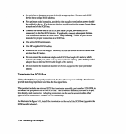
4. Ensure that the extractor levers are flush against the faceplate (in other words, not
protruding out).
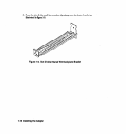
5. Slide the card ail the way into the cardcage until it reaches the backplane
connector. Be sure that card components are not obstructed in any way.
6. Press firmly on the extractor levers (or on the faceplate) until you feel the card
slide fully into place.
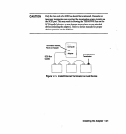
CAUTION
The use of excessive pressure may damage the card and the backplane.
If you feel resistance, check for obstructions, and reverify that the
connector pins are straight. Ensure that the card is correctly engaged in
the card guides. If the problem persists, get help.
7. Once the card is fully seated in its slot, use a screwdriver to engage and tighten the
two retaining screws on the faceplate. These screws secure the card to the
cardcage.
Installing the Adapter 1-17