


650 System Manual (Draft)
Version 0.4 August 20, 2008
31
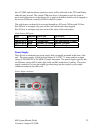
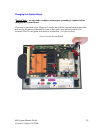
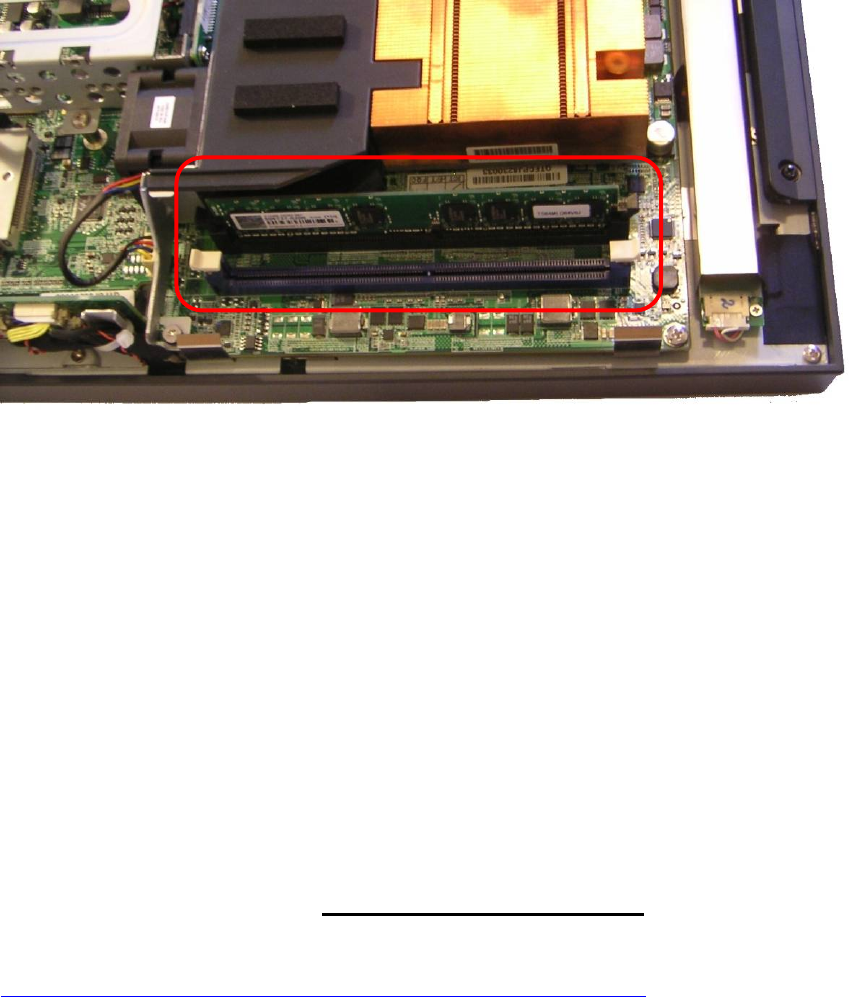
Adding Memory
Note: An anti static workplace with proper grounding is required when adding
memory. Remove the back cover. You can now access the two memory sockets; the
order in which the memory is populated does not matter.
Memory sockets
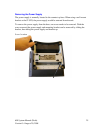
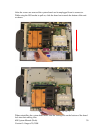
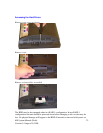
Changing the Processor
To change the processor, first start by working in an anti-static workplace with
proper grounding. Remove the back cover by removing the two screws; now remove
the black plastic fan duct (as shown below).
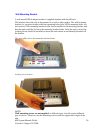
Loosen the four spring-loaded screws that secure the copper heat sink by loosening. Each
screw about two turns at a time so that the pressure is removed from the socket evenly.
Once the screws are free you will now be able to remove the heat sink.
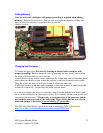
It will stick because of the heat sink compound, so take care to move it gently from side
to side till it comes off. Set the heat sink aside, top side down.
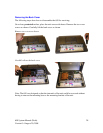
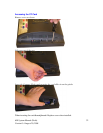
You can now remove the processor from the socket. Push the locking lever down, push
out from the locking tab, and move up as shown. Now carefully lift the cover up and you
can remove the processor. **Be sure only to touch the edges of the processor and do
not touch the processor pads of the socket pins. These socket pins are very easy to
bend and damage to the socket is not covered by J2’s warranty
.
The following Intel site has a good discussion of installing a LGA 775 processor:
http://www.intel.com/cd/channel/reseller/asmo-na/eng/299985.htm