P/N: 900-10004-00 REV 02 USER GUIDE, IOSAFE R4
65
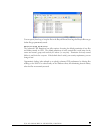
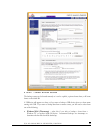
With a remote source, you may need to enter a login and password to access the share. If you are
accessing a password-protected share on a remote ioSafe R4 server configured for Share security
mode, enter the name of the share name for login.
You should click on the
Test Connection
button to make sure you have proper access to the
remote backup source before continuing.
►
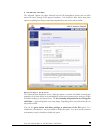
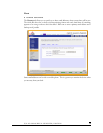
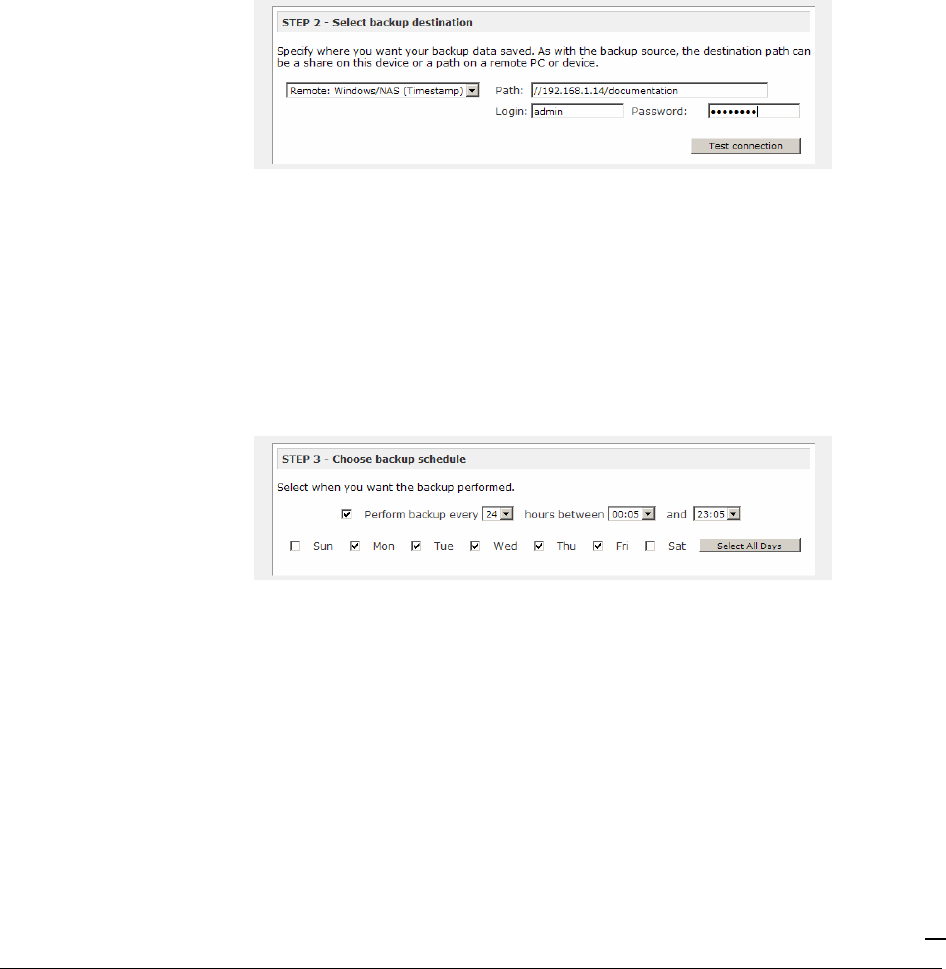
STEP 2 – SELECT BACKUP DESTINATION
The
Step 2
process is almost identical to Step 1 except that you are now specifying the backup
destination. If you had selected a remote backup source, you will need to select a public or a private
home share on the ioSafe R4 (either the source or destination must be local to the ioSafe R4). If you
selected an ioSafe R4 share for the source, you can either enter another local ioSafe R4 share for the
destination, or you can specify a remote backup destination.
The remote backup destination can be a Windows PC/ioSafe R4 system, NFS server, or a Rsync
server. Note that you can select Rsync for a remote ioSafe R4 if it is configured to serve data over
Rsync.
►
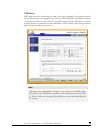
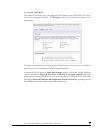
STEP 3 – CHOOSE BACKUP SCHEDULE
You can select a backup schedule as frequently as once every four hours every day to just once a
week. The backup schedule is offset by 5 minutes from the hour to allow you to schedule snapshots
on the hour (snapshots are almost instantaneous) and perform backups on those snapshots.
If you wish, you can elect not to schedule the backup job so that you can invoke it manually instead
by not selecting the
Perform backup every…
check box. You may want to do this if you will be
starting the backup from the Backup Button on ioSafe R4 system.
►
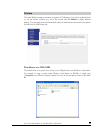
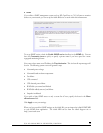
STEP 4 – CHOOSE BACKUP OPTIONS
In this last step, select how you would like backups to be performed.


