Printing
58 www.kodak.com/go/aiosupport
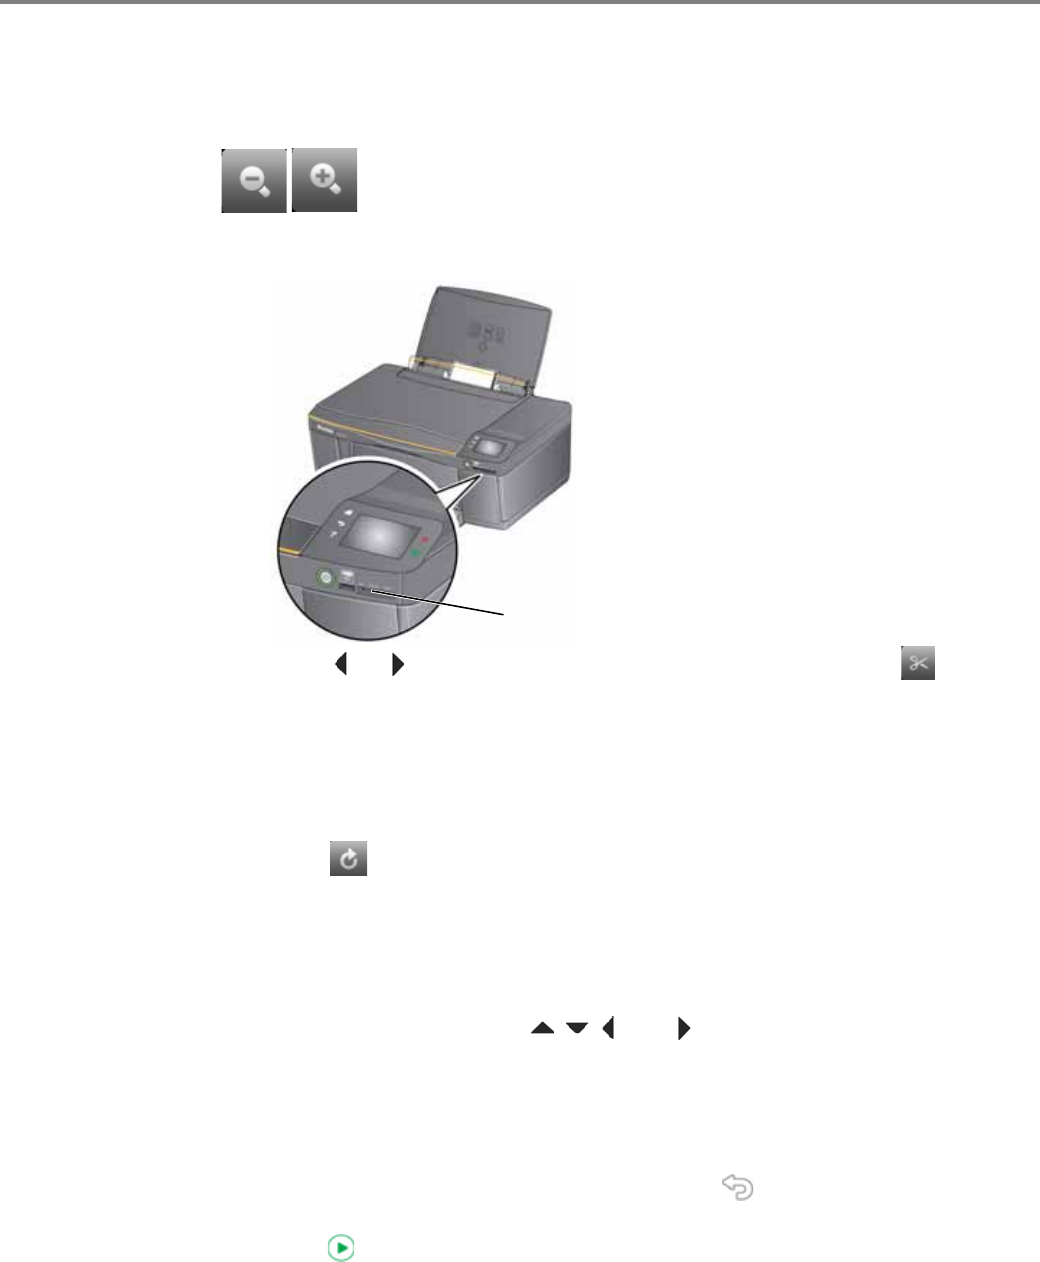
Zooming and cropping pictures
Use the zoom buttons to select a portion of your picture for printing.
1. Insert the memory card into the memory card slot.
2. Touch or to select the picture you want to crop, then touch .
3. Press
Zoom + to enlarge the picture on the LCD. A red box shows the area that
will be printed.
NOTE: You can press
Zoom + repeatedly to enlarge the picture in increments of
0.25 up to a magnification of 5X. Press
Zoom – to decrease the magnification
in increments of 0.25 down to 1X.
4. Touch to rotate the crop box, if necessary.
IMPORTANT: Always load the paper short side first. The printer automatically detects
the orientation of the picture, whether it’s portrait or landscape, and prints
accordingly. If the photo paper is loaded in the wrong direction, the image
will be cut off and the paper may jam. If the paper is loaded with the wrong
side up, the image quality will be affected.
5. Use the navigation buttons , , , and to move the picture on the LCD up,
down, left, or right. Only the part of the picture in the red box will print. The crop
window matches the aspect ratio of the selected output print size.
NOTE: Zooming and cropping does not change the saved picture on the memory
card.
6. When you are satisfied with the picture, touch . The picture appears in the
original view with a red box around the portion of the picture that will print.
7. Press to begin printing.


