


6
Configuring Destination for the Network Scanner Features
6-16 bizhub PRO 1050/1050e Scanner
Configuring Destination for the Network Scanner Features Chapter 6
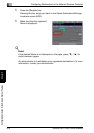
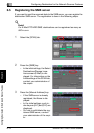
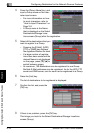
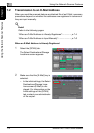
4 Press the [Group Name] key, and
input a Group name on the char-
acter input screen.
– For more information on how
to input characters, refer to
"How to Input Characters" on
Page 3-6.
– A Group name is the Name
that is displayed on the Select
Destinations/Storage Loca-
tions screen (Group) after the registration.
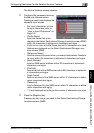
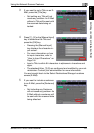
5 Select all the destinations that you
want to register to a Group.
– Pressing the [E-Mail], [HDD],
[FTP] or [SMB] key displays
the registered Names for each.
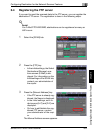
– If a large number of registra-
tions have been made and the
desired Name is not displayed
on the page, press [▼]/ [▲] to
switch between pages.
– At maximum, 100 destinations can be registered to one Group.
Multiple E-Mail addresses can be registered. As for the HDD, FTP
server and SMB server, one for each can be registered to a Group.
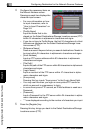
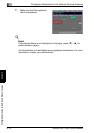
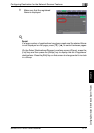
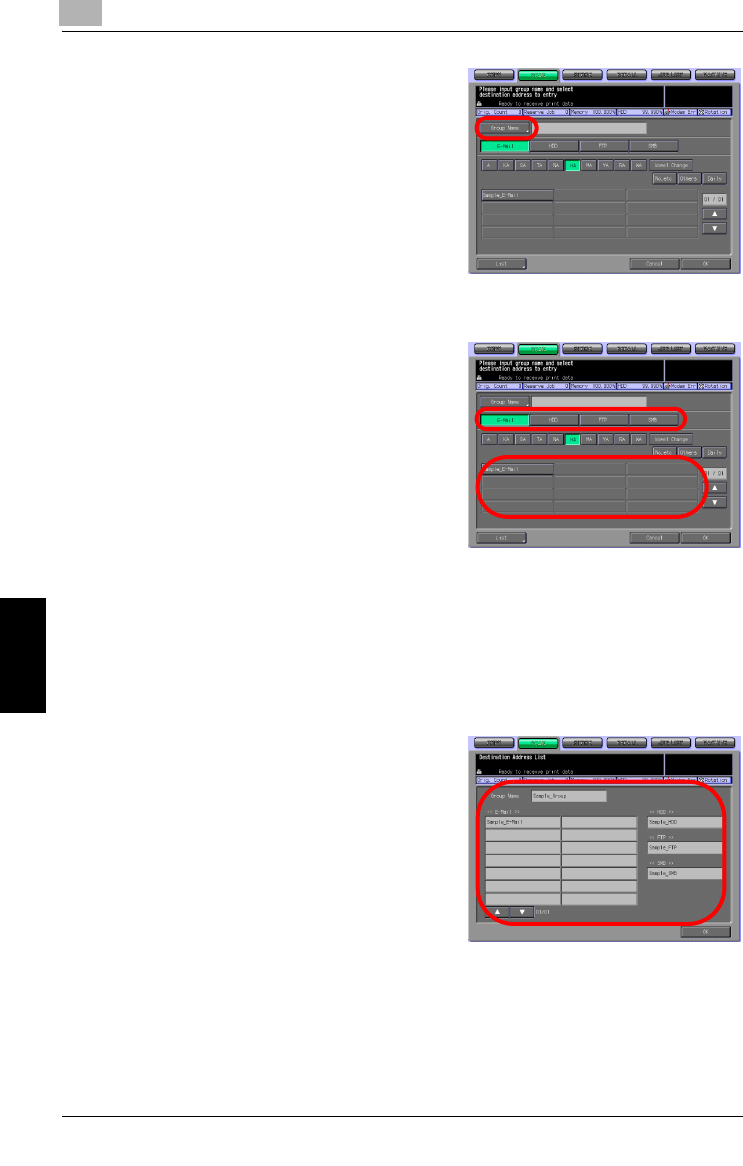
6 Press the [List] key.
The list of destinations to be registered is displayed.
7 Confirm the list, and press the
[OK] key.
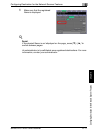
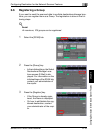
8 If there is no problem, press the [OK] key.
This brings you back to the Select Destinations/Storage Locations
screen (Group).