


7
Using the Network Scanner Features
7-10 bizhub PRO 1050/1050e Scanner
Using the Network Scanner Features Chapter 7
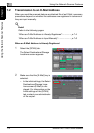
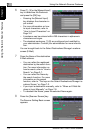
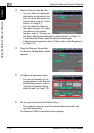
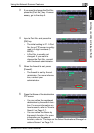
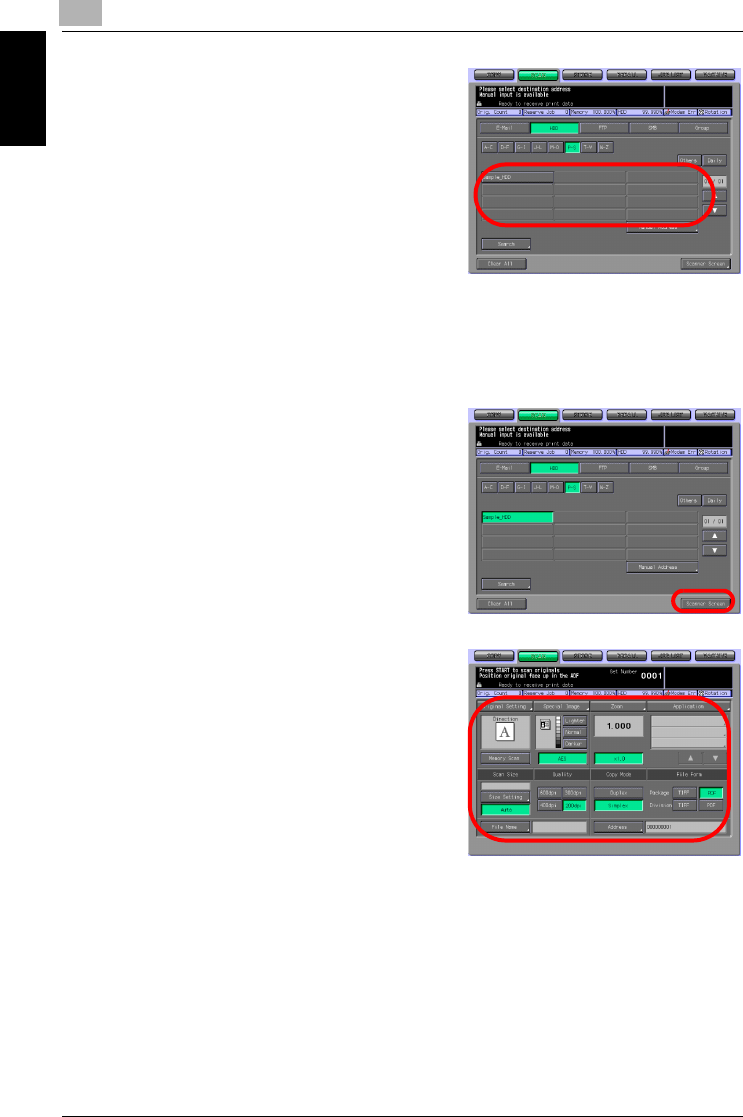
3 Press the Name of the Box No..
– You can refine the registered
destination by the search func-
tion. For more information on
how to search, refer to "How to
Search" on Page 3-7.
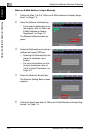
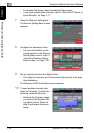
– You can refine the Name by
the search function. For more
information on the search
function, refer to "The keys on
the Select Destinations/Storage Locations Screen" on Page 7-2.
– To deselect the Name, press the selected Name again.
– If boxes are not registered, refer to "When a Box is Not Registered"
on Page 7-12.
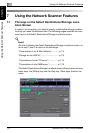
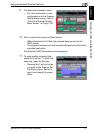
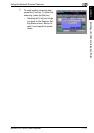
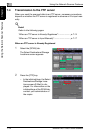
4 Press the [Scanner Screen] key.
The Scanner Setting Basic screen
appears.
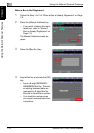
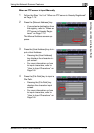
5 Configure the necessary items.
– For more information on the
configurations on the Scanner
Setting Basic screen, refer to
"About the Scanner Setting
Basic Screen" on Page 7-26.
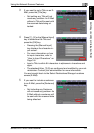
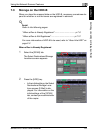
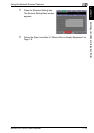
6 Set an original and press the [Start] button.
– The original is scanned, and the scanned data are stored in an
specified destination.
The Reserved JOB Confirmation screen appears.