7
Using the Network Scanner Features
7-6 bizhub PRO 1050/1050e Scanner
Using the Network Scanner Features Chapter 7
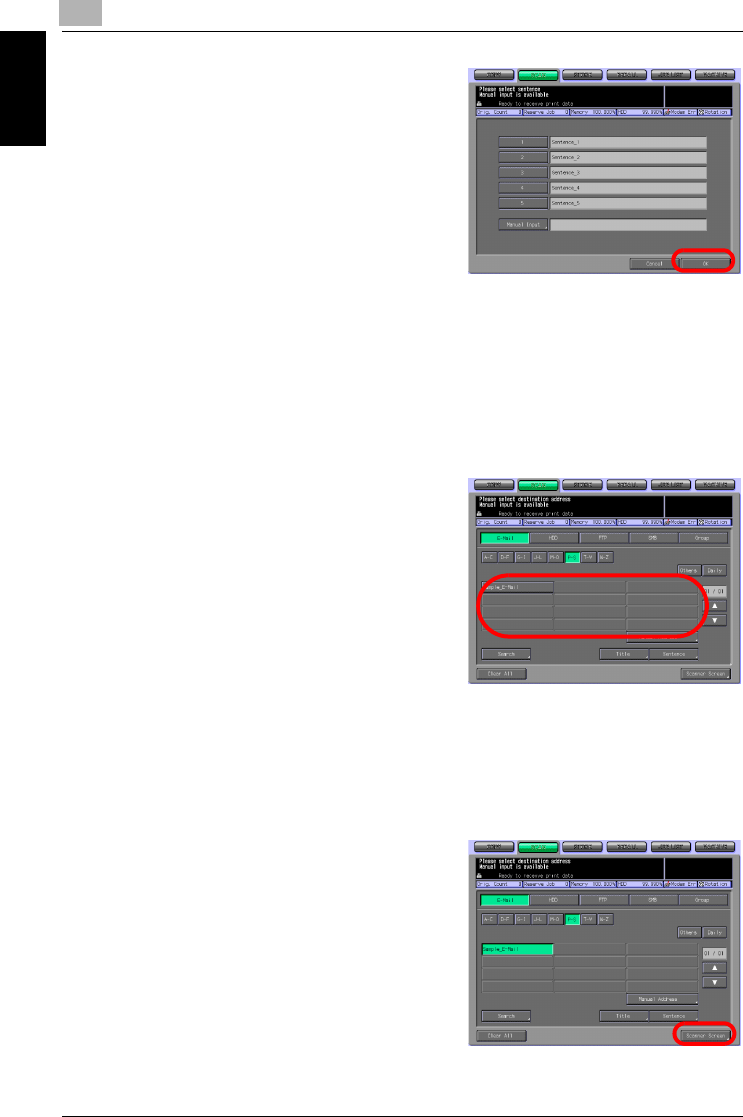
6 Press [1] - [5] or the [Manual Input]
key to determine the Sentence
and press the [OK] key.
– Pressing the [Manual Input]
key displays the character in-
put screen.
– For more information on how
to input characters, refer to
"How to Input Characters" on
Page 3-6.
– A sentence can be entered within 250 characters in alphameric
characters and signs.
– The standard sentences, [1]-[5] are configured and modified by
your administrator. Contact your administrator for more informa-
tion.
You are brought back to the Select Destinations/Storage Locations
screen (E-Mail).
7 Press the Name of the destination
E-Mail address.
– You can refine the registered
destination by the search func-
tion. For more information on
how to search, refer to "How to
Search" on Page 3-7.
– You can refine the Name by
the search function. For more
information on the search
function, refer to "The keys on the Select Destinations/Storage Lo-
cations Screen" on Page 7-2.
– If you input a destination manually, refer to "When an E-Mail Ad-
dress is Input Manually" on Page 7-8.
– To deselect the Name, press the selected Name again.
8 Press the [Scanner Screen] key.
The Scanner Setting Basic screen
appears.


