Configuring Destination for the Network Scanner Features
6
bizhub PRO 1050/1050e Scanner 6-5
Configuring Destination for the Network Scanner Features Chapter 6
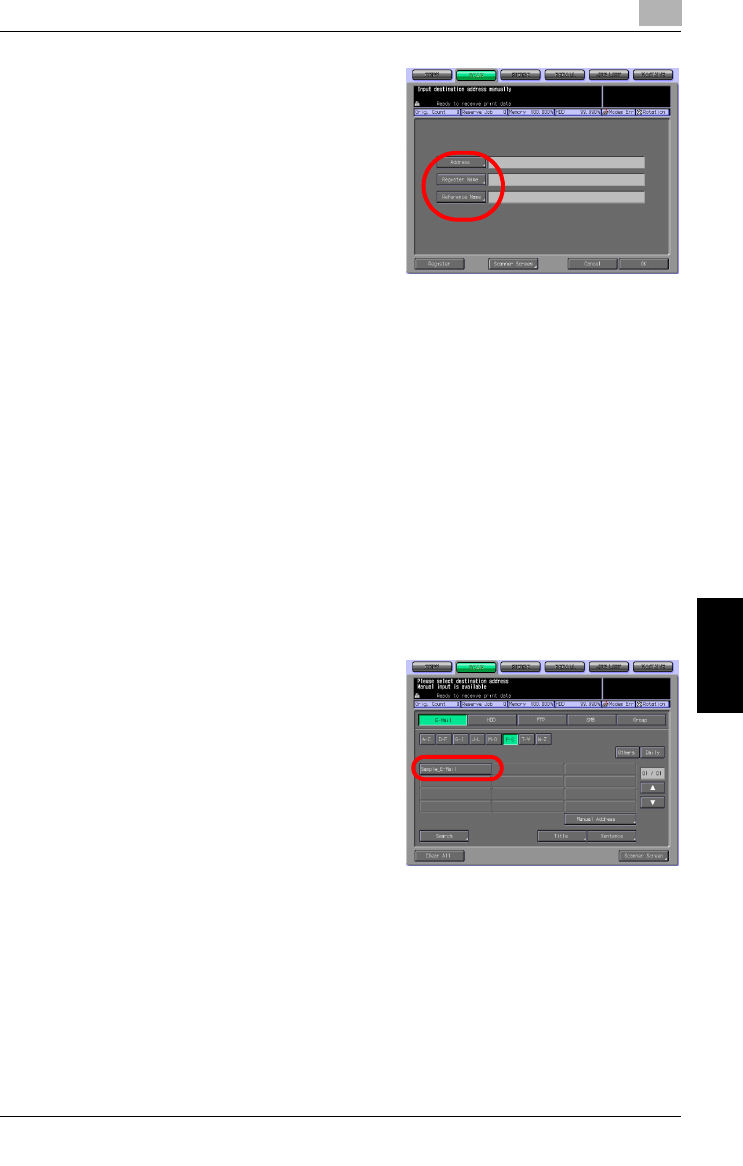
4 Configure the necessary items on
the Manual Address screen.
Pressing an each item displays the
character input screen.
– For more information on how
to input characters, refer to
"How to Input Characters" on
Page 3-6.
– [Address]
Enter an E-Mail address within
250 characters in alphameric characters and signs.
– [Register Name]
Enter a Name that is displayed on the Select Destinations/Storage
Locations screen (E-Mail) within 24 characters in alphameric char-
acters and signs.
– If you do not input a Name, the first 24 characters of an E-Mail ad-
dress are displayed on the Select Destinations/Storage Locations
screen (E-Mail).
– [Reference Name]
Used as a search keyword when you search destinations. Needs to
be input within 24 characters in alphameric characters and signs.
5 Press the [Register] key.
The E-Mail address is registered, and you are brought back to the Se-
lect Destinations/Storage Locations screen (E-Mail).
6 Make sure that the registered
Name is displayed.
!
Detail
If the desired Name is not displayed on the page, press [
▼
] / [
▲
] to
switch between pages.
An administrator is to edit/delete once registered destinations. For more
information, contact your administrator.


