KRAMER: SIMPLE CREATIVE TECHNOLOGY
Configuring and Controlling the VP-725XLA
42
YPbPr
YC
CV
HDMI
VGA
Capture
USB
Enter
OSD Picture
Menu
Auto-Image
PIP
PIP Size
SWAP
VOL
VOL
+
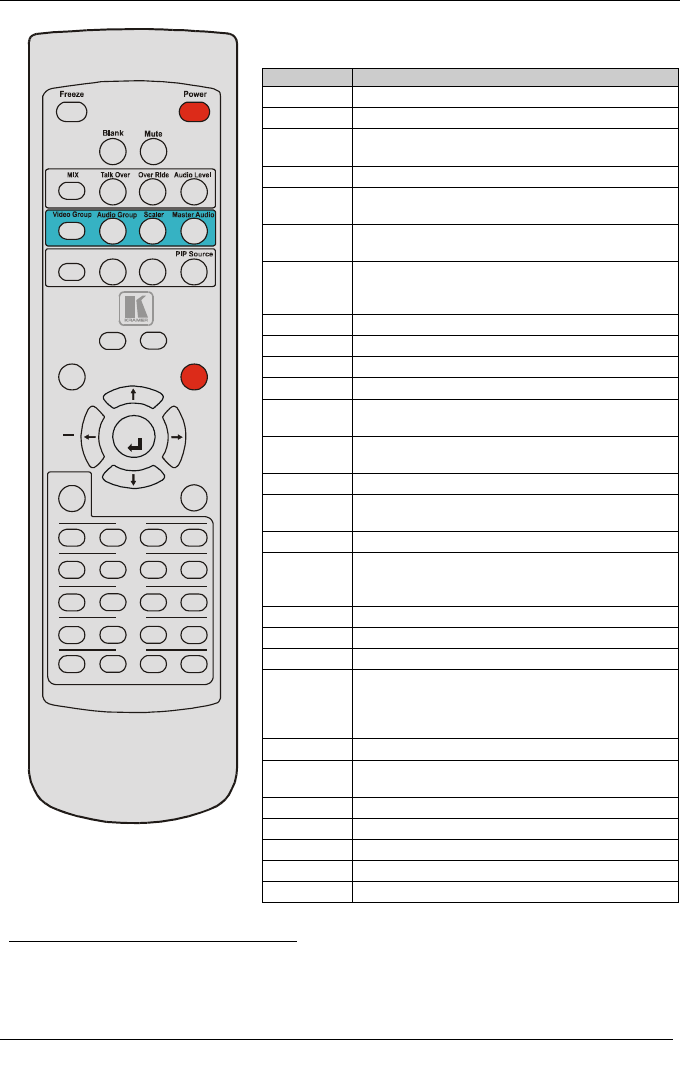
Figure 27: Infrared Remote
Control Transmitter
Table 19: Infrared Remote Control Transmitter
Functions
Key
Function
Freeze Pauses the output video
Power Cycles power
Blank
Toggles between a blank screen (blue or black
screen) and the display
Mute Mutes the audio output
MIX
Routes the combined signals from the Mic and the
Line to the Master output
Talk Over
Routes the selected input to the output until an
audio signal is detected on the microphone input
Over Ride
Routes the signal from the microphone to the
Master output instead of from the Line, whose
signal is blocked
Audio Level Set the audio level
Video Group Select the Video group operation mode
Audio Group Select the Audio Group operation mode
Scaler Select the Scaler operation mode
Master
Audio
Select the Master Audio operation mode
PIP
Toggles the picture-in-picture function and
illuminates/turns off the PIP button
PIP Size Toggles the PIP size
SWAP
Toggles between the PIP content and the parent
screen content
PIP Source Selects the PIP source
1
Auto Image
Assesses the image and improves the quality
accordingly, by automatically adjusting the phase,
frequency and position
OSD Activates/deactivates access to the OSD Menu
Picture Open the Picture menu
2
Menu Opens the Main menu
2
Navigation
arrows
Allows maneuvering within an OSD screen (left,
right, up and down, as well as the Enter arrow at
the center). The VOL+ and VOL- buttons increase
and decrease the volume level, respectively
USB select the USB
3
source
Capture
Capture an image to place as a logo or
background
VGA selects the VGA (UXGA) source (from 1 to 4)
HDMI selects the HDMI source (from 1 to 4)
CV selects the CV source (from 1 to 4)
YC selects the YC source (from 1 to 4)
YPbPr selects the YPbPr (COMP) source (from 1 to 4)
1 Press the PIP Source key and then an input key
2 Opens the menu on the LCD display and if the OSD button illuminates, will open the relevant OSD
3 JPEG files on a USB memory stick


