Printing from Windows Applications
3-1
Chapter 3 Printing from Windows Applications
This section will discuss how to print from Windows applications using a
Microsoft Word document as an example.
Basic Printing Task
This section will explain only the minimum task that is required to print
from Windows applications. You can select various options in the printer’s
Properties dialog box to customize your print job as explained in section
Setting Custom Paper Size on page 3-3 and later.
1
Set the paper of the size specified in the application for the document
into the printer’s paper cassette. For details on how to set paper,
refer to the Installation Guide.
Using the operator panel, make sure if each paper source has paper of
the proper size. If not, set the appropriate paper into the source (see
Setting the Paper Size in Paper Cassette on page 1-24 in the Operation
Guide). If they have different paper, the output may not be printed
correctly.
2
Open the document you want to print. The following example shows
how to print a Word document.
3
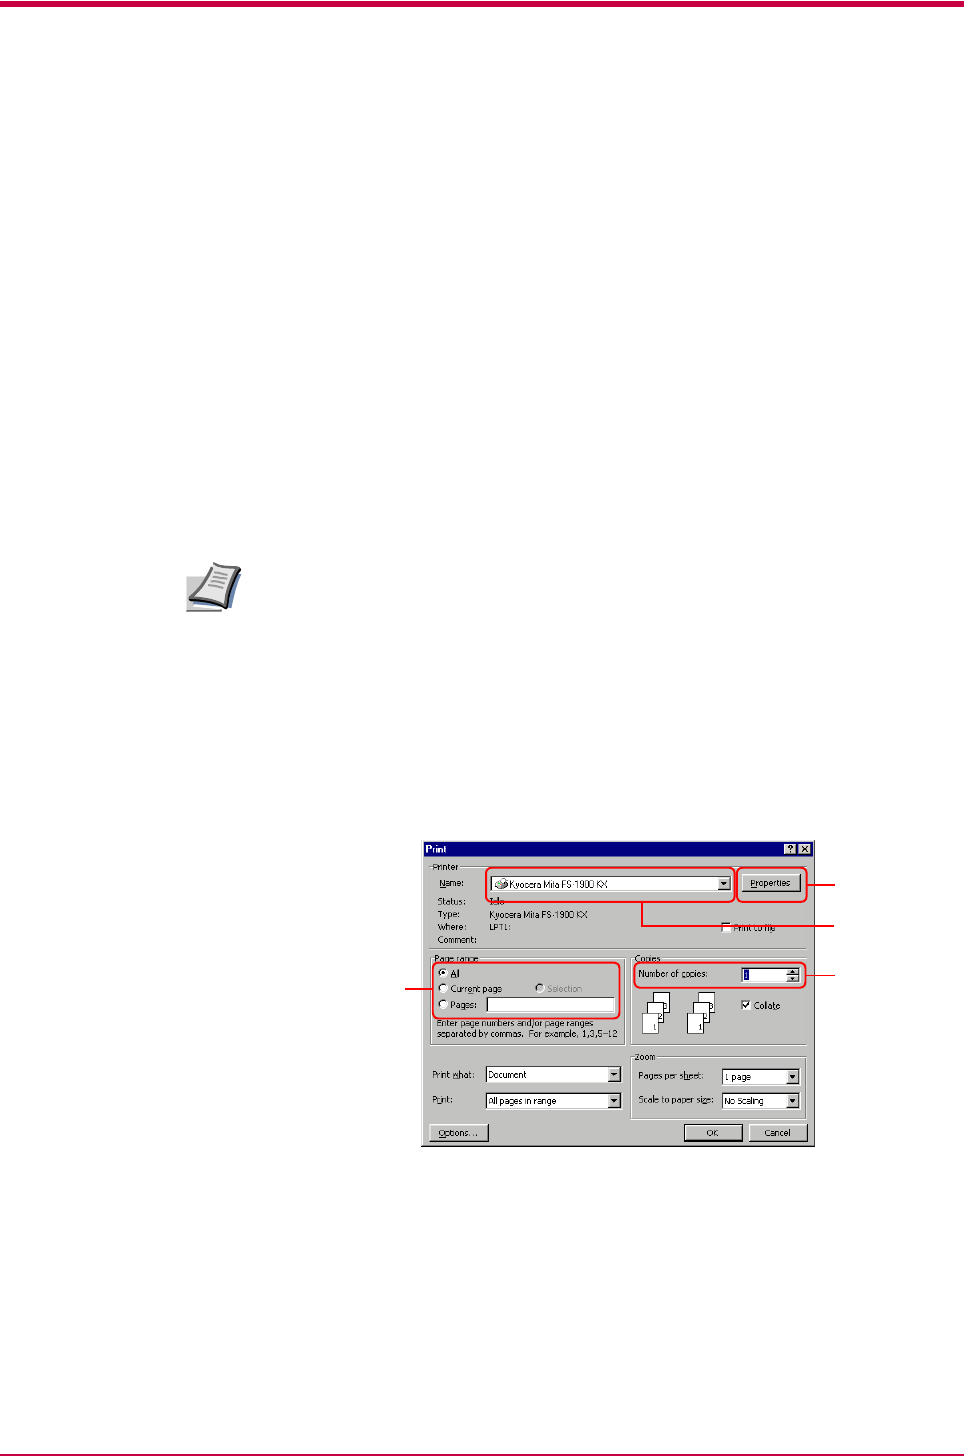
Select Print from the File menu of Word. The Print dialog box will
appear.
4
From the Name drop down list, select Kyocera Mita FS-1900 KX
printer if it is not selected.
5
Enter the page range of the document you want to print. To print the
whole document, select All.
6
Enter the number of copies, 1 to 999, you want to print in the
Number of Copies combo box.
Note
5
4
6
7


