Device Installer
3.3 Configuration Using Web Manager
You must configure the unit so that it can communicate on a network with your serial device. For example,
you must set the way the unit will respond to serial and network traffic, how it will handle serial packets, and
when to start or close a connection.
The unit’s configuration is stored in nonvolatile memory and is retained without power. You can change the
configuration at any time. The unit performs a reset after you change and store the configuration.
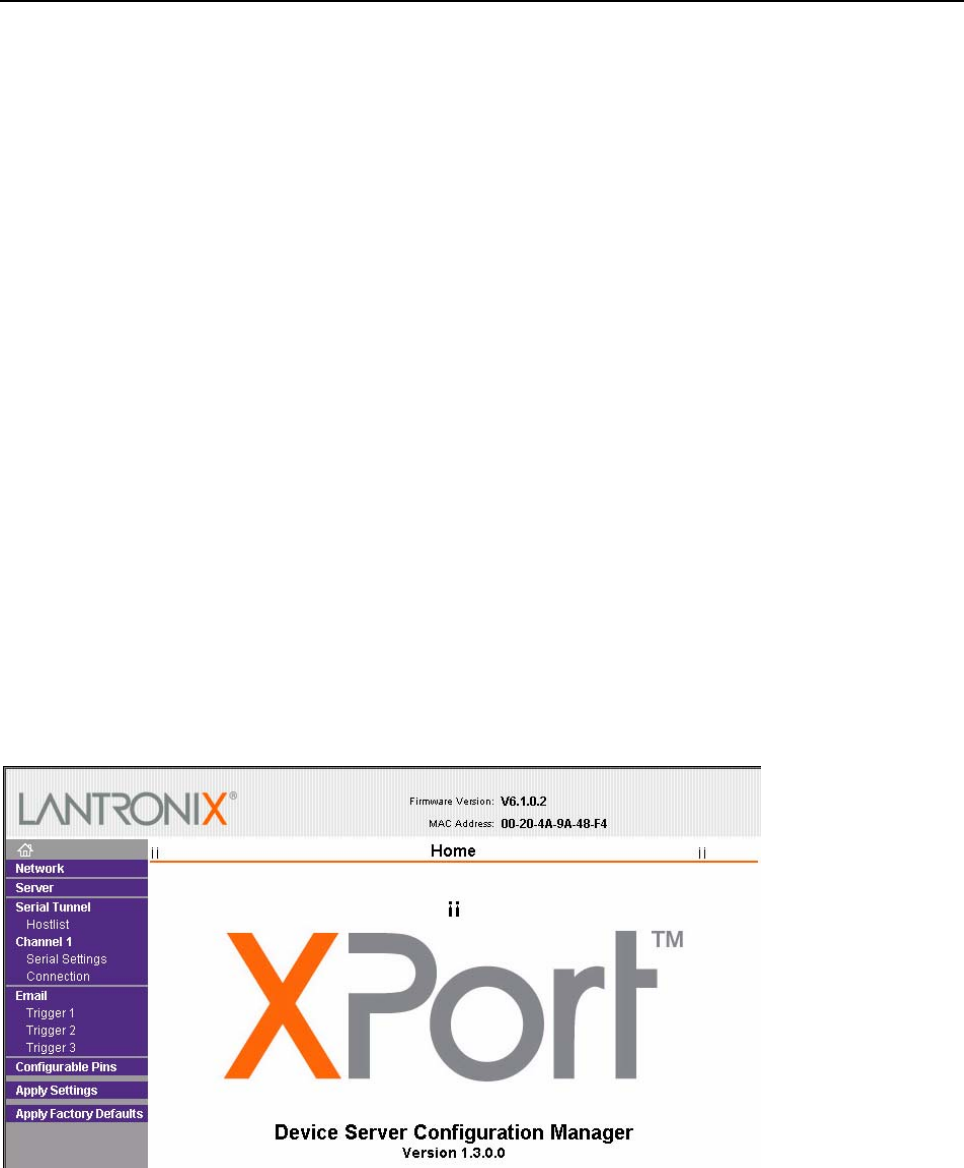
In this chapter, we describe how to configure the XPort in the NET485 using Web-Manager, Lantronix’s
browser-based configuration tool. (For information on using Setup Mode, our command line configuration
interface, see Configuration Using Telnet on page 3-21.
Note: The examples in this section show a typical device. Your device may have different configuration options.
3.3.1 Accessing XPort Using Device Installer
Note: Make note of the hardware (MAC) address. You will need it to locate the XPort using DeviceInstaller.
Follow the instructions on the product CD to install and run DeviceInstaller.
1. Click Start/Programs/Lantronix/DeviceInstaller/DeviceInstaller. If the PC has more than one network
adapter, a message displays requesting the selection of a network adapter. Select an adapter and click OK.
2. Click the Search icon . The list of Lantronix device servers displays in the left pane.
3. Click on the XPort folder. The list of available XPorts displays.
4. Expand the list of XPorts by clicking the + symbol next to the XPort icon.
5. Select the XPort unit by clicking its hardware address.
6. In the right pane, click the Web Configuration tab.
7. To view the XPort’s Web-Manager in the current DeviceInstaller window, click the Go button. To open the
Web-Manager in a web browser, click the External Browser button. The Web-Manager displays.
Note: Alternatively, to open Web-Manager, open your web browser and enter the IP address of the device.
The main menu is in the left pane of the Web-Manager window.
NET485 User Guide 3-7
