3: Getting Started
UDS1100 User Guide 19
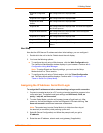
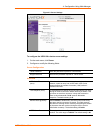
Supports Configurable
Pins
Non-configurable field. Displays False.
Supports Email Triggers
Non-configurable field. Displays False.
Supports AES Data
Stream
Non-configurable field. Displays False.
Supports 485
Non-configurable field. Displays True. The UDS1100 supports
the RS-485 protocol.
Supports 920K Baudrate
Non-configurable field. Displays False. UDS1100 supports
baud rates up to 230 Kbaud.
Supports HTTP Server
Non-configurable field. Displays True.
Supports HTTP Setup
Non-configurable field. Displays True.
Supports 230K Baud Rate Non-configurable field. UDS1100 supports a baud rate of 230
Kbaud.
Next Step
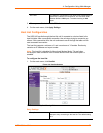
Now that the UDS has an IP address and other initial settings, you can configure it.
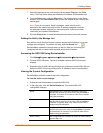
1. Double-click the unit in the list. Details about the unit display.
2. You have the following options:
To configure the unit using a Web browser, click the Web Configuration tab.
The Lantronix Web-Manager window displays in your browser. Continue with 4:
Configuration Using Web-Manager.
Note: To assign Expert and Security settings, you must use the Setup
Mode window in a Telnet session.
To configure the unit using a Telnet session, click the Telnet Configuration
tab. The Setup Mode window displays. Continue with 5: Configuration via
Telnet or Serial Port (Setup Mode).
.
Assigning the IP Address: Serial Port Login
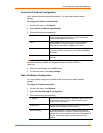
To assign the IP address and other network settings using a serial connection:
1. Connect a console terminal or a PC running a terminal emulation program to the
unit's serial port. The default serial port settings are 9600 baud, 8 bits, no
parity, 1 stop bit, no flow control.
2. To enter Setup Mode, cycle the unit's power (power off and back on). After
power-up, the self-test begins and the red Diagnostic LED starts blinking. You
have one second to enter three lowercase x characters.
Note: The easiest way to enter Setup Mode is to hold down the x key at
the terminal (or emulation) while powering up the unit.
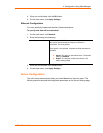
3. Select 0 (Server Configuration) and follow the prompts until you get to
IP address.
4. Enter the new IP address, subnet mask, and gateway (if applicable).


