User Authentication
3-35
3
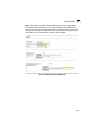
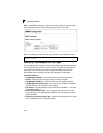
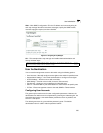
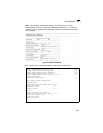
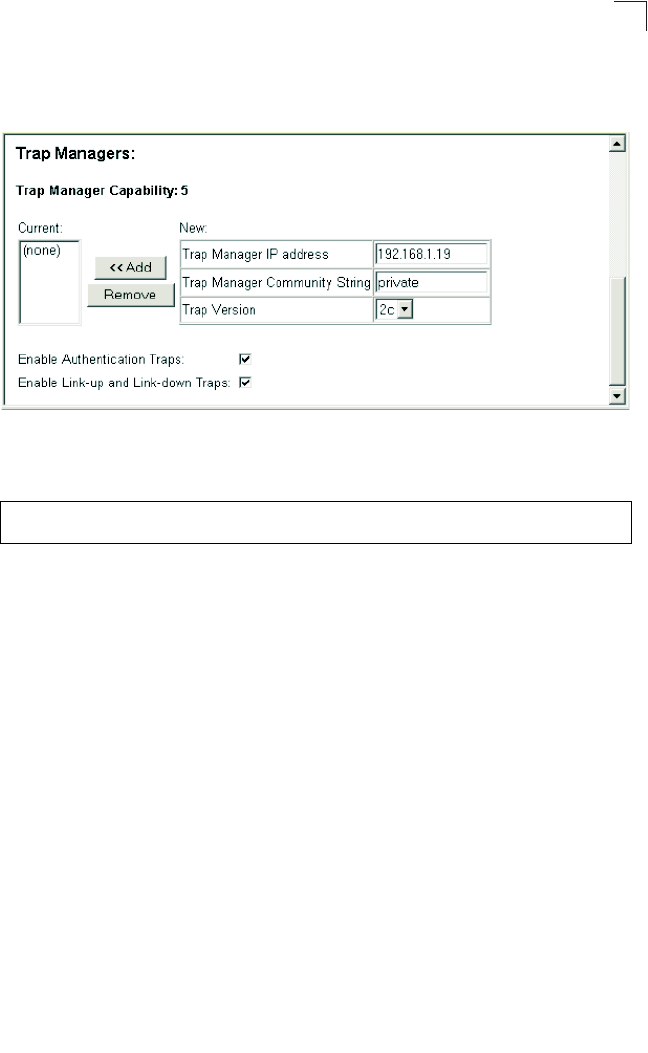
Web – Click SNMP, Configuration. Fill in the IP address and community string for
each trap manager that will receive these messages, specify the SNMP version,
mark the trap types required, and then click Add.
Figure 3-23 Configuring IP Trap Managers
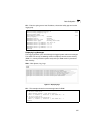
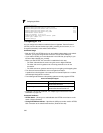
CLI – This example adds a trap manager and enables both authentication and
link-up, link-down traps.
User Authentication
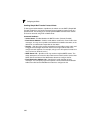
You can restrict management access to this switch using the following options:
• User Accounts – Manually configure access rights on the switch for specified users.
• Authentication Settings – Use remote authentication to configure access rights.
• HTTPS Settings – Provide a secure web connection.
• SSH Settings – Provide a secure shell (for secure Telnet access).
• Port Security – Configure secure addresses for individual ports.
• 802.1X – Use IEEE 802.1X port authentication to control access to specific ports.
• IP Filter – Filters management access to the web, SNMP or Telnet interface.
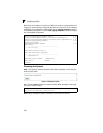
Configuring User Accounts
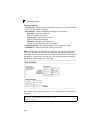
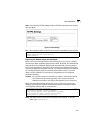
The guest only has read access for most configuration parameters. However, the
administrator has write access for all parameters governing the onboard agent. You
should therefore assign a new administrator password as soon as possible, and
store it in a safe place.
The default guest name is “guest” with the password “guest.” The default
administrator name is “admin” with the password “admin.”
Console(config)#snmp-server host 192.168.1.19 private version 2c 4-105
Console(config)#snmp-server enable traps 4-106


