Linking trays
62
Printing
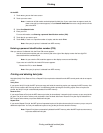
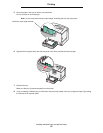
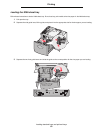
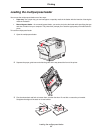
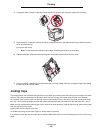
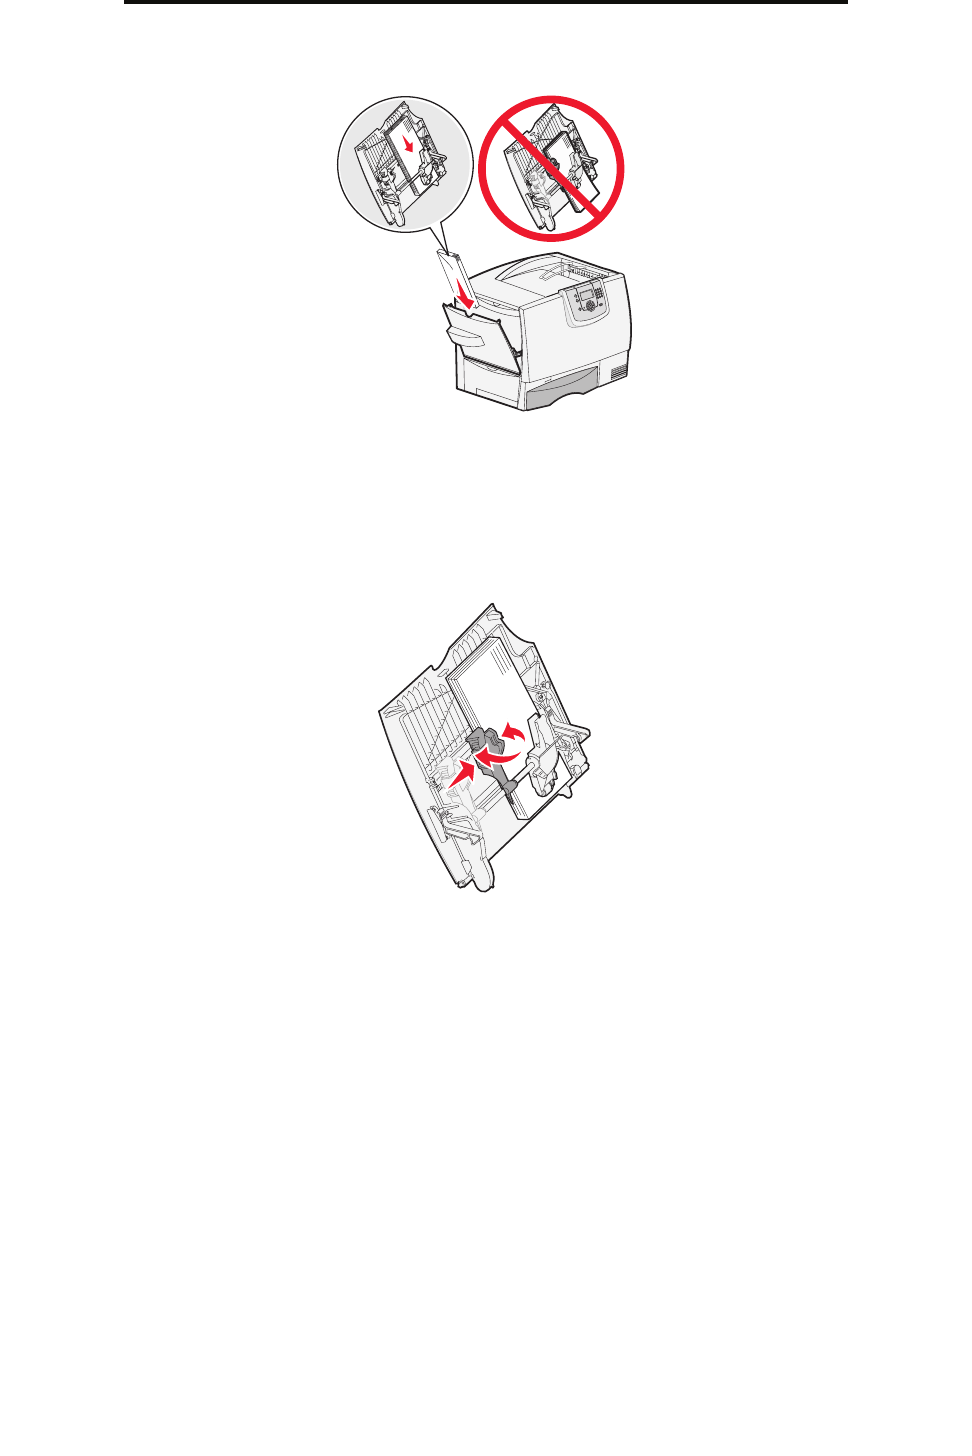
4 Arrange the stack of paper or specialty media correctly for the size, type, and print method you are using.
5 Place the paper or specialty media, print side up, along the left side of the multipurpose feeder, and then push it in
as far as it will easily go.
Do not force the media.
Note: Do not exceed the maximum stack height. Overfilling the feeder may cause jams.
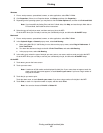
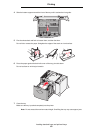
6 Squeeze the paper guide lever and slide the guide until it lightly touches the side of the stack.
7 If you are loading a different type of media than was previously loaded in the tray, change the Paper Type setting
for that tray on the operator panel.
Linking trays
Tray linking enables the automatic linking feature for trays when you load the same size and type of print media in multiple
sources. The printer automatically links the trays; when one tray is empty, print media feeds from the next linked tray.
For example, if you have the same size and type of print media loaded in tray 1 and tray 2, the printer selects print media
from tray 1 until it becomes empty, and then the printer automatically feeds print media from the next linked tray—tray 2.
Make sure you load the same size and type of print media in each tray and then, using the Paper menu, set the same paper
size and type for the trays to link.
Set the paper size and type for each tray.
To disable tray linking, set the Paper Type to a unique value for each tray.
If all the trays do not have the same type of print media loaded when linked, you could mistakenly print a job on the wrong
paper.


