ADSL Gateway with Modem / Router / 4-Port Switch / Wireless-Ready
9
Instant Broadband
™
Series
8
Chapter 3:Connecting the
Gateway
You will connect the Gateway to your ADSL line and to the computers in your
home or business.
First, make sure that all the devices that you’ll be working with are powered
down, including your PCs and the Gateway.
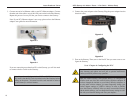
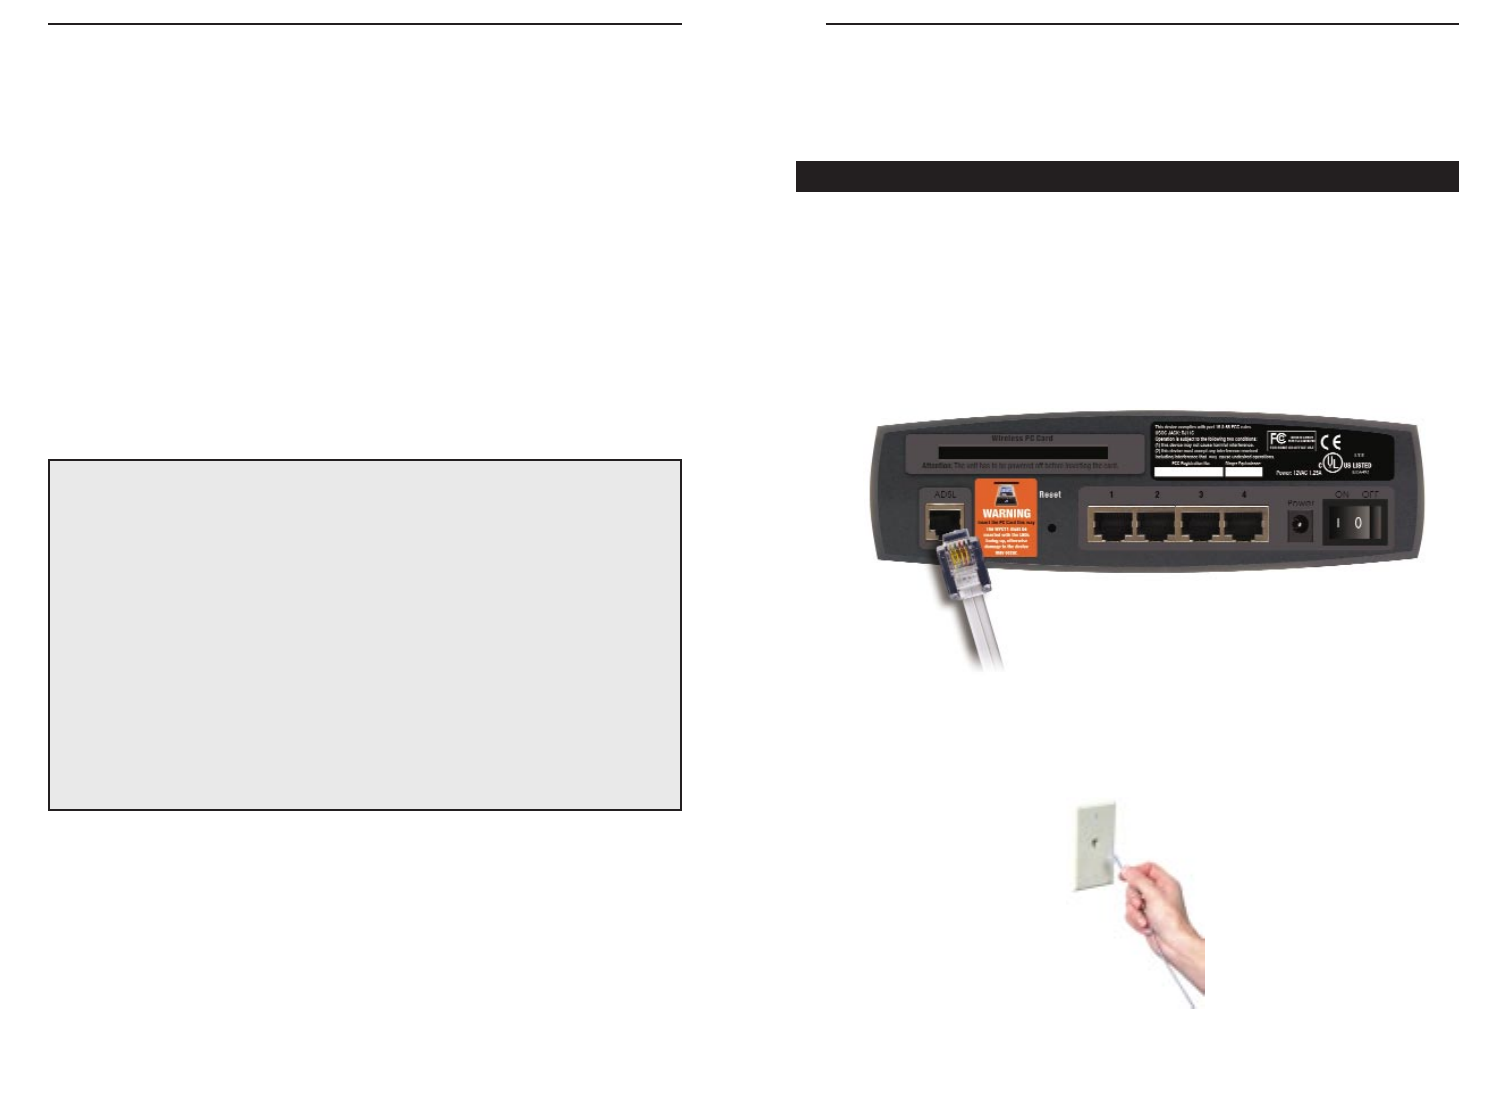
1. Connect one end of the provided phone cable to the ADSL (RJ-11 phone)
port that is on the back of the Gateway.
2. Connect the other end of the phone cable to the wall jack with ADSL service.
ADSL Session Green. This LED is solidly lit when a PPPoE session is estab-
lished.
ADSL Link Green. This LED is off when an ADSL line is not detected.
It flashes when the Gateway is attempting to make an ADSL
connection. The LED is solidly lit when an ADSL connection
has been successfully established.
ADSL Act Green. This LED flashes when there is activity across the
ADSL connection.
Proceed to “Chapter 3: Connecting the Gateway.”
Connecting Your Hardware and Booting Up
Figure 3-1
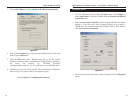
Figure 3-2
The Reset Button
Briefly pressing the Reset Button or rebooting the Gateway will refresh the
Gateway’s connections. If the Gateway locks up, simply press the Reset Button
or power it down for three to five seconds. Leaving the power off for too long
could result in the loss of network connections.
Pressing the Reset Button and holding it in for a few seconds will clear all of
the Gateway’s data and restore the factory defaults. This should be done only
if you are experiencing heavy routing problems, and only after you have
exhausted all of the other troubleshooting options. By resetting the Gateway,
you run the risk of creating conflicts between your PCs’ actual IP Addresses
and what the Gateway thinks their IP Addresses should be. You may be forced
to reboot each network PC.


