Viewing computer images (continued)
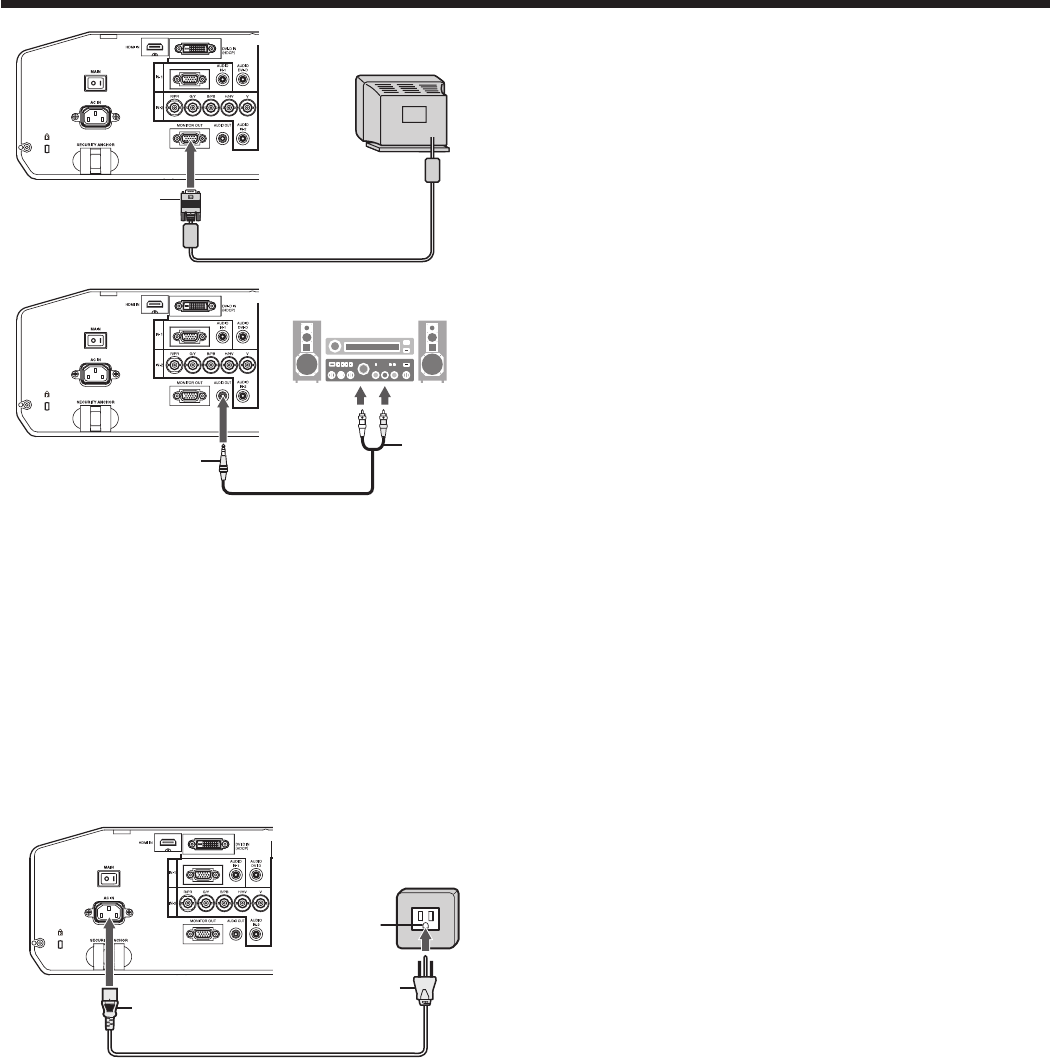
1. Plug the attached power cord into the power cord inlet of
this projector.
2. Plug the other end of the power cord into a power outlet.
• ThepowercordsforuseintheU.S.andEuropeareincludedwiththisprojector.Usetheappropriateoneforyour
country.
• Thisprojectorusesthepowerplugof3-pingroundingtype.Donottakeawaythegroundingpinfromthepower
plug. If the power plug doesn’t fit your wall outlet, ask an electrician to change the wall outlet.
• TheprovidedpowercordfortheU.S.isratedat120V.Neverconnectthiscordtoanyoutletorpowersupply
using other voltages or frequencies than rated. If you use a power supply using other voltage than rated, prepare
an appropriate power cord separately.
• Use 100-240 V AC 50/60 Hz to prevent fire or electric shock.
• Do not place any objects on the power cord or do not place the projector near heat sources to prevent damage to
the power cord. If the power cord should be damaged, contact your dealer for replacement because it may cause
fire or electric shock.
• Do not modify or alter the power cord. If the power cord is modified or altered, it may cause fire or electric shock.
Caution:
• Plug in the power cord firmly. When unplugging, hold and pull the power plug, not the power cord.
• Do not plug in or out the power cord with your hand wet. It may cause electric shock.
Earthing
terminal
Power cord (example)
About DDC
The COMPUTER/COMPONENT VIDEO IN-1 terminal of this projector complies with the DDC1/2B standard and the
COMPUTER/COMPONENT VIDEO DVI-D IN (HDCP) terminal complies with the DDC2B standard. When a computer
supporting this standard is connected to this terminal, the computer will automatically load the information from this
projector and prepare for output of appropriate images.
• When connecting a DDC-supporting computer to the projector, turn on the main power switch of the projector
before starting the computer.
Monitor
For monitor connection:
1. Connect the RGB cable from the monitor to the MONITOR
OUT terminal of the projector.
• NovideosignalisoutputfromtheMONITOROUTterminal
during power standby.
For audio output connection:
1. Connect one end of a commercially available audio cable
to the AUDIO OUT terminal of the projector.
2. Connect the other end (white and red) of the audio cable to
the audio input terminals (L, R) of the audio equipment.
• WhentheaudiocableisconnectedtotheAUDIOOUT
terminal, the speaker output is muted.
Audio cable (option)
To audio input
terminals
MONITOR OUT
RGB cable
B. Plugging the power cord
• Inordertoensurethesafetyincaseoftroublewiththeprojector,useanelectricaloutlethavinganearthleakage
breaker to supply the power to the projector. If you do not have such outlet, ask your dealer to install it.


