36
2 USING THE SCREENMANAGER
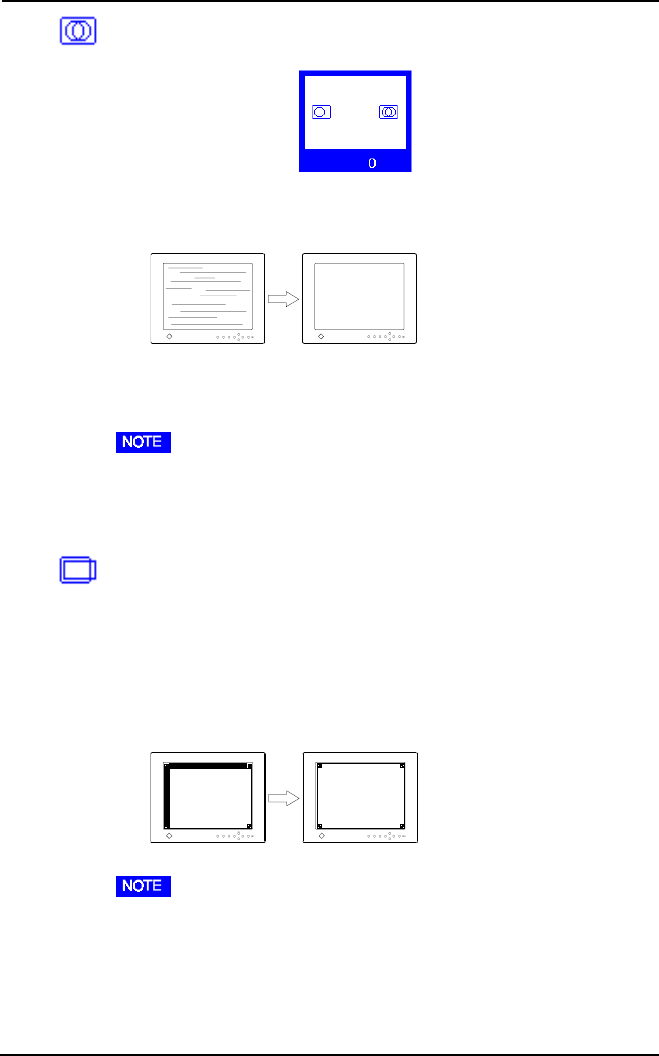
(5) “Phase” Adjustment
a) Select the “Phase” icon and push the Enter button to show the
“Phase” menu.”
b) If horizontal bars appear, these can be eliminated by adjusting the
right and left buttons.
c) After finishing the adjustment, push the Enter button to memorize
the settings and return to the “Screen” menu.
• “Phase” adjustments should be done after adjusting the “Clock”.
• Horizontal bars may not completely disappear from the screen
depending on the PC.
(6) “Position” Adjustment
a) Select the “Position” icon and push the Enter button to enter the
“Position” menu. Adjustment markers are displayed on each corner
of the screen.
b) Adjust the position of the upper left corner of the image using the
Control buttons in order to align the Screen. If the entire image still
fails to fit inside the markers or is outside the markers, please proceed
to the next step, “Resolution”.
• If vertical bars of distortion appear after finishing the “Position”
adjustment, return to “Clock” menu and repeat the previously explained
adjustment procedure (“Clock” “Phase” “Position”).
c) After finishing the adjustment, push the Enter button to memorize
the settings and return to the “Screen” menu.


