DG834N RangeMax NEXT Wireless ADSL2+ Modem Router Reference Manual
1-6 Connecting Your Router to the Internet
v1.0, October 2008
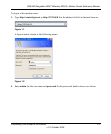
2. To save your settings, click Apply.
3. Click Test to verify your Internet connection. If you have trouble connecting to the Internet,
see Chapter 6, “Troubleshooting.”
Viewing or Manually Configuring Your ISP Settings
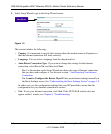
NETGEAR recommends that you specify your country and language before you configure the
settings on the Basic Settings screen. See “Logging In to the Wireless Modem Router” on
page 1-2. You must install the ADSL filters and connect the modem router to the ADSL line as
described in the ETGEAR Router Setup Manual before you configure the settings in the Basic
Settings screen.
To view or configure the basic settings:
1. Log in to the modem router as described in “Logging In to the Wireless Modem Router” on
page 1-2.
2. Select Basic Settings to display the Basic Settings screen.
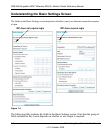
The Basic Settings screen is explained in “Understanding the Basic Settings Screen” on
page 1-8.
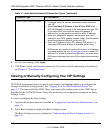
Fixed IP (Static) Account Setup
1. If required, enter the account name and domain name from
your ISP.
2. Select Use Static IP Address or Use IP Over ATM (IPoA —
RFC1483 Routed) according to the information from your ISP.
If you select IPoA, the router will detect the gateway IP
address, but you still need to provide the router IP address.
3. Enter your assigned IP address, subnet mask, and the IP
address of your ISP’s gateway modem router. This information
should have been provided to you by your ISP.
4. Enter the IP address of your ISP’s primary DNS server. If a
secondary DNS server address is available, enter it also.
DNS servers are required to perform the function of translating
an Internet name such as www.netgear.com to a numeric IP
address. For a fixed IP address configuration, you must obtain
DNS server addresses from your ISP and enter them manually
here.
Table 1-1. Auto-Detected Internet Connection Types (continued)
Connection Type ISP Information


