Install ISDN BRI hardware Page 21 of 46
ISDN Basic Rate Interface Installation
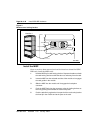
6 Observe the red LED on the MISP faceplate.
• If the red LED lights and stays lit continuously without flashing
three times, the card is defective. Remove the MISP, choose a
new MISP, and repeat the installation procedure.
• If the red LED lights, flashes three times, and turns off, the
MISP is operating correctly and is configured and enabled. Go
to step 7.
• If it lights, flashes three times, and stays lit continuously, the
MISP is operating correctly but is not configured and enabled.
Go to step 7.
7 Repeat steps 1 through 6 for each MISP requiring installation.
—————————— End of Procedure ——————————
Remove the MISP
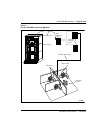
1 Hold the MISP by its card-locking devices. Squeeze the tabs to unlatch
the card-locking devices and lift the tabs out and away from the card.
2 Carefully remove the MISP from its card slot, and slowly slide out the
card from the module.
—————————— End of Procedure ——————————
Install the BRSC, SILC and UILC
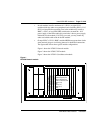
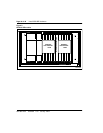
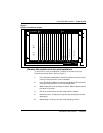
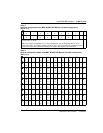
After MISPs are installed, install SILCs, UILCs and BRSCs, as required. As
the cards are installed, keep a list of the card type (BRSC, SILC or UILC), the
module number, and the number of the card slot containing the card. Use the
CE/PE Module card location form or the IPE Module card location form at
the end of this chapter to document this information.
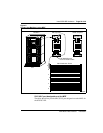
1 Hold the card by its card-locking devices. Squeeze the tabs to unlatch
the card-locking devices and lift them away from the card.
2 Insert the BRSC, SILC or UILC into the selected card slot of the
module so it engages the card guides in the module.
3 Slide the BRSC, SILC or UILC into the module until it engages the
backplane connector.
4 Push the card firmly into the connector using the locking devices as
levers by pushing them toward the card's front panel.


