14
Loading Paper: Tray 1
Loading
paper in
Tray 1
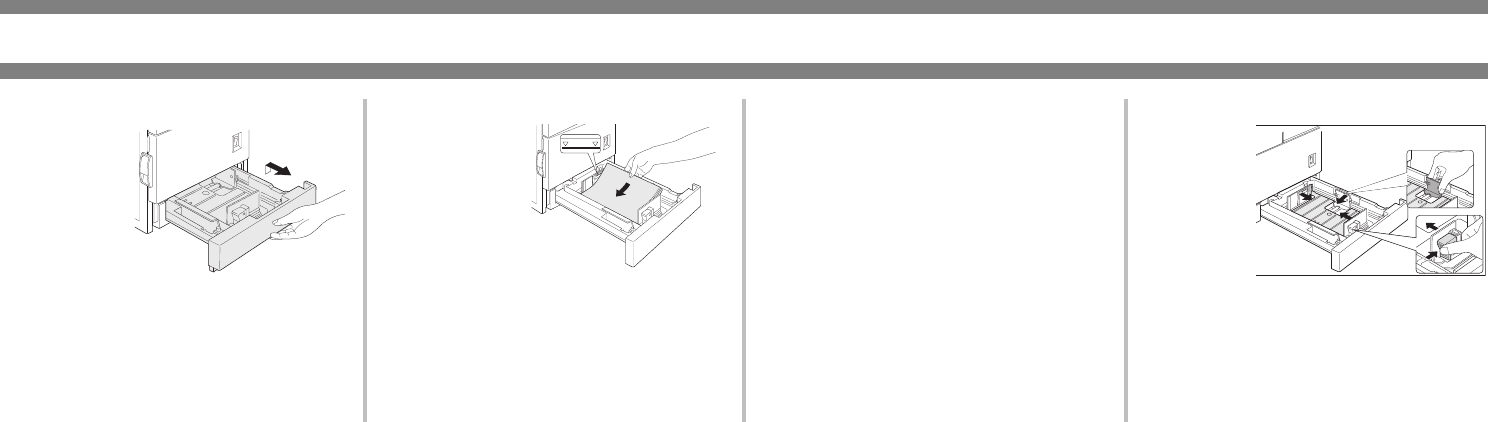
1. Gently pull
out Tray 1
until it stops.
2. Load paper into the tray. Do not load
paper above the maximum height line
(approximately 500 sheets of 20 lb
(80 g/m
2
) paper).
3. Gently push
Tray 1
firmly all
the way into
the machine.
4. Set the
paper type.
If you change the paper type, be sure
to set the correct type by referring to
“Setting Paper Size and Type from the
Operation Panel” on page 12.
Loading paper in Tray 1 is now
complete.
Changing the Paper Size
in Tray 1
8½" x 11", A4 or B5 paper can be set.
1. Pull out Tray 1. If paper remains in
the tray, remove it.
2. Adjust the guide plates A and B in the
tray to the length and width of the
paper by squeezing their lock levers
and sliding them.
3. Load
paper into
the tray,
ensuring
the guide
plates are
snug
against the paper.
4. Push in Tray 1 firmly, but carefully.
5. Set the paper size, referring “Setting
Paper Size and Type from the
Operation Panel” on page 12. If this is
not done, paper misfeeds will occur.


