39
3. Basic operations
3-3-9. Flying key
Using DVE effects, this key enables the key signals that have been input to be moved, expanded or contracted.
In order for the flying key to take effect, select SL #5 as the key transition.
When the key transition is executed, the keys are combined by the key signals set using the flying key menu.
(The transition effect is fixed at MIX.)
Since the flying key uses DVE effects, the image is delayed by one frame.
When the SL #
5 button is double-clicked, delegation to the FlyKEY menu is initiated.
1
Press the [FUNC] button to light its indicator, and press the [KEY] button to display the KEY menu.
2
Turn [F1] to display the FlyKEY sub menu.
<Menu display>
FlyKEY X-Pos Y-Pos Size
9/9 0.00 0.00 100.0
-100.00
|
100.00
-100.00
|
100.00
0.0
|
400.0
3 Turn [F2] to set the X coordinate of the key signal using the X-Pos item.
4
Turn [F3] to set the Y coordinate of the key signal using the Y-Pos item.
5
Turn [F4] to set the key signal change size (max. 400: 400 %) using the Size item.
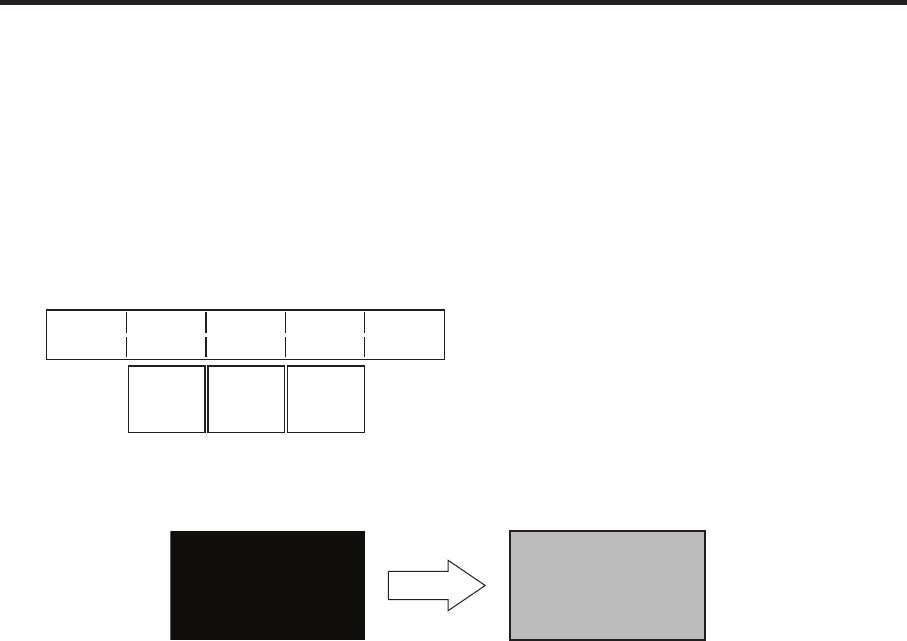
ABC
ABC
Key signal When combined using the
flying key
In order to add the edge of the key before the DVE effect, the thickness of the edge is also changed when the
size is changed.
PinP combinations using the flying key
When “Full” is selected by the Type item in “3-3-1. Selecting the key type,” PinP combinations are enabled using
the flying key.
(At this point in time, the Clip item and Gain item cannot be set on the Adjust sub menu.)
With the full key, the image on the full screen serves as the key source signal so an edge will not be added
unless a further step is taken.
To add an edge, mask the key signals so that the key source signals are made smaller than the entire screen.
For details on masking, refer to “3-3-8. Masking the key signals”.


