


40
3. Basic operations
3-4. PinP (picture in picture)
Another image can be combined with the background image.
3-4-1. Selecting the PinP material
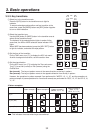
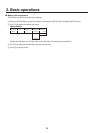
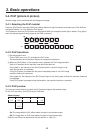
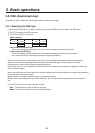
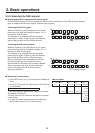
Press the [PinP] button among the AUX bus selector buttons to light its indicator, and press one of the AUX bus
crosspoint buttons 1 to 10 to select the PinP signal.
The indicators of both the [PinP] button and the selected AUX bus crosspoint button light in amber. (They light in
red if the selected signal is being output to the PGM connector.)
KEY DSK PinP AUX CLN PVW PGM
AUX SOURCEAUX BUS DELEGATION
AUX
AMB:FILL / GRN:SOURCE
3-4-2. PinP transitions
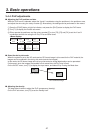
1 Set the transition time.
On the TIME menu, turn [F1] to display the PinP menu.
Set the transition time in the same way as for background transitions.
2
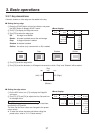
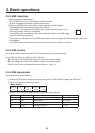
When the [PinP] button in the transition area is pressed, the PinP image transition
(fade-in) is executed for the transition time which has been set.
During fade-in, the indicator of the [PinP] button blinks in red, and it lights in red
when the transition is completed.
If the [PinP] button is pressed with the picture completely faded in, the PinP image
transition (fade-out) is executed.
PinP
During fade-out, the indicator of the [PinP] button lights in red, and it goes off when the transition (fade-out)
is completed.
If the [PinP] button is pressed during the transition, the transition direction is reversed.
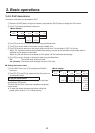
3-4-3. PinP preview
The user can select whether to output the PinP preview image to the preview output.
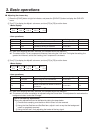
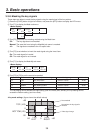
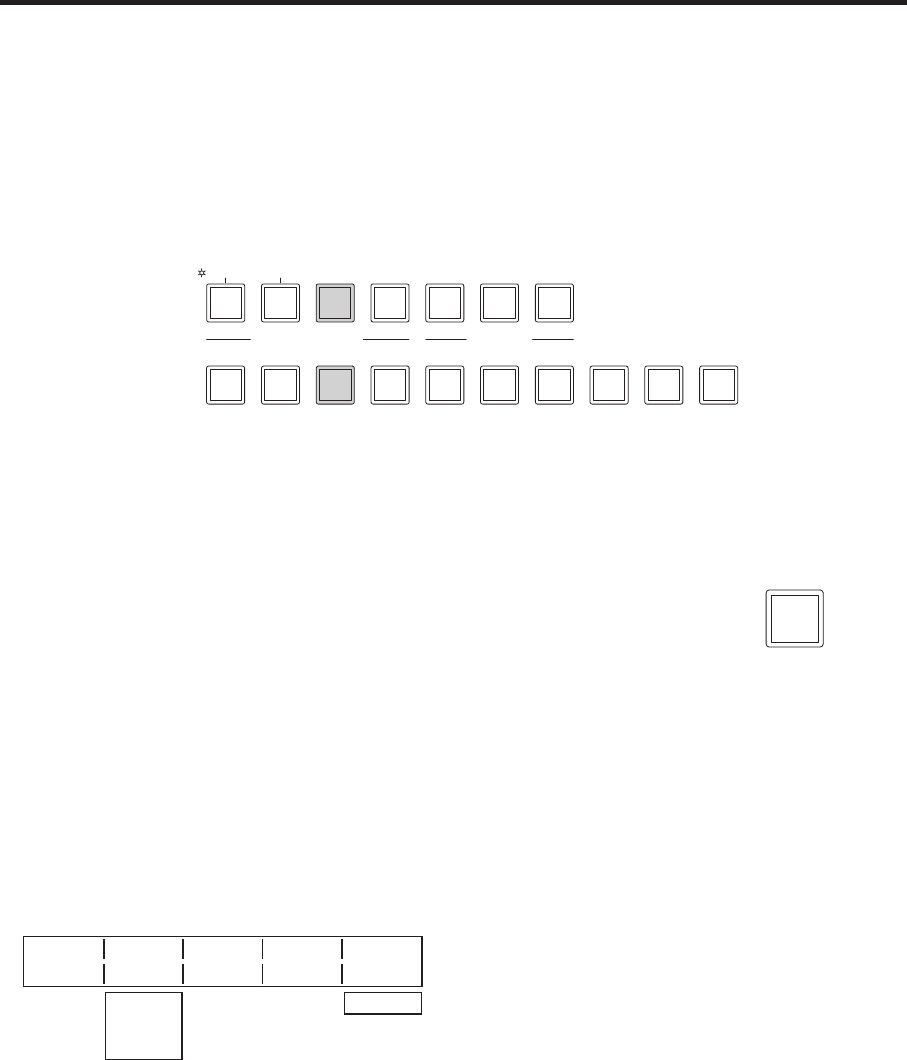
On the PinP sub menu, turn [F5] to set the PVW item.
<Menu display>
PinP
Density PVW
1/6 100.0 Off
0.0
|
100.0
On
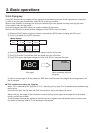
On: The image with the PinP effect added is output to the preview output.
Off:
The image with no PinP effect added is output to the preview output.
PVW On and Off can be allocated to the user buttons. See
5-3-1.