


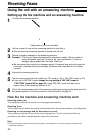


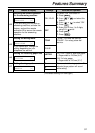
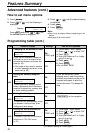

This setting is also available after
activating FAX ONLY mode (p. 39).
If you are using the unit with an
answering machine, set to “5
EXT.TAM” (p. 42).
Features Summary
50
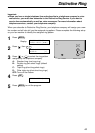
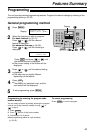
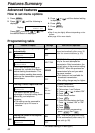
How to set menu options
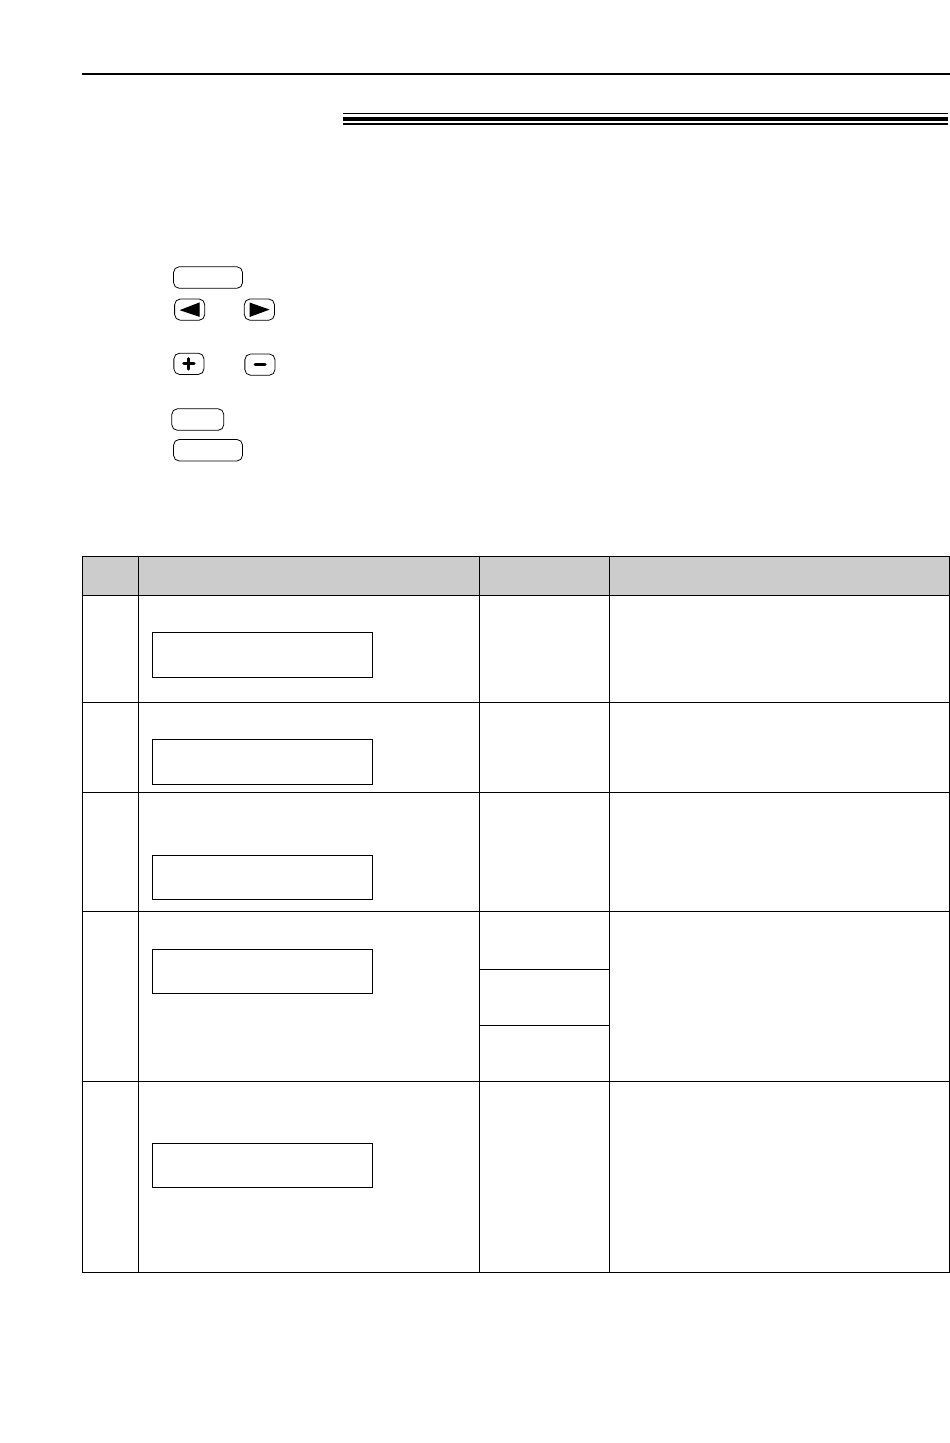
1. Press .
2. Press or until the desired feature
is displayed.
3. Press or until the desired setting
is displayed.
4. Press .
5. Press .
MENU
SET
MENU
Note:
●
Step 3 may be slightly different
depending on the feature.
●
See page 49 for more details.
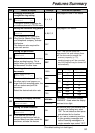
Basic features!
Programming table
Code
#01
Setting the date and time
SET DATE & TIME
PRESS SET
mm/dd/yy
hh:mm
(2 digits for
each entry)
See page 15 for details.
See page 16 for details.
See page 18 for details.
“ERROR”: The sending report will
be printed only when fax
transmission fails.
“ON”: The sending report will be
printed out after every transmission.
#02
Setting your logo
YOUR LOGO
PRESS SET
(Up to 30
characters)
Feature & Display Settings How the unit operates
#03
Setting your facsimile telephone
number
YOUR FAX NO.
PRESS SET
(Up to 20
digits)
#04
Printing the sending report
To print and check the sending
report for fax transmission results
(p. 30).
SENDING REPORT
MODE=ERROR [±]
ERROR
ON
OFF
(The default setting is in bold type.)
#06
Changing the ring setting in FAX
ONLY mode
To change the number of rings
before the unit answers a call
in FAX ONLY mode.
FAX RING COUNT
RINGS=3 [±]
1, 2, 3, 4,
5 EXT.TAM
The following method of programming is applied except features #01, #02 and #03. For features
#01, #02 and #03, refer to the programming table below.