


99
Installing Software for Windows
10
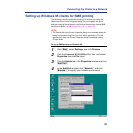
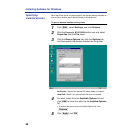
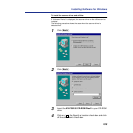
In the Add Port window, verify that the network path is
updated, and click [OK].
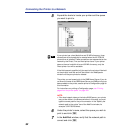
To confirm the connection, you can print a Windows 95 test page.
11
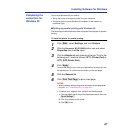
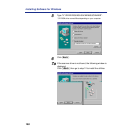
Click the General tab in the Properties window, and
click [Print\Test\Page].
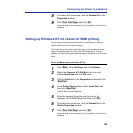
You are ready to print to the printer from Windows applications.
When you select Print, jobs are routed to the print queue on the
NetWare file server, and then sent to the printer.
NOTE:
• If the test page is not printed, perform the following steps:
1. Perform steps 1and 2 to display the Network window.
2. Double-click IPX/SPX-compatible Protocol in the Configuration tab.
3. Click Advanced tab and select Frame Type.
4. Set the Frame Type in WebSetup to the Frame Type displayed here
(see page 162).
When a Typical installation is performed using the installer, following files
are automatically installed.
• Digital Duplicator Utility
• Status Display
• Scanner Driver
You can also select following additional file to install during a Custom
installation procedure.
• Print Count Manager
NOTE:
• When reinstalling the KX-PS8100 software, do it immediately after
restarting Windows.
To install the bundled software (CorelDRAW Select Edition), see “Installing
the bundled software” on page 133.
Installing the
scanner driver and
utilities for
Windows 95