


Security
6-8
9161-A2-GH30-30
April 1998
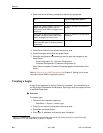
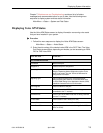
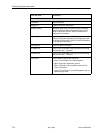
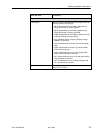
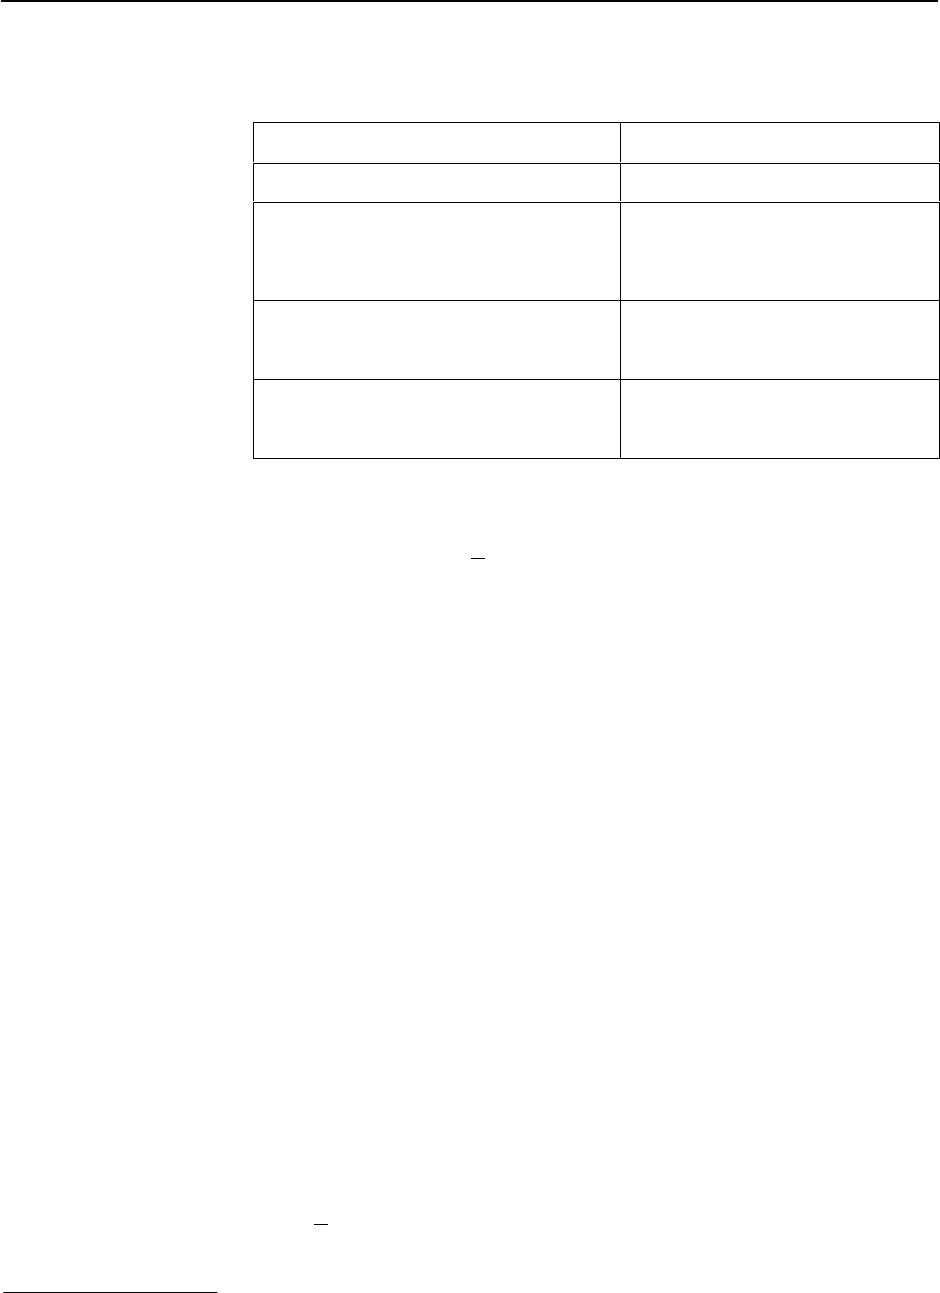
4. Select and set the following configuration options, as appropriate.
To . . .
Set the configuration option . . .
Enable IP address checking NMS IP Validation to Enable.
Specify the number (between 1 and 10) of
SNMP management systems that are
authorized to send SNMP messages to the
access unit
Number of Managers to the desired
number.
Specify the IP address(es) that identifies
the SNMP manager(s) authorized to send
SNMP messages to the access unit
NMS
n
IP Address to the appropriate
IP address.
Specify the access allowed for an
authorized NMS when IP address validates
is performed
Access Type to Read or Read/Write.
5. Press Ctrl-a to switch to the screen function key area.
6. To save changes, select S
ave and press Return.
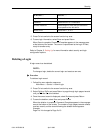
7. Select the configuration area where you want to save the changes to and
press Return.
Save Configuration To
→
[Current Configuration/
Customer Configuration 1/Customer Configuration 2]
When Save is complete, Command Complete appears at the bottom of the
screen.
Refer to
Setting Up for SNMP Management
in Chapter 5,
Setting Up
, for more
information about SNMP configuration options.
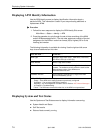
Creating a Login
A login ID and password is required if security is enabled.* You can define up to
six logins (login ID/password combinations). Each login must be unique and have
a specified access level.
" Procedure
To create a login:
1. Follow this menu selection sequence:
Main Menu
→
Control
→
Admin Login
2. Press Ctrl-a to switch to the screen function key area.
3. Select N
ew and press Return.
4. Enter login ID, password, and security level information.
*
Security is enabled by the configuration options Login Required for the Communication Port, and Telnet Login
Required or FTP Login Required for a Telnet/FTP Session.