


Solving Problems
Image Quality
Problems
Ink Supply
Problems
Media Problems Image Error Other Problems Getting Help
Media & InkIntroduction Front Panel Other
Printer
Options
Index
Solutions
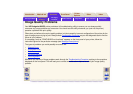
Advance Calibration
It is important that the paper loaded for this calibration is exactly that used for normal printing, both in quality (for
example, glossy paper) and in width (for example, A0 or 36-inch). Either roll or sheet paper can be used.
The routine prints a pattern and then cuts the roll (the cutter must be set to On—see Controlling the Cutter
) or
ejects the sheet; it requires paper that is at least 65 cm/25.5 inches long and at least 50 cm/19.7 inches wide. You
must then reload that piece of paper as a sheet, so that the printer can accurately measure the pattern, and make
whatever adjustments are appropriate to the amount it advances between printing swaths of data. (See Loading
Sheet Media)
The pattern printed is solely for the use of the printer; you are not expected to relate any of its characteristics to the
quality of your images.
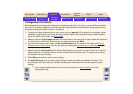
1. From the main front-panel menu, with the correct paper loaded, select the Paper menu ( ) and press Enter.
2. Select Advance calibration and press Enter.
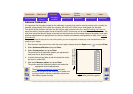
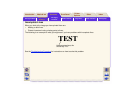
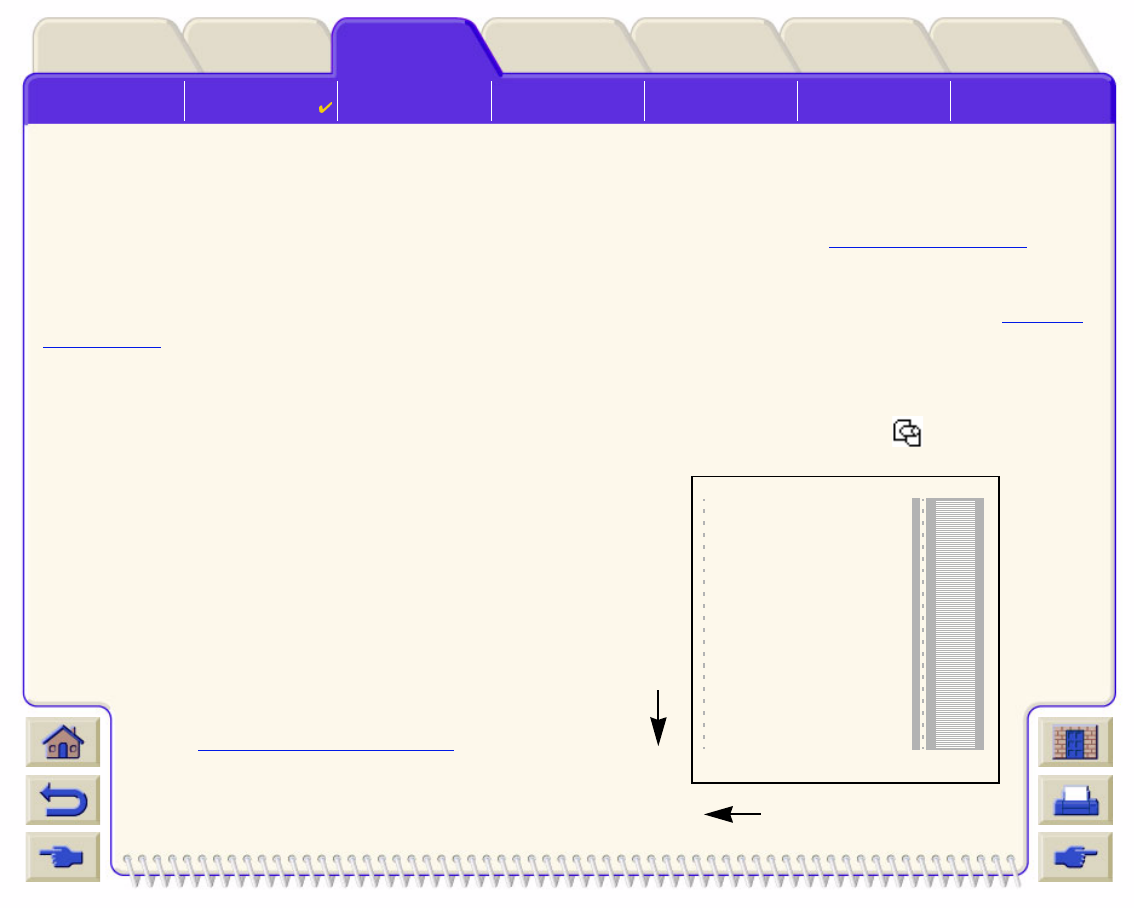
3. Select Create pattern and press Enter.
The printer prints its calibration pattern (as represented
here) and cuts or ejects the paper.
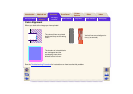
4. Load the sheet printed side up with the dotted line at the
top (that is, rotated 90º).
5. Now select Measure pattern and press Enter.
The printer reads the calibration pattern and makes the
appropriate internal adjustments.
These Advance Calibration Values
are used
whenever you print on the same type of media until
you have used the Advance calibration twice more
with different types of media.
Direction of paper while
printing (creating pattern)
Direction of paper when
loading (measuring pattern)