


29
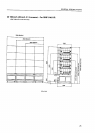
INSTALLATION AND ASSEMBLY
(9) Ventilation for system
The ventilation method differs according to where the system is installed. The following shows how to provide ventilation for
the units according to the place of installation. Refer to these and keep the installation condition in the previous section [(8)
Temperature and Humidity] at the system.
But when installing your unit, consult your dealer.
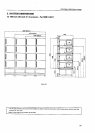
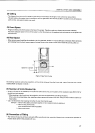
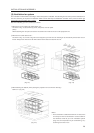
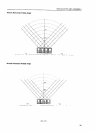
1When there are no walls on all sides (within 1m)
As shown in Fig. 3-3, attach the top panel, side panel, and rear panel.
(Note)
When attaching the rear panel, be careful not to block the vents for the fan of the projection unit.
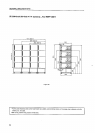
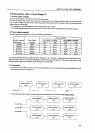
2When there is a wall at the back *
As shown in Fig. 3-5, mount a large fan to the top panel, provide vents for inhaling air at the bottom panel to blow out air
inside. Always leave more than 300 mm between the wall and the back of the unit.
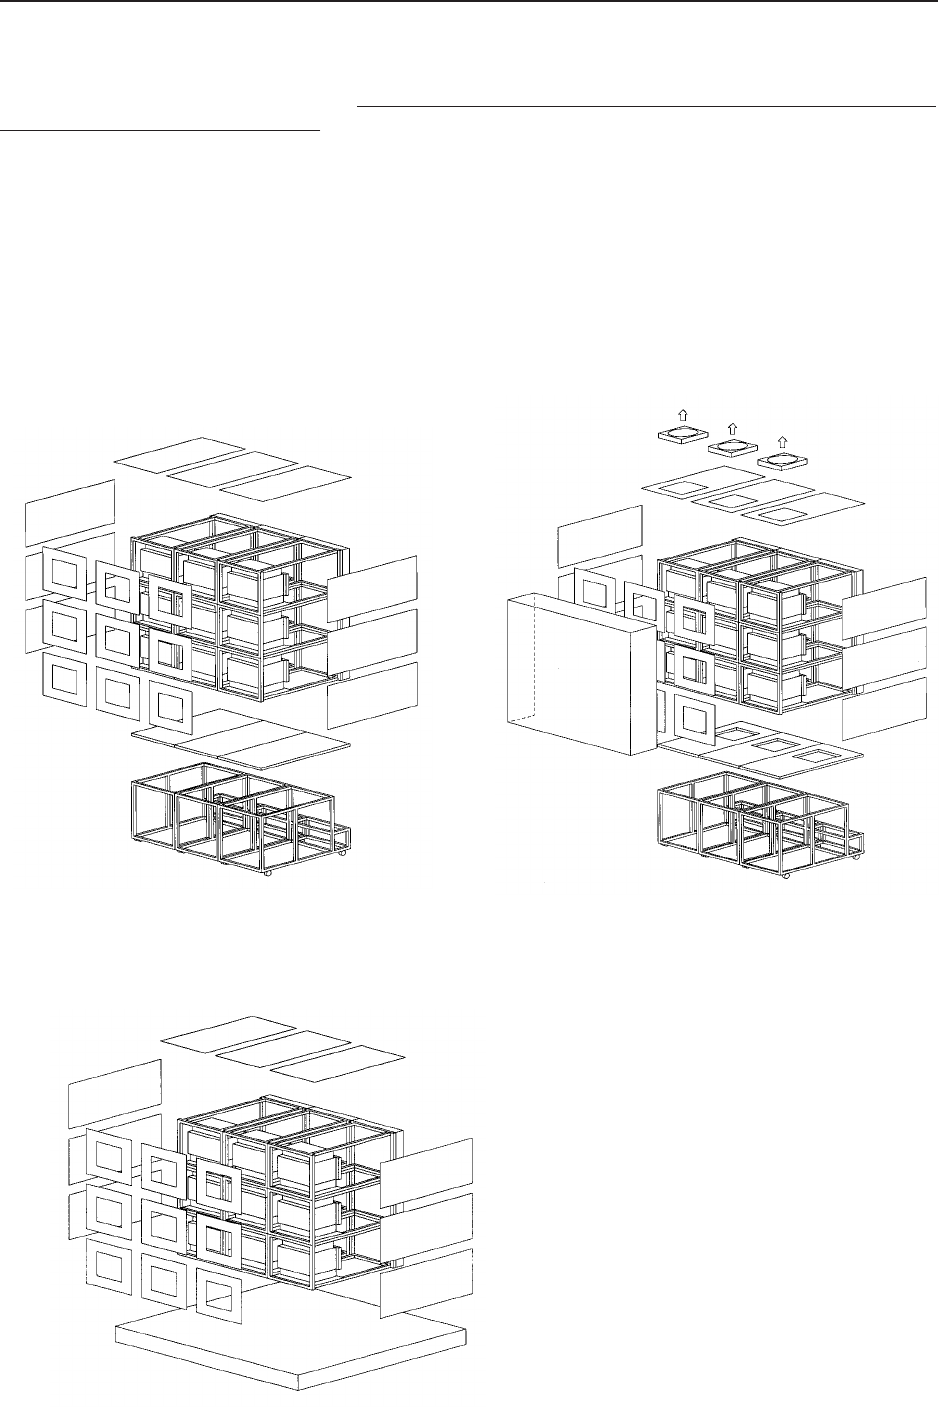
3When blocking the bottom (when placing the projection unit on the floor directly) *
Same as 1. (Fig. 3-6)
(Fig. 3-3)
(Fig. 3-5)
(Fig. 3-6)
<Note>
*: There should be no obstacles within the 1m area of the
unit except for the rear and bottom. If this condition is
not followed, construct your own ventilation system
(large fan, low temperature by air-conditioning, etc.)
according to the site of use.