


49
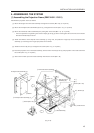
b When mounting from the front
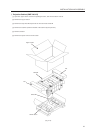
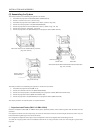
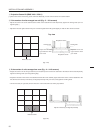
[1] Remove the two stoppers and two metal fixtures from the cabinet. (Fig. 3-32)
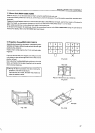
[2] Pull the table to the front.
[3] Insert the screws (M5 × 35) into the holes on the table.
[4] Place the multi-projection unit on the table.
[5] Attach the metal fixtures to the table.
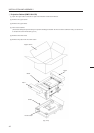
[6] Decide the position of the multi-projection unit and attach it to the metal fixture with the four (M5 × 10). (Fig. 3-33)
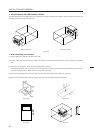
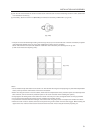
[7] Remove the screws inserted into the table at step [3], and push in until the stopper can be attached.
*As there are no stoppers at the back, be careful not to push the table in excessively.
[8] Re-tighten the stopper at the initial position.
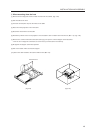
[9] Pull out the table until it touches the stopper.
[10] Secure the cabinet table to the cabinet with the two (M5 × 35).
(Fig.3-32) (Fig.3-33)
INSTALLATION AND ASSEMBLY
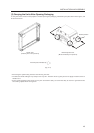
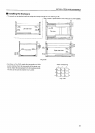
Metal fixtures