


59
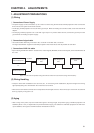
INSTALLATION AND ASSEMBLY
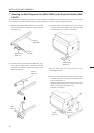
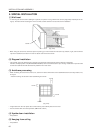
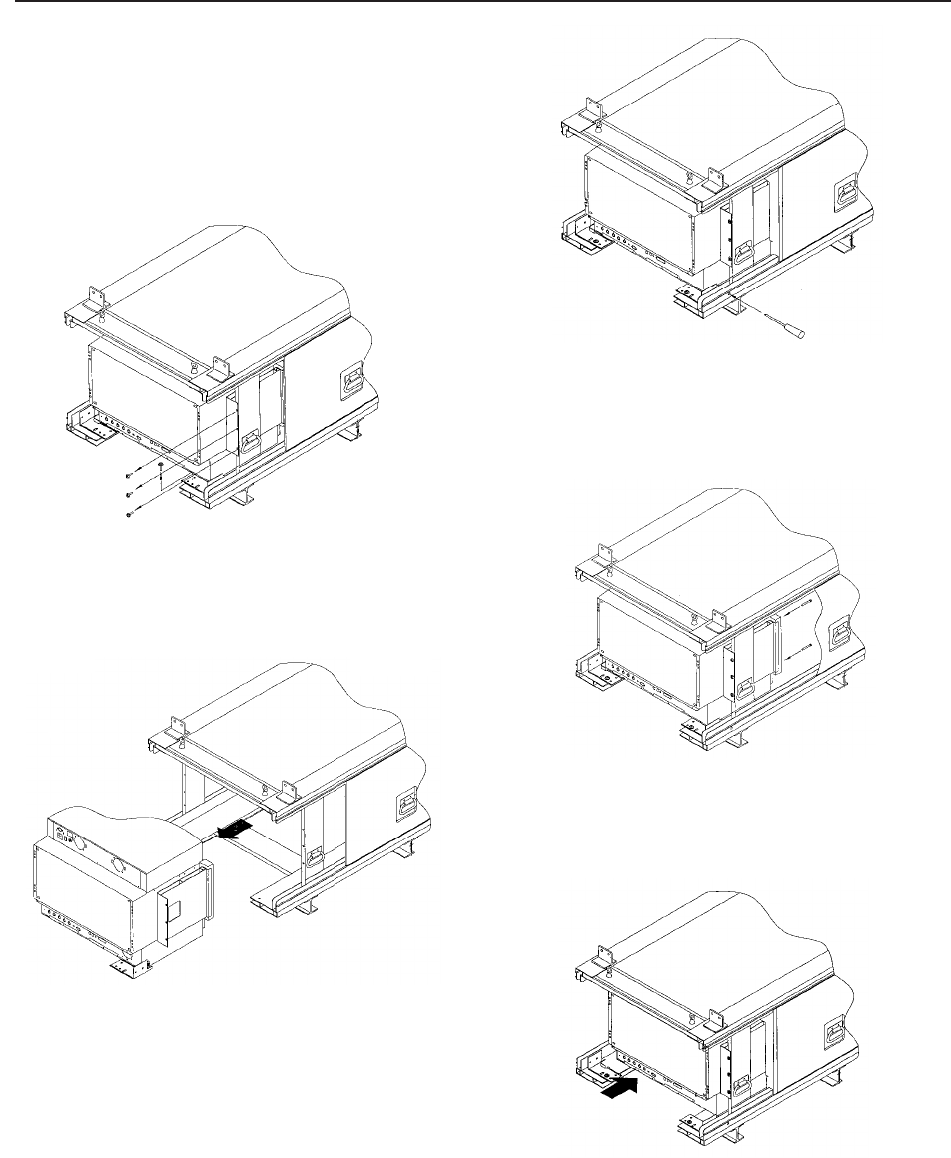
Perform the following steps to remove RM-V2400N from
RMF-V4011CR.
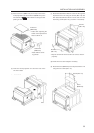
[1] When removing from the rear
1) Remove the screws of the engine guide and fixtures R
and L attached to the cabinet.
4) Push out the projection unit. Leave the engine guide
and fixtures R and L attached to the cabinet.
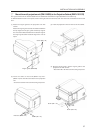
(Note)
If the screws at the side securing the fixtures R and
L to the projection unit have not been removed at
step 1) :
a) Remove the screws securing the fixtures R and L to the
cabinet.
b) Lift up the rear of the projection unit, and pull it out
from the screen side. In this case, the fixtures R and L
are attached to the projection unit.
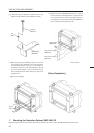
2) Remove the screen (Refer to Replacing the Screen in
“Chapter 5.1. Maintenance”.)
3) Remove the screws attaching the projection unit and
engine guide.
(Note) The projection unit should be removed by more
than two persons always.
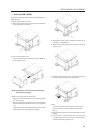
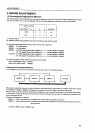
[2] When removing from the screen side
• Excluding exceptional cases, remove the projection
unit from the rear.
1) Before assembling the cabinet, remove the screws at
the side securing the fixtures R and L to the projection
unit.
Keep these screws carefully because they are to be at-
tached again when transporting the cabinet.
2) Pull out the projection unit.
Leave the engine guide and fixtures R and L attached
to the projection unit.
9 Removal of RM-V2400N