


61
1. ADJUSTMENT PREPARATIONS
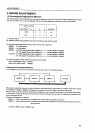
(1) Wiring
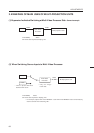
1 Connection of Power Supply
• The power supply can be connected to up to 3 units in a series using the AC outlets of Multi projection units. Connect the
three units as one system to the external outlet.
• The AC plug of Multi projection unit is a 3P with a ground pin. When connecting it to a normal outlet, use an exclusive 3P AC
adapter.
• The AC plug of Multi projection unit is a 3P with a ground pin. To prevent electric shocks, connect the ground pin to the
ground when connecting the power supply.
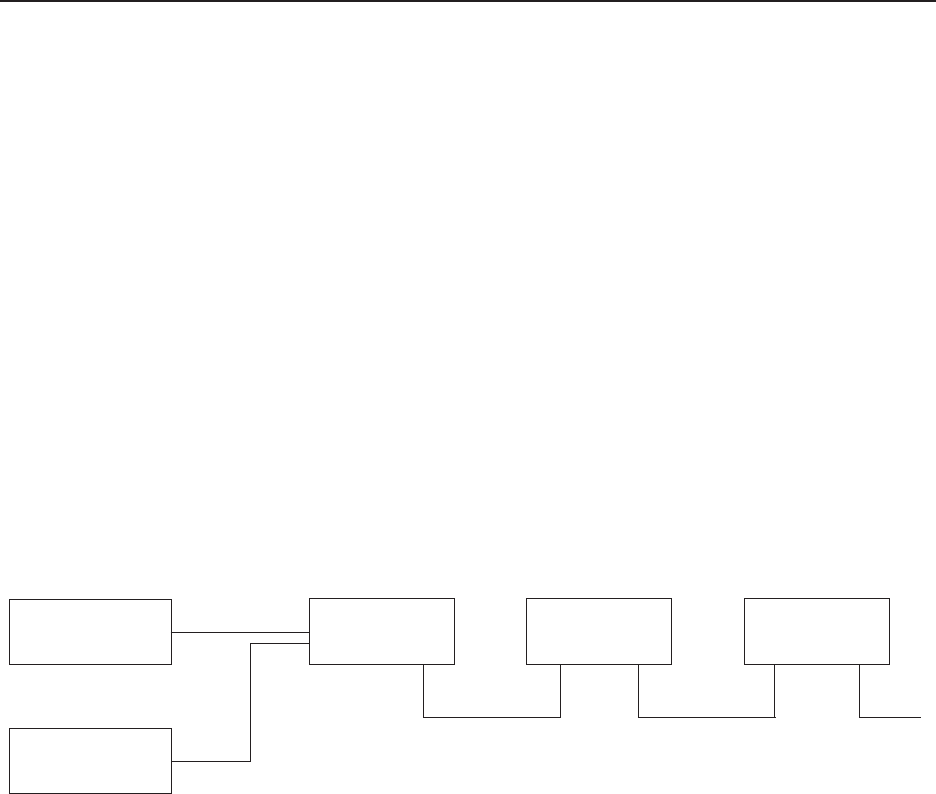
2 Connection of signal cable
• Use coaxial cables. Normally, if less than 15m, use 3C-2V. If less than 30m, use 5C-2V.
The signal transmission equipment and Multi projection units should be as close as possible to each other.
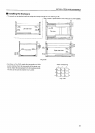
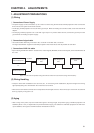
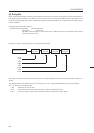
3 Connection of ABL link cable
• By connecting the ABL link cables in cascade form, control signals (RS-232C, remote control signal) can be transmitted to all
the units.
OUT
IN
OUT
IN
OUT
Link cable
Link cable
Remote control unit
or
RS-232C
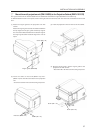
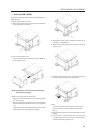
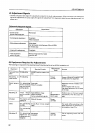
(2) Wiring Handling
• Except for short-term installations such as events, etc., in normal long-term installations, adjust the length of the wiring
appropriately taking into consideration the overall route to be wired.
• Make sure the connection terminals are not subjected to direct weight and force. Tie the wires up in short-term use and bind
them up properly in long-term use.
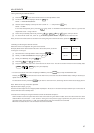
(3) Aging
• After turning on the power, input the 100% white signal or moving images, and perform aging until Multi projection unit
stabilizes (about 1 hour). If adjustments are performed without aging, as it takes time until Multi projection unit will warm
up and stabilize, convergence and white balance will become incorrect.
CHAPTER 4. ADJUSTMENTS
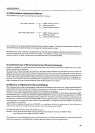
Multi Projection
Unit
Multi Projection
Unit
Multi Projection
Unit
Personal Computer
(Up to 16 units can be operated using the remote control unit at one time using the link cable.)