209
PRO-610HD, PRO-510HD, SD-582HD5, SD-532HD5
A B
FG
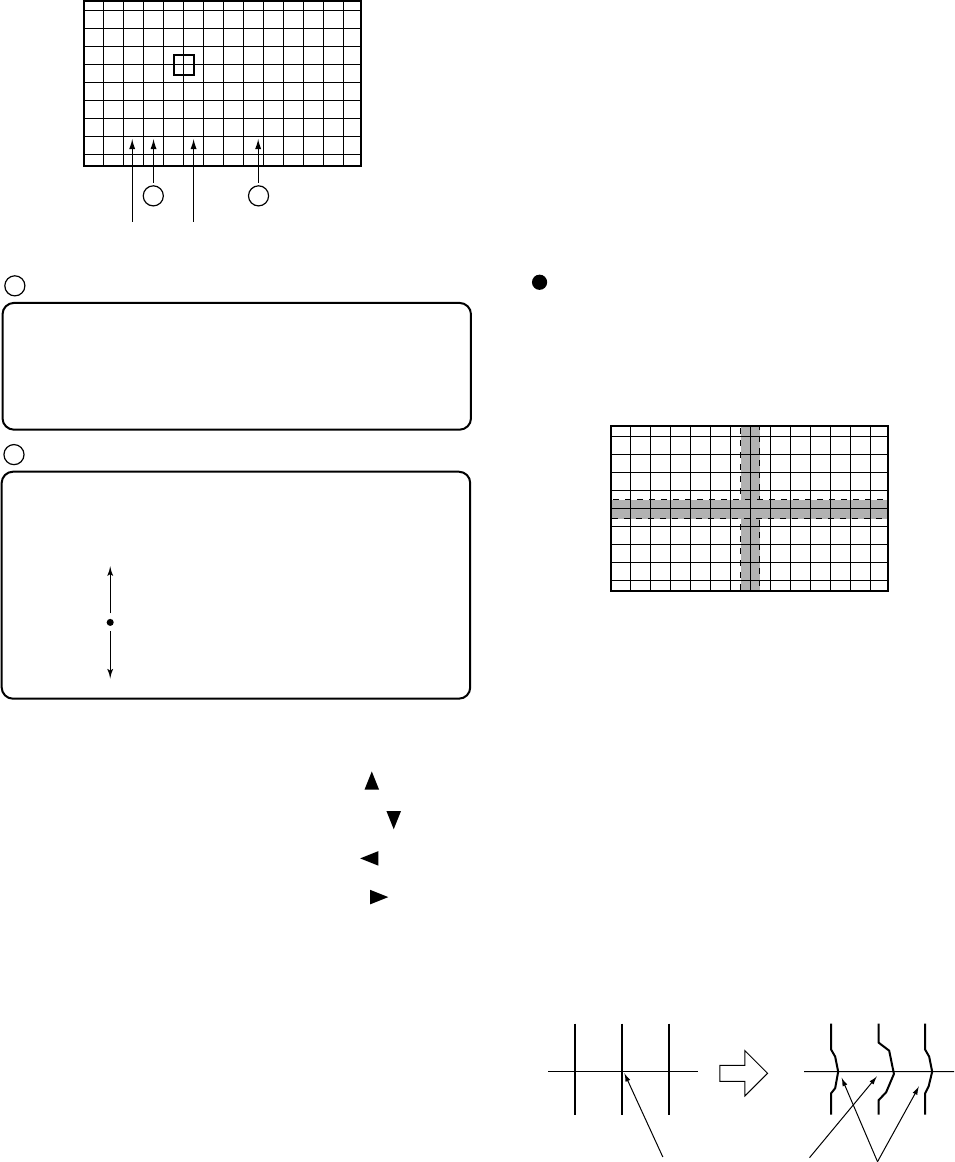
H:000 V:000(4 , 4)
Screen indication
Color to be adjusted:
G: GREEN, R: RED, B: BLUE
To change colors, use the CH+ or CH- key.
The colors change cyclically as follows:
With CH+ : R → B → G → R
With CH- : R → G → B → R
A
H: ∗∗∗ Adjustment data in the horizontal direction
V: ∗∗∗ Adjustment data in the vertical direction
( ∗∗∗= hexadecimal number)
Data MAX 1FF
100
001
CNT 000
3FF
2FF
MIN 200
B
3.4.3
Press the SET/ENTER key when the point to be adjusted is
determined.
3.4.4
When adjustment of the selected point is finished, press the
SET/ENTER key, then adjust the other adjustment points by
repeating 3.4.1 to 3.4.4.
1st step
Adjust so that the vertical and horizontal lines forming a cross at
the center of the screen become straight. Check also the screen
size and the linearity of the horizontal and vertical lines.
3.4.5
Make the adjustment for the green in each screen mode, and use
the green as the standard screen for the red and the blue. To
change screen modes, use the SCREEN mode key.
Note: Some coordinates for adjustment points are located outside
the screen. Be sure not to make adjustments on those
points, because adjustment of those coordinates will have
little effect on the screen.
Screen mode Coordinates where the adjustment
point is located
For adjustment, move the Line to the desired direction with the
cursor keys.
To move the Horizontal Line upward, press the " " key.
(The value decreases.)
To move the Horizontal Line downward, press the " " key.
(The value increases.)
To move the Vertical Line to the left, press the " " key.
(The value decreases.)
To move the Vertical Line to the right, press the " " key.
(The value increases.)
• To select one color, use the SEARCH key for the red, SELECT
key for the green, FREEZE key for the blue. Pressing this key
toggles color muting on or off.
• To mute all the colors, press the DISPLAY key. To release
muting, press the SEARCH, SELECT, or FREEZE key.
• To erase the cross hatch, press the YELLOW key.
Pressing this key toggles between display of the cross hatch
screen and the input screen.
• To change the brightness of the input screen, use the VOL+ or
VOL- key. The brightness increases with the VOL+ key
(CONTRAST +10) and decreases with the VOL- key
(CONTRAST -40). (The brightness can be changed only in Fine-
adjustment mode. The brightness of the cross hatch screen
cannot be changed.)
Adjustment Technique
• See "3.3 Coarse adjustment of the green."
Adjust GH STATIC, SKEW and SIZE, and GV STATIC,
SKEW, PIN and SIZE to correct the screen location, tilt, screen
information volume, and peripheral pin distortion.
• See "3.4 Fine-adjustment of the green."
Fine-adjust the linearity of the vertical and horizontal lines
forming a cross at the center of the screen.
Note: In principle, only the selected point is changed in
MANUAL CONVER. mode. However, as the adjusted
data (amount of adjustment) increase, peripheral points
may be affected. So be sure not to greatly change the
adjustment data of one point, but change peripheral points
at the same time. See the examples below.
Peripheral points may
be affected.
If an adjustment point is
greatly moved to the right,
