


212
PRO-610HD, PRO-510HD, SD-582HD5, SD-532HD5
3.6.5
Repeat procedures 3.6.2 through 3.6.4 for the other screen modes.
(Completion of the red adjustment)
3.7 Coarse Adjustment and Fine Adjust-
ment of the Blue
Make coarse and fine-adjustments of the blue in the same manner
as with the red, described in 3.5 and 3.6.
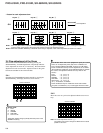
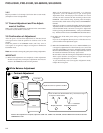
3.8 Confirmation of Adjustment
After the green, red, and blue adjustments are finished, check
convergence errors with the patterns for all three colors on the
monitor.
Check the patterns in all SCREEN modes, and if any error in
convergence is recognized, readjust convergence in MANUAL
CONVER. mode.
Note: Be sure NOT to change the green pattern during readjustment.
IMPORTANT!
(1) When all the adjustments are completed, or when adjustment
should be temporarily interrupted, adjustment data must be
written to the EEPROM, in the following manner:
When all the adjustments are completed, or to interrupt
adjustment, press the MENU key to quit Convergence
Adjustment mode. The display will be unstable for several
seconds, but this is because the data are being written to the
EEPROM. Wait without doing anything until the display
becomes stable, which means writing of data to the EEPROM is
finished.
If the power of the TV is turned off (standby) during Convergence
Adjustment mode (coarse and fine-adjustments), turn on the TV,
enter FACTORY mode, and enter Convergence Adjustment
mode by pressing the SET/ENTER key. Then press the MENU
key. The data will be written to the EEPROM as described above.
(2) Do NOT turn off the main power during or after convergence
adjustment.
If you do so, the adjusted data may be lost. If the data are lost,
you must make all the adjustments again.
(3) When the CENTER POINT (test cross) or MULTI-POINT (user
convergence) adjustments have been made by a user, and if the
unit enters FACTORY Convergence Adjustment mode (with the
DOT and SET/ENTER keys), the user's adjustment data will be
all cleared and returned to the factory-preset values.
Be sure NOT to enter this Convergence Adjustment mode except
when a repair related to convergence or a repair that requires
convergence adjustment later, is needed.
If you inadvertently enter Convergence Adjustment mode,
readjust the convergence.
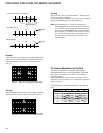
7
Contrast Adjustment
-1
Start
1st FAC
After the STD adjustment is complete, adjust the COMP 15K, COMP 31K, 33K RGB, COLOR TEMP FILM or STD and COLOR
TEMP B&W for STD.
3
EDIT/
LEARN
DTV
SOURCE
INFO
RECEIVER
4
¢
MENU
INPUT
AUDIO
GUIDE
8
POWER
POWER
POWER
VCR REC
VOLVOL
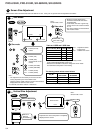
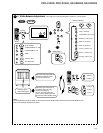
PROJECTION MONITOR RECEIVER
REMOTE CONTROL UNIT
Î
TV/
DTV
CBL
/SAT
DVD
/LD
VCR
1
4
7
5
8
6
9
2 3
0
ANT
DISPLAY
POWER
MUTING
MENU
MODE
SUB CH
SPLIT
SELECTSEARCH
1 2 3 4
INPUT
FAVORITE CH
TV
TV
DTV
ON/OFF
CH
ENTER
RETURN
CH
FREEZE
173¡
VOL
CH
SET/
ENTER
∞
5
2 3
DTV/SAT
DTV/DVD TOP
SCREEN
DTV/(SAT)
TV/SAT/DVD
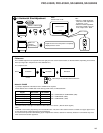
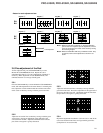
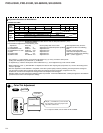
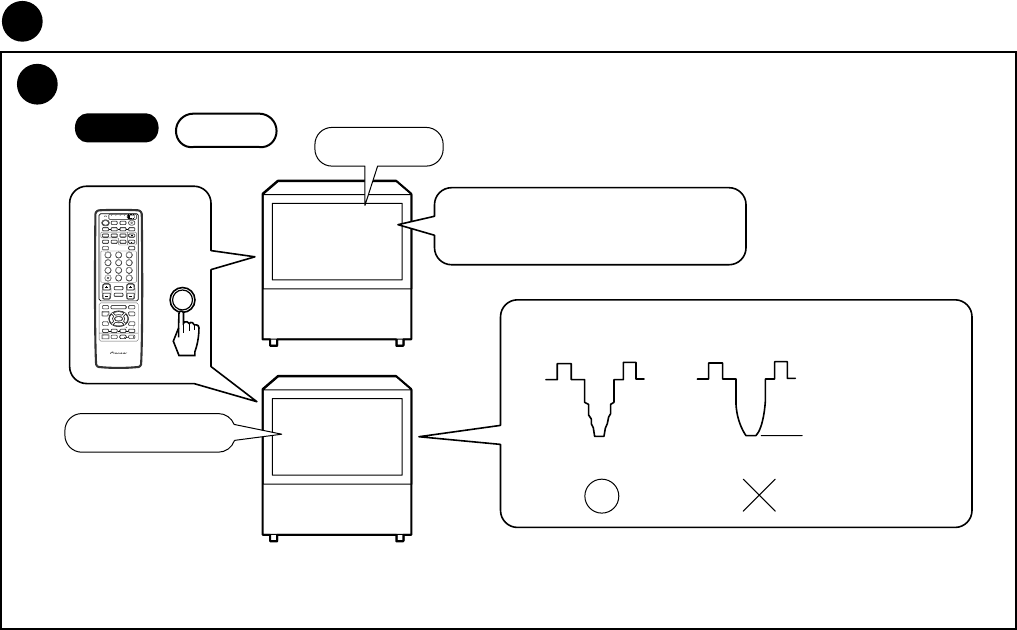
Adjust the screen to optimum condition.
At the TP-BK of the B CRT DRIVE Assy, check that the signal
is shaped as shown below.
"Color Bar"
"Normal video signal"
ADJUSTMENT OFFSET
CONTR
Shapely waveform
Shapeless waveform
Saturated
7
White Balance Adjustment