129
Editing a Sample
Editing a Sample
If you want to select two or more samples from the sample list,
press [5 (Mark Set)] to add a check mark (
✔
) to each sample.
Pressing [4 (Mark Clear)] will clear the check mark.
You can press [8 (Preview)] to audition the selected sample.
If the total number of marks exceeds 128, the multisample will be
created from the 128 lowest-numbered samples.
You cannot create a multisample using samples from more than
one bank.
2.
Press [7 (Load Utility)], and then press [3 (Create Multi Sample)].
The Create Multisample Name screen will appear.
3.
Assign a name.
• [1 (Change Type)]: Changes the type of character. Each time you
press this you will alternately select the first character of the
uppercase alphabet (A), lowercase alphabet (a), and numerals
and symbols (0).
• [2 (Delete)]: Deletes the character at the cursor, and moves
subsequent characters one space forward.
• [3 (Insert)]: Inserts a space (blank) at the cursor location.
•, : Move the cursor.
•, : Switch between uppercase and lowercase letters.
• VALUE dial, [INC][DEC]: Select characters.
* If you decide to stop inputting the name, press [7 (Cancel)].
* You can use the pads to specify characters (p. 25).
4.
When you have finished inputting the name, press [8 (Write)].
A screen will appear, allowing you to select the destination for
the write.
5.
Either turn the VALUE dial or use [INC] [DEC] to select the
write destination.
Multisamples consisting of user samples will be written to User, and
multisamples consisting of card samples will be written to Card.
6.
Press [8 (Write)].
A message will ask you to confirm the operation.
7.
If you are sure you want to write the multisample, press [8
(Exec)].
If you decide to cancel, press [7 (Cancel)].
Never switch off the Fantom-S while data is being saved.
Unloading a Sample (Unload)
In the Sample Edit screen you can press [1 (Unload)] to unload the
currently selected sample and return to the previous screen.
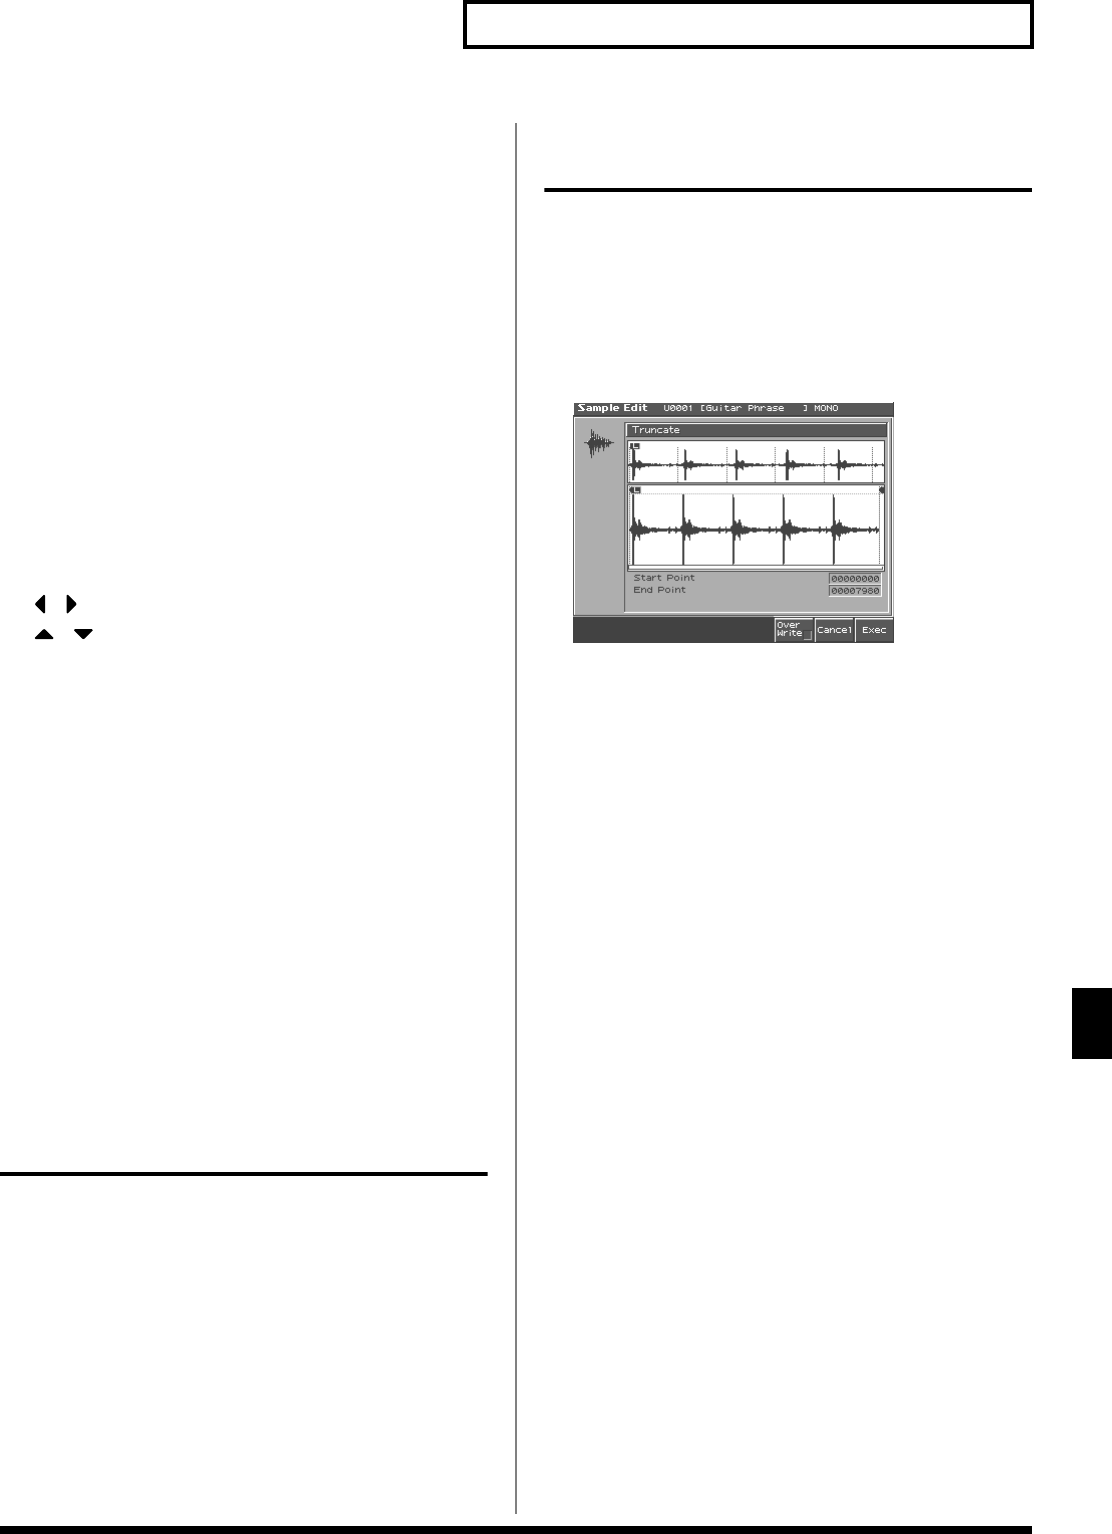
Removing Unwanted Portions
of a Sample (Truncate)
This operation cuts the portions of the sample that are earlier than
the Start Point and later than the Loop End Point.
* You cannot execute this with more than one sample selected.
1.
Press [SAMPLE EDIT] to access the Sample Edit screen.
2.
Press [3 (Sample Modify)] to access the Sample Modify window.
3.
Press [1 (Truncate)].
fig.Truncate_50
4.
If you want to replace the current sample with the truncated
sample, press [6 (Over Writer)] to display the “
✔
” symbol.
5.
Press [8 (Exec)].
A message will ask you for confirmation.
6.
To execute the Truncate operation, press [8 (Exec)].
* If you want to cancel without executing, press [7 (Cancel)].
Reference_e.book 129 ページ 2003年7月14日 月曜日 午後3時25分
